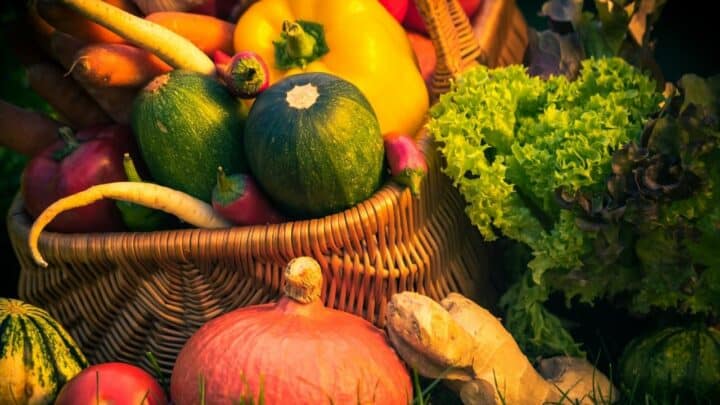

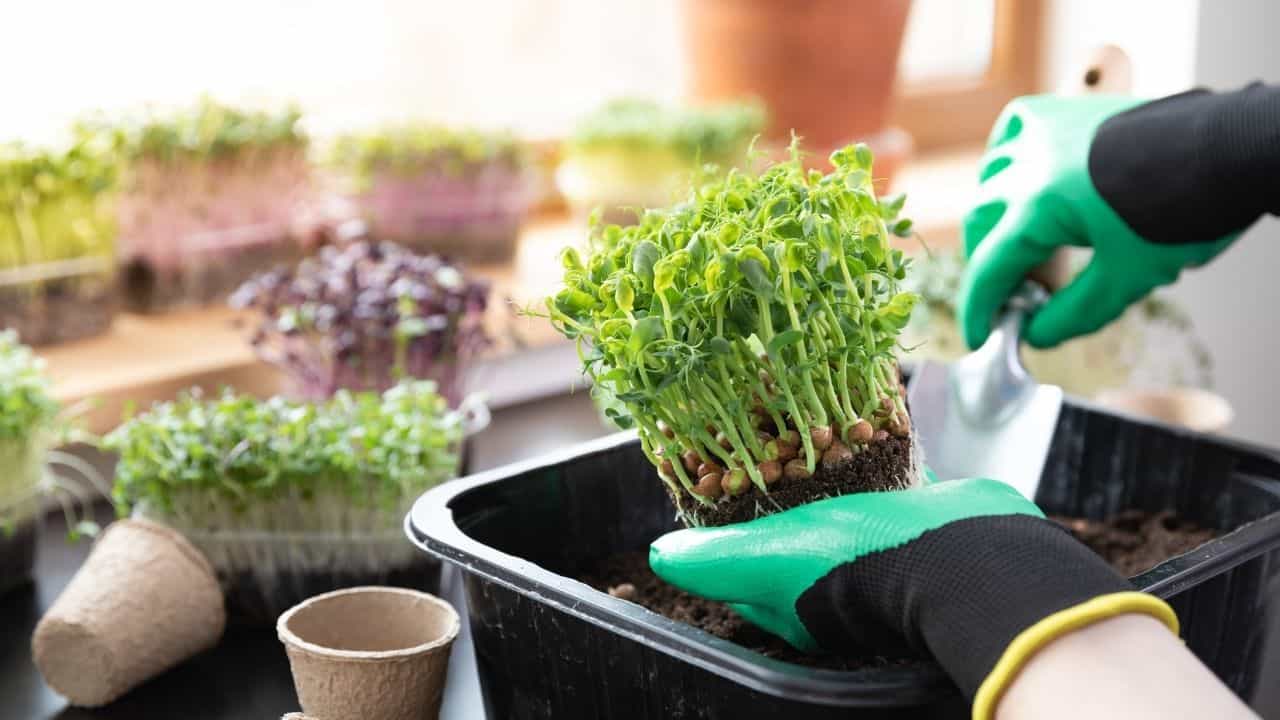
Vegetables are a vital part of our daily diet. In general, they are rich in fiber to aid digestion and full of vitamins and minerals that build the immune system.
That is why the health pundits recommend eating five of these veggies a day.
However, there are many factors that determine whether a vegetable is popular or not.
They may be suitable for your particular climate. They could be easy to grow, have a short time to harvest, or take up little space.
But, most of all, a vegetable is grown for its taste and versatility in meal preparation.
In this article, let us take a look at the vegetables chosen to grow in victory gardens, which saw a resurgence in popularity during 2020 which has formed the basis of the selection.
Table of Contents
The 11 most popular vegetables in alphabetical order
- Beans
- Beetroot
- Cabbage
- Carrots
- Lettuce
- Onions
- Peas
- Potatoes
- Spinach
- Squash
- Tomatoes
1. Beans

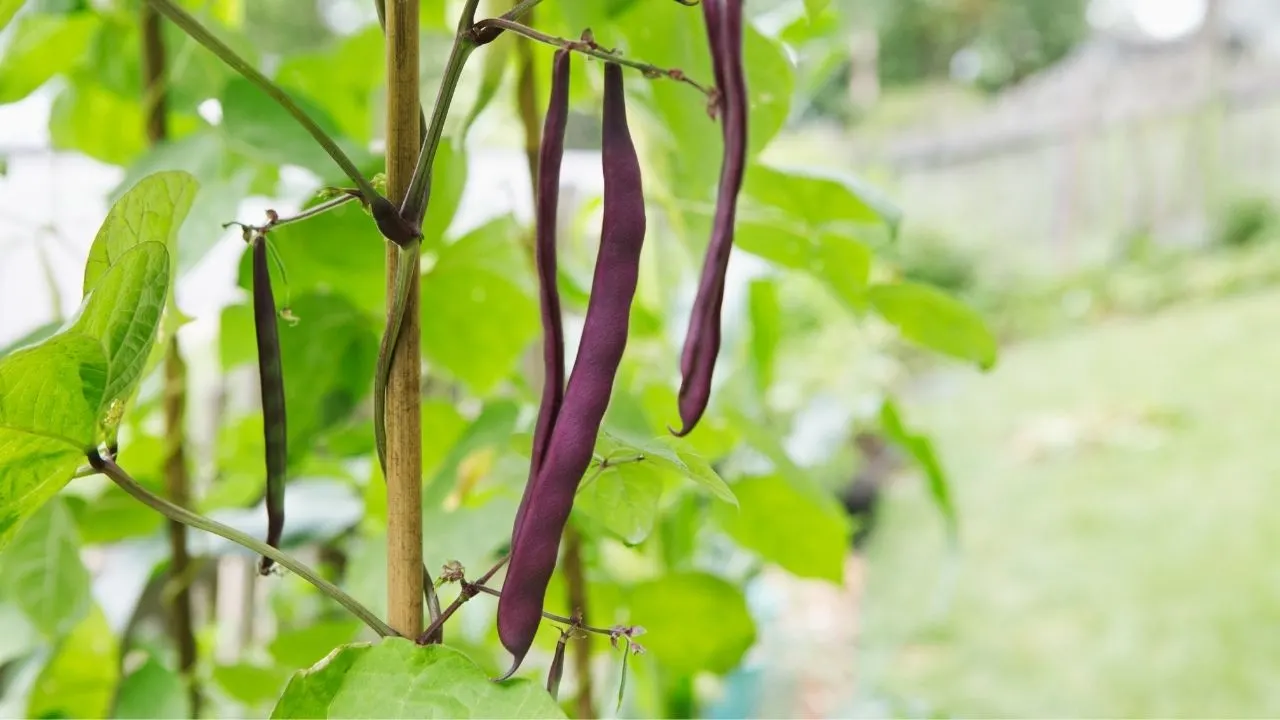
Generally speaking, there are two categories of beans: broad beans and green beans, so-called because they are picked when they are still immature.
Green beans are more popular with home growers as they can be consumed or preserved as fresh as possible.
Beans are fast and easy to grow and will thrive almost anywhere. They germinate within a week and are popular in many classrooms around the world, where seeds can be found growing in moist cotton wool.
You can plant beans straight into the ground, in late spring, after the last threat of frost. The seeds like warmer soil. Hence, they will rot if they are planted in cold, damp soil. Also, these plants will thrive in long hours of sunlight.


The mature plant takes two forms, i.e. either a bush or a climber, which needs to be supported. Many varieties are available in both forms.
Bush beans mature earlier (3-4 weeks) and for a shorter period whereas the climbers, also known as pole beans, take longer to mature (6-8 weeks) and keep producing for longer.
Bush beans are more convenient for canning or freezing on a large scale because the beans can all be harvested at once.
Beans tend to have shallow root systems, therefore, given that they enjoy full sunshine, will benefit greatly from mulching. This will prevent the soil around their roots from heating up and drying out.
They prefer frequent watering and well-drained soil.
Like most plants, they do not like their roots to be bogged down in the water as this makes it difficult for them to absorb air.
Beans do not require any fertilizer beyond using good compost.
On the contrary, they add value to the soil by working with the bacteria in the soil to convert nitrogen in the air into a compound that is soluble by other plants.
They make excellent companions for most plants, with the exception of beetroot and those in the onion family.
Brassicas will benefit from being planted in the space left once the bean plants have been removed.
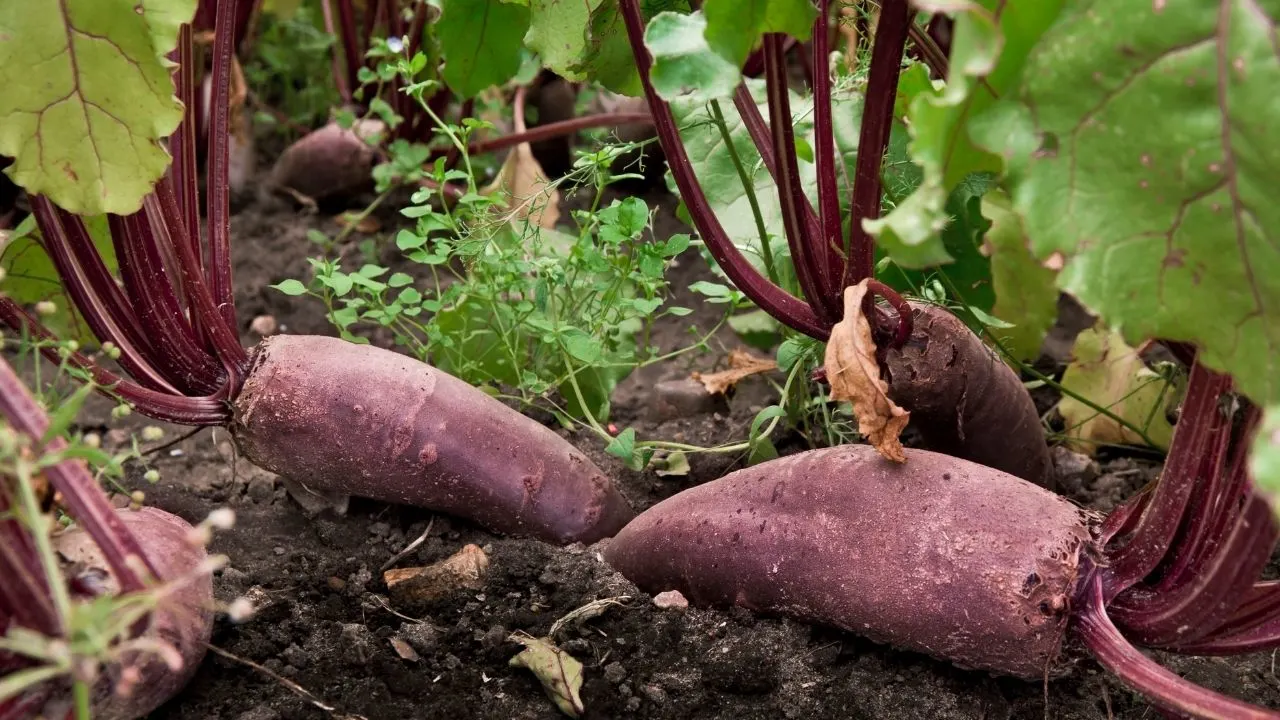
2. Beetroot
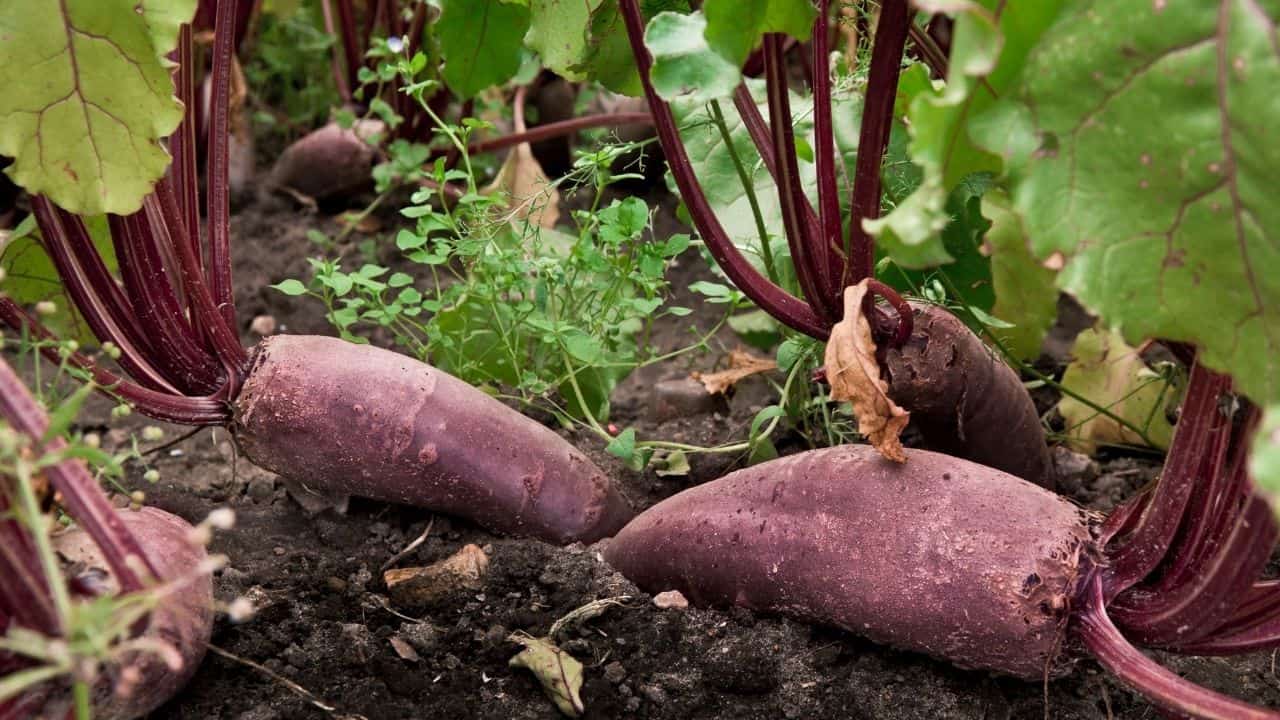
Beetroot seeds can be sown directly into the ground from early in spring to midsummer. Stagger your sowing so that you can enjoy a harvest right up until the beginning of winter.
If you want an early start, sow the seeds in trays four weeks before the last frost is expected and plant them out when the coast is clear.
Beetroot, unlike most other root vegetables, will tolerate transplanting, if the shoots are young and kept moist throughout the transplant process.
The seedlings appear within 5-8 days and the crop can be harvested after 7-9 weeks.
Be aware that beetroot ‘seeds’ are actually small clusters of seeds that will cause a few plants to germinate close together.
These need to be thinned out else your crop will be small and misshapen.
Beetroot needs about a 3-inch radius in which to grow.
Thin the plants out when they are 3 inches tall by cutting the leaves off the plants you do not want. These will be delicious in a salad.
Beetroot does not compete well with weeds so keep these to a minimum by mulching.
The soil needs to be pH neutral and loose, in order to allow the root vegetable to develop uniformly. Remove all rocks from the bed as these will hamper the root’s growth.
Beetroot requires regular watering but does not like soggy soil which will damage the crop. If you have clay soil, build mounds in which to plant the seeds.
Conversely, if the soil around the root dries out, the vegetable will become stringy and tasteless.
Beetroot can be harvested from the point at which the root is the size of a golf ball, up until it is the size of a tennis ball. The smaller it is, the more tender it will be.
Do not leave the beets in the ground for long after they have matured as they will become pithy and unpalatable.
Beets are essentially cool weather plants, so they are likely to bolt quicker in the summer heat, resulting in immature beets.
Hence, look for bolt-resistant varieties or plant them in partial shade in warmer seasons.
When harvesting, remove the leaves immediately as they continue to draw nourishment from the root. Leave an inch of the stalk which helps the vegetable to retain its color when cooked.
If you remove leaves before harvest time, e.g. for salads, ensure that a sufficient amount remains to sustain the plant.
3. Cabbages

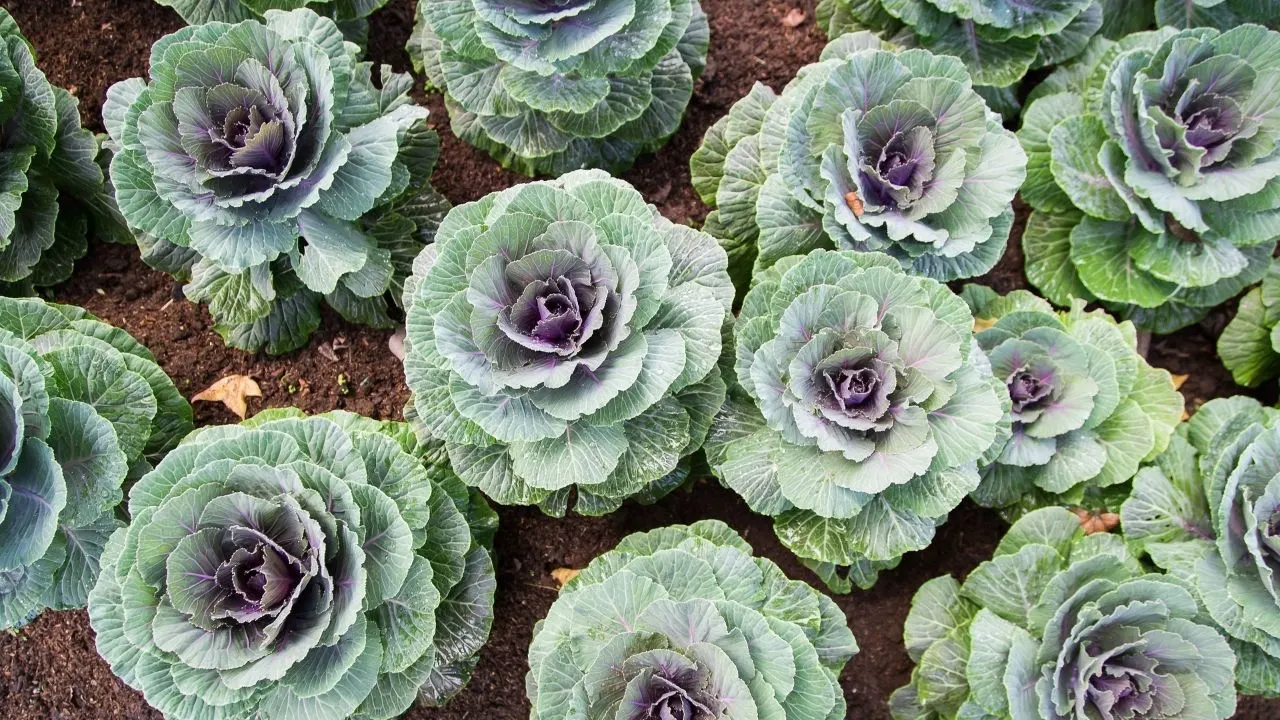
Cabbage plants are frost tolerant and need a long, cool growing season. It takes approximately 10 weeks for the head of green cabbage to mature.
Red cabbage takes slightly longer.
Plant seeds in trays 6 weeks before the last frost and plant them out when the seedlings are 3-4 inches high or have 5 true leaves.
Alternatively, plant seeds directly into beds when the soil is workable. If you have mild winters, choose a cabbage variety that takes longer to mature.
Plant the seeds in late summer for an early spring crop.
You want to avoid growing cabbages in the heat of summer, as they will go to seed in temperatures above 80 degrees Fahrenheit.
Mini cabbages may be an option for an early summer harvest as they mature quicker.
In order to ensure a steady supply, plan your gardening so that you have a crop maturing every two weeks.
Cabbages need fertile soil with space to grow deep roots. Give an allowance of 18-24 inch radius around each plant.
Add mature compost to the soil before planting, and fertilize with a nitrogen-rich, foliar feed midway through the growing cycle.
In the colder part of the growing season, surround the plants with black plastic. This will help to warm the soil.
As the temperature rises, replace this with mulch to keep the soil cool and to prevent moisture loss.
Cabbages like steady, even amounts of water. The heads will crack if they receive too much water. The inner leaves cannot lose water through transpiration and start to swell.
The heads are ready to pick when they are firm to the touch. If you want more than one crop from a plant, leave several leaves on the plant when you cut the head off. New heads will form for later harvesting.
4. Carrots

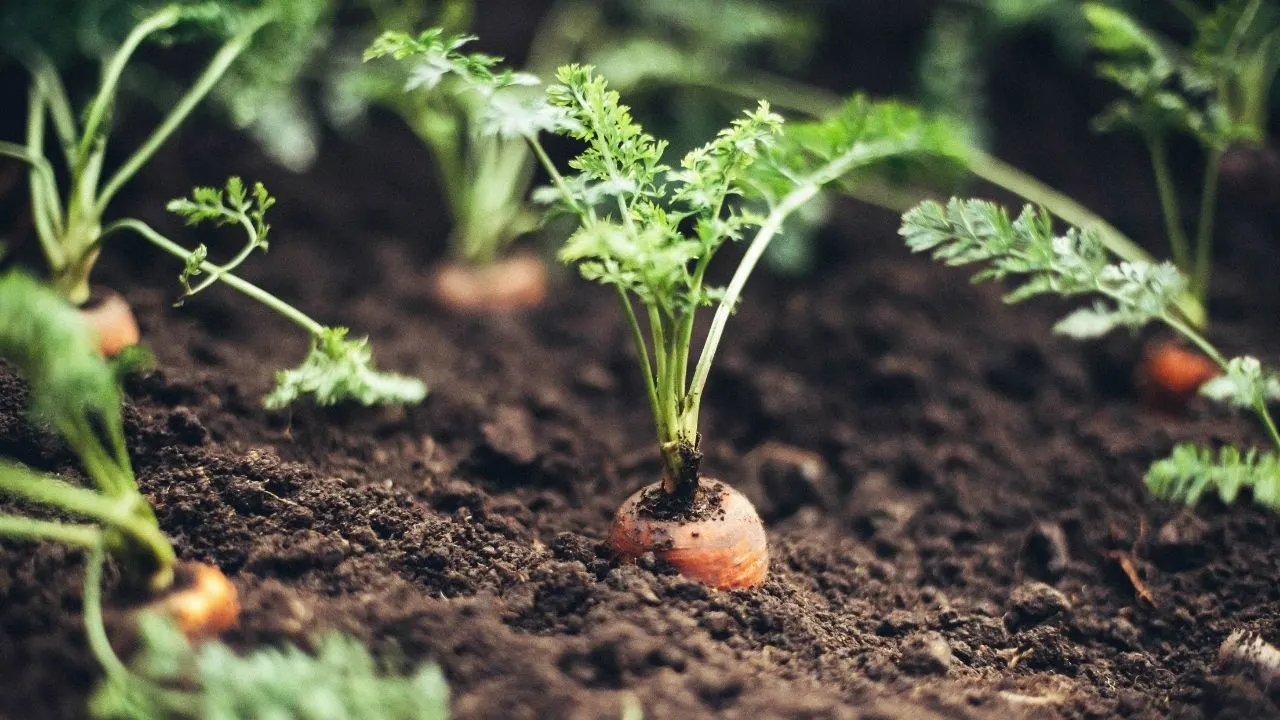
Carrots are root vegetables that approximately take 12-16 weeks to mature, depending on what carrot variety you’re planting.
They need freshly turned, aerated soil, at least a foot deep, and will do well in raised beds. The roots prefer to make their way effortlessly through sandy soil and do not need much in the way of nutrients.
They are best planted after heavy feeders (green, leafy vegetables) depleted the nutrients in the soil.
The seeds are tiny and could be mixed with sand to make them spread out more easily when planting.
Another nifty tip to enhance their growth is to sow carrots on top of toilet paper or paper towel so that they are more visible. The paper will disintegrate when watered and not impede the growth of the root.
The seeds are sown shallowly, i.e. just below the surface of the soil. They need to be kept moist so that they do not overheat or dry out during the germinating process.
A light mulch of compost will be beneficial but make sure it, too, does not dry out.
Each seed will produce one carrot. Thin them out when the seedlings are an inch tall. Allow each plant a radius of 3-4 inches of space in which to grow.
Carrots that are green at the top have stayed in the ground too long. They are still edible if you remove the green portion.
However, the sooner a carrot is harvested, the tastier it will be.
5. Lettuce

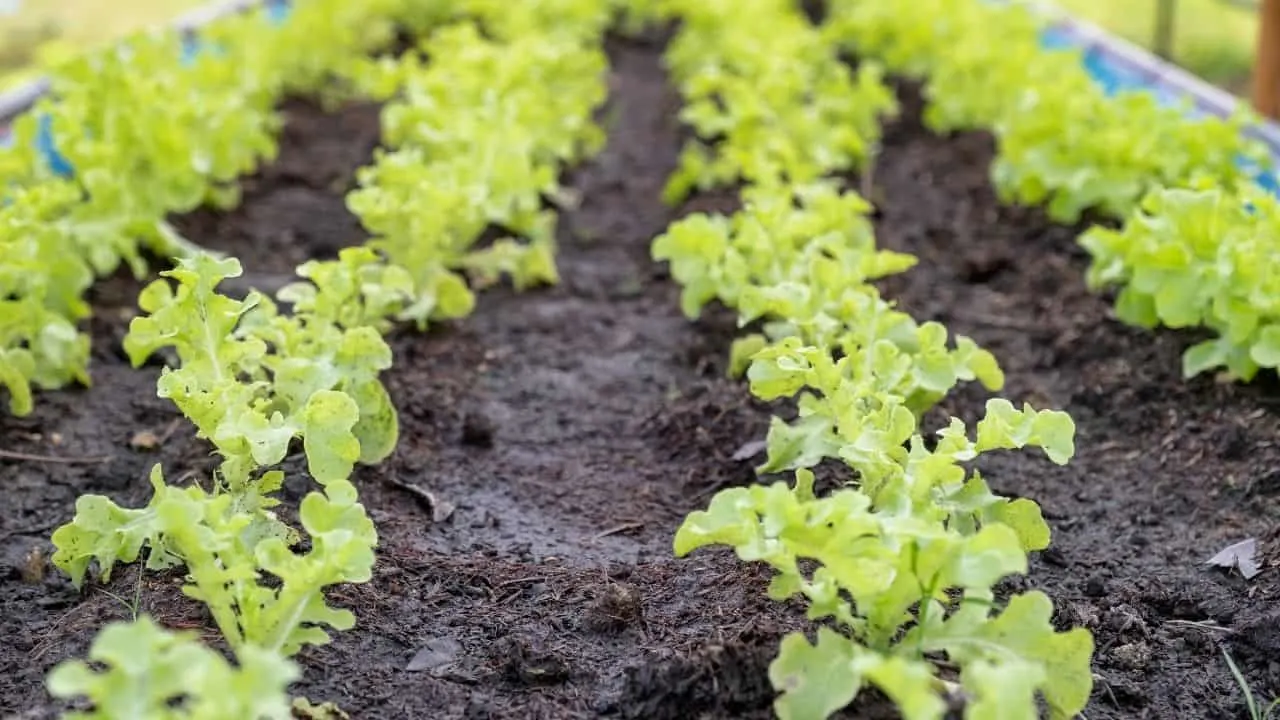
Like most leafy green vegetables, lettuce is a cool climate vegetable although it does enjoy at least 6-8 hours of sunshine a day.
It is best grown in early spring or in fall.
The seeds can germinate in temperatures as low as 40 degrees Fahrenheit. You can sow them directly in the soil, in rows a foot apart, a few weeks before the estimated date of the last frost.
Alternatively, start them off in trays indoors until two true leaves have developed. Plant them into moist, well-draining soil for a good head start.
When the seedlings reach a few inches tall, thin them out, making sure to leave a radius of a foot around each plant.
Alternatively, harvest the in-between plants as baby lettuces which will be tender and delicious.
Lettuce is a fast-growing vegetable. Seedlings take around a week to shoot and a full lettuce head can be harvested within a month.
Lettuce is demanding in terms of nutrients. Thus, plant the seedlings after a season of legumes, in soil enriched with compost and manure that has broken down.
A slow-release organic fertilizer can be used to start it off, thereafter, a foliar feed is required every fortnight.
The leaves consist mainly of water, making lettuce is a thirsty plant. It requires daily watering, with possibly two sessions in hot weather.
Lettuce plants have shallow root systems so frequency is more important than deep watering to ensure that the soil around the plant does not dry out.
Lettuce can tolerate a light frost but it is wise to have preventative measures in place if a cold snap occurs. Keep the plant warm by sheltering it overnight under a coche or a hoop covered with a frost blanket.
Remove these once the soil has warmed up past the freezing point.
Irrigate your plants early in the day to prevent the water that is absorbed from freezing overnight and destroying its cells.
Lettuce can be harvested in several ways. If you pick a few leaves for a salad, pick them from the outside of the plant. This can be repeated throughout the plant’s life cycle.
As mentioned above, baby lettuce can be picked when thinning out the crop.
If the full head of lettuce is harvested at maturity, leave a few leaves and the plant will generate a second crop. The head will invariably be smaller.
It is best to pick lettuce heads in the morning before the sun or heat of the day dries the leaves out.
6. Onions

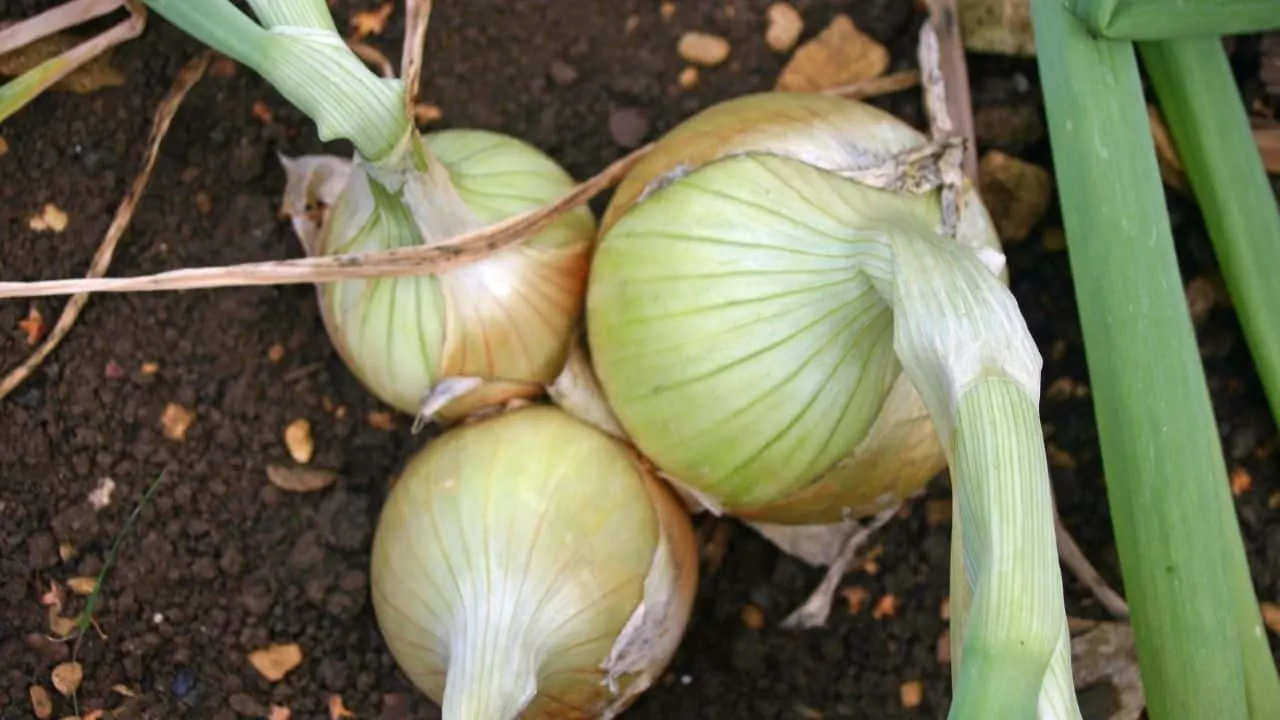
There are three types of onions, namely, bunching onions, pickling onions, and those that form bulbs.
Most bulbing onions can be picked when immature, to be enjoyed as spring onions or scallions. Not all bunching onions will develop bulbs.
Long-day varieties of onions are best suited to the higher latitudes and short-day varieties give better yields closer to the equator.
You can grow onions from seeds, seedlings, or sets, which are bulbs that were cultivated commercially in the previous growing season.
Seeds and seedlings need to be planted in autumn for harvesting in the following summer. They cost less to plant but take longer to yield a crop. There is also a greater variety available.
Sets have a shorter growing season but are variable in quality as they are a reflection of the previous year’s seeds. There are fewer choices in terms of variety, and they cost more than seeds.
Bulbing onions need more room than bunching onions or those that will be harvested for their leaves only. A mature bulbing onion needs about a 6-inch radius in which to grow.
Onions have two distinct growth phases, the leaf phase, and the bulbing phase.
The leaf phase takes place in cooler weather and requires nitrogen-rich foliar feed and more frequent watering than the latter phase, which takes place in warmer weather.
The bulbs consist of layers. There is one layer for each leaf above ground, and the optimum number is 13. They are best grown after legumes which add nitrogen to the soil.
These root vegetables do not like to struggle in the soil. They prefer friable soil that drains well and has been thoroughly worked down to a depth of 6 inches.
Ensure the pH balance of the soil is between 6.0 and 6.5.
Until the plants mature, make sure to keep the soil moist. Irregular watering could lead to the bulbs splitting or rotting. Water less when the leaves start to droop.
In order to fool the bulbs into developing quicker, bend the leaves, without breaking them, 2-3 weeks before harvest time.
7. Peas

Unlike beans, peas need to be planted in early spring so that they can mature before the full heat of summer. Beware though; they are not frost-tolerant.
In spring and early summer, peas can be grown in full sunlight. You can extend the peas’ growing season by planting seeds later in a shady spot.
They germinate within 7-10 days and take 12-14 weeks to mature.
Like beans, they are planted directly into the soil and grow into either bushes or climbing plants, both requiring some form of support.
They do not need much from the soil beyond a neutral pH balance, good compost, mulch, and good drainage.
Peas need deep watering when planted. After which, water deeply once a week until the flowers appear.
The weather will be warmer so increase watering frequency, ensuring that the soil around the roots does not dry out. Mulching will help to prevent surface evaporation.
Harvest your peas from the bottom up. Regular picking will encourage more produce. Peas are at their sweetest if eaten or processed within 30 minutes of being picked.
The light purple flowers are pretty enough to plant in any flower bed. Aside from that, you will also gain the added benefit of nitrogen deposits in the soil from this legume.
8. Potatoes

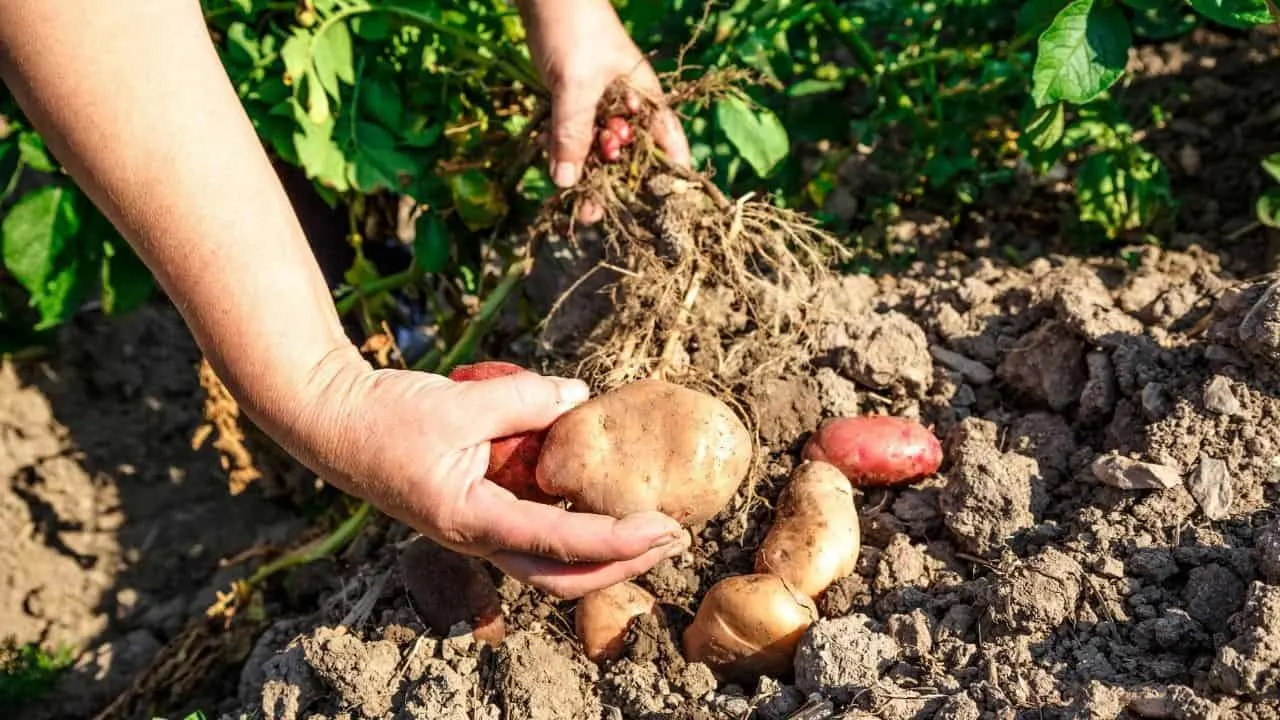
Potatoes are cool-season vegetables, which are generally planted in early spring. They can be grown from bits of potato that contain ‘eyes’ or buds, or from seed potatoes.
They grow best if they are already sprouting when planted.
Potatoes require a fair amount of space in which to grow. However, they can grow in a range of containers, from buckets to wireframes, to towers of old tires.
Potatoes are tubers, i.e. swollen sections of root that serve as the food reserve for the plant, and contain the buds for the following season.
They prefer to grow in light, loose soil rich in organic matter, and is slightly acidic (5.5 to 6.0 pH).
Plant the sprouts into moist soil and ensure that the plants are watered evenly. Dry soil will stunt their growth and too much water will cause the tubers to become ‘glassy’ and tasteless, and ultimately to rot.
Feed with a nitrogen-rich fertilizer when the bush is growing vigorously, and phosphate later on, for root and tuber development.
When the bush is 12-18 inches high, add soil in a mound around the stem. Protect any surface tubers with mounds of soil.
If the plant is in a container or tower, you can add layers of soil throughout the growing season.
Harvest time is near when the leaves start to die back. This is when the skin starts to harden.
‘New’ potatoes can be harvested in early summer and mature potatoes in mid-summer.
The harder the skin, the longer the potato can be stored. Thus, when storing potatoes, keep them in the dark, else the buds will sprout.
9. Spinach
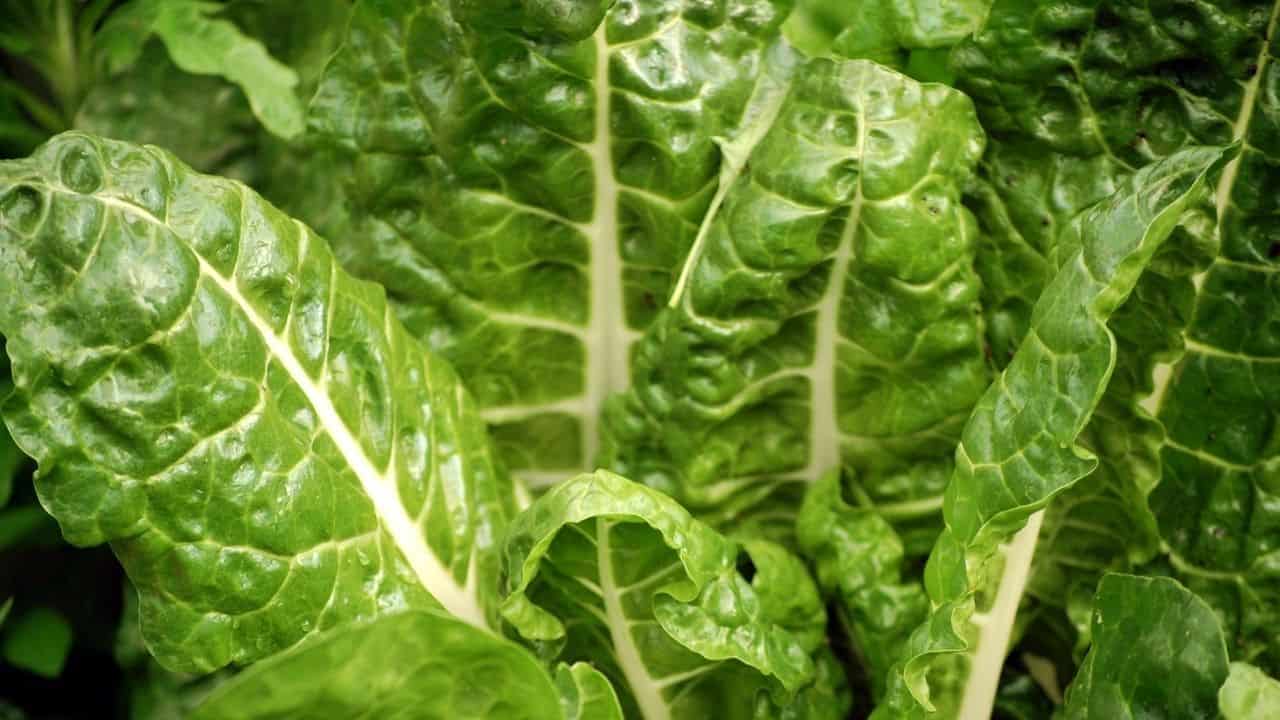

Except in the harshest climates, spinach is a year-round crop.
Swiss chard is a similar crop that is frost tolerant and will withstand the heat better than true spinach, therefore having a longer growing season.
Spinach is a cut-and-come-again crop which means you can harvest the entire head of the plant, or as many leaves as you require, and new leaves will form.
If you are harvesting only a few leaves, always pick the leaves on the outside of the plant. The more often you do this, the more leaves will form.
If you are not going to eat the spinach immediately, place the cut leaves in water to keep them fresh.
Spinach grows quickly, taking 10-14 days to germinate and 8-10 weeks to reach maturity.
The plant requires loose, fertile soil that drains well. Add fertilizer or mature compost to the soil for best results.
A nitrogen-rich top dressing when the plant is about five weeks old will give a boost to leaf production.
Spinach, which is grown in full sunlight, requires a fair amount of water. Water deeply and often, preferably avoiding the leaves by using flood or drip irrigation.
It can be grown in a shady spot, in which case it will require less water and take longer to grow. This is also true of spinach grown outside of the heat of summer.
10. Squash

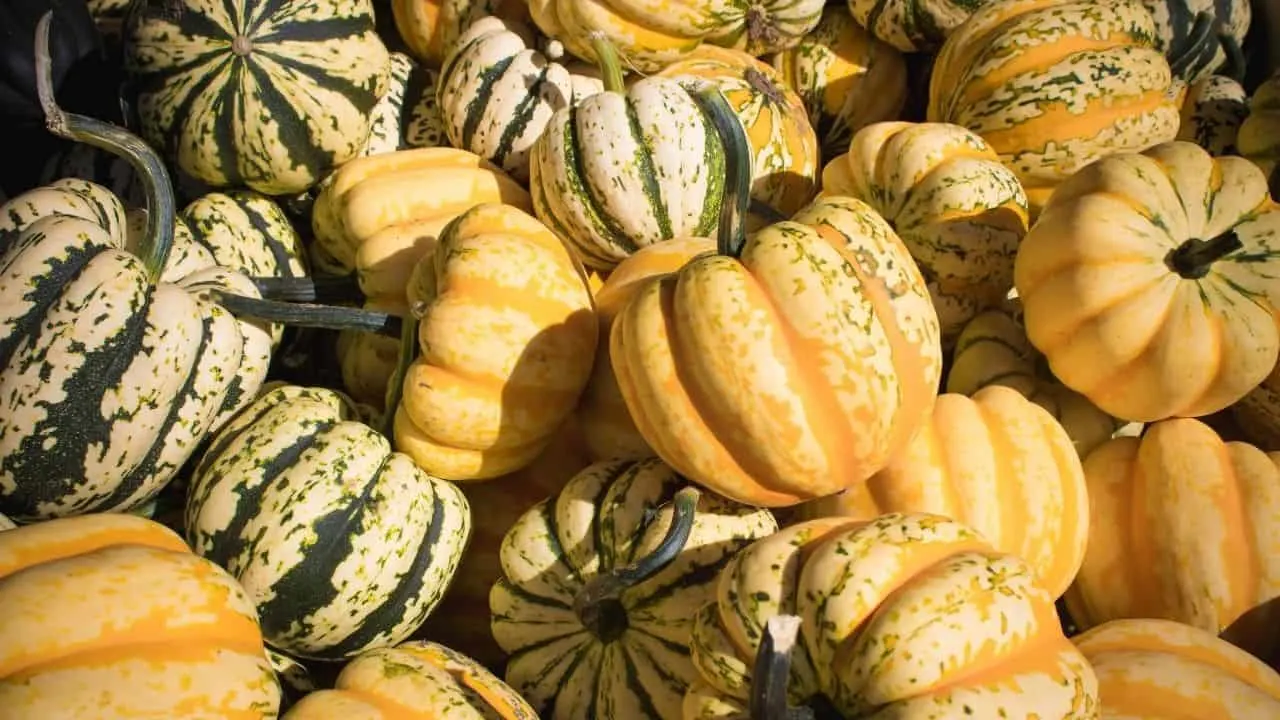
Squash is a warm-weather plant that does not like to be grown in cold soil. It enjoys hot, humid days and warm nights.
Plant it straight into the ground when there is no more threat of frost.
There are three categories of squash: summer squash, winter squash, and pumpkins.
Squashes grow rapidly, yielding edible plants within 6-7 weeks. Summer squash matures between 8-12 weeks, and pumpkin and winter squash can be harvested after the leaves on the plant start to die, at approximately 12-15 weeks.
Squashes are not fussy about their soil requirements, except that they enjoy soil rich in organic matter and a neutral pH balance, between 6.5 and 7.5.
I have known them to grow directly on top of a compost heap. Feed them with a balanced fertilizer that nourishes the root, fruit, and foliage.
They have deep root systems and copious leaves so will enjoy frequent deep watering.
Although summer rainfall is a bonus for these thirsty plants, try to avoid spraying their leaves if you are irrigating them.
Hot, humid conditions make the soil more conducive to the growth of mold and other fungi and bacteria.
11. Tomatoes

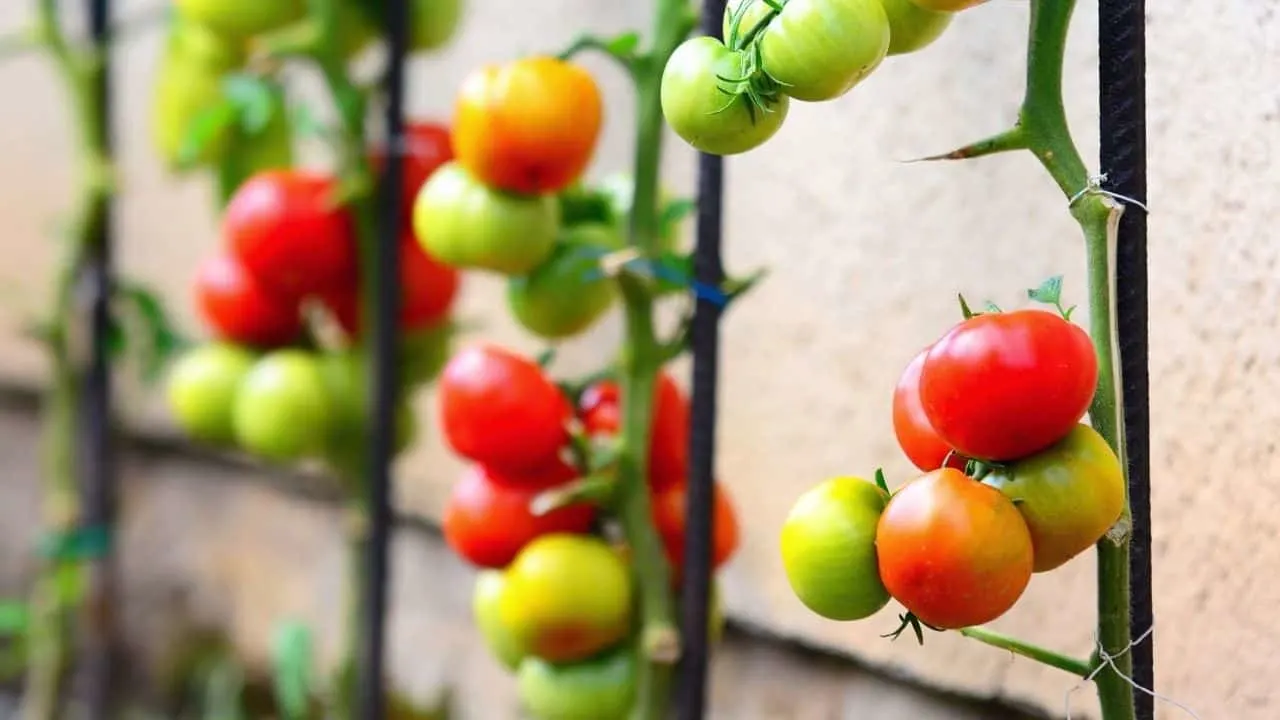
There are two types of tomatoes: indeterminate and determinate varieties.
Determinate varieties ripen altogether within a short period of time. Indeterminate varieties deliver yields over a longer period.
Mature tomatoes enjoy warm, humid conditions but have a long growing cycle, typically 80 days or more. Thus, seeds need to be planted quite early in the growing year.
However, there are faster-growing cultivars if you’re looking forward to harvesting earlier. These cultivars include the popular cherry tomatoes in the group.
Tomatoes require a multi-phased transplanting system in order to harden the plants and prevent shock. With each transplant, the seedlings need to be planted deeper and afforded more lateral space to grow.
Start the seeds off in trays, indoors, in late winter, or in early spring.
The first transplant is at 5-7 weeks, before the true leaves form. The second transplant occurs when there are 4-6 true leaves.
Plant the tomato outside, or preferably in a controlled environment such as a greenhouse when it has recovered from the second transplant. Remove the bottom leaves until 6 sets remain.
They are superfluous and will direct energy away from the fruit.
Tomatoes enjoy lots of light and consistent watering. They send out many roots and leaves which requires generous quantities of watering.
They also need to be supported, preferably with a lattice structure.
They do not respond well to environmental shocks, especially once the buds form. They will drop these if any factors change suddenly, such as temperature, wind levels, etc.
Fertilize the plants when the buds form, and again once the fruit sets.
Your tomatoes are ready for harvest between 9 and 13 weeks after the final transplant, depending on the variety you’re planting.
Have a look at our article about how to grow German Queen Tomatoes next.


Daniel has been a plant enthusiast for over 20 years. He owns hundreds of houseplants and prepares for the chili growing seasons yearly with great anticipation. His favorite plants are plant species in the Araceae family, such as Monstera, Philodendron, and Anthurium. He also loves gardening and is growing hot peppers, tomatoes, and many more vegetables.