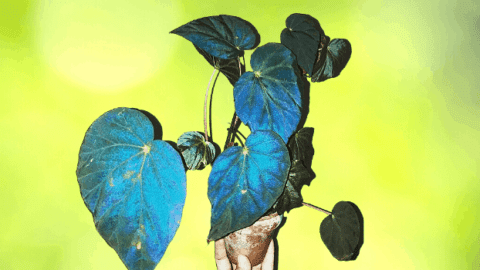

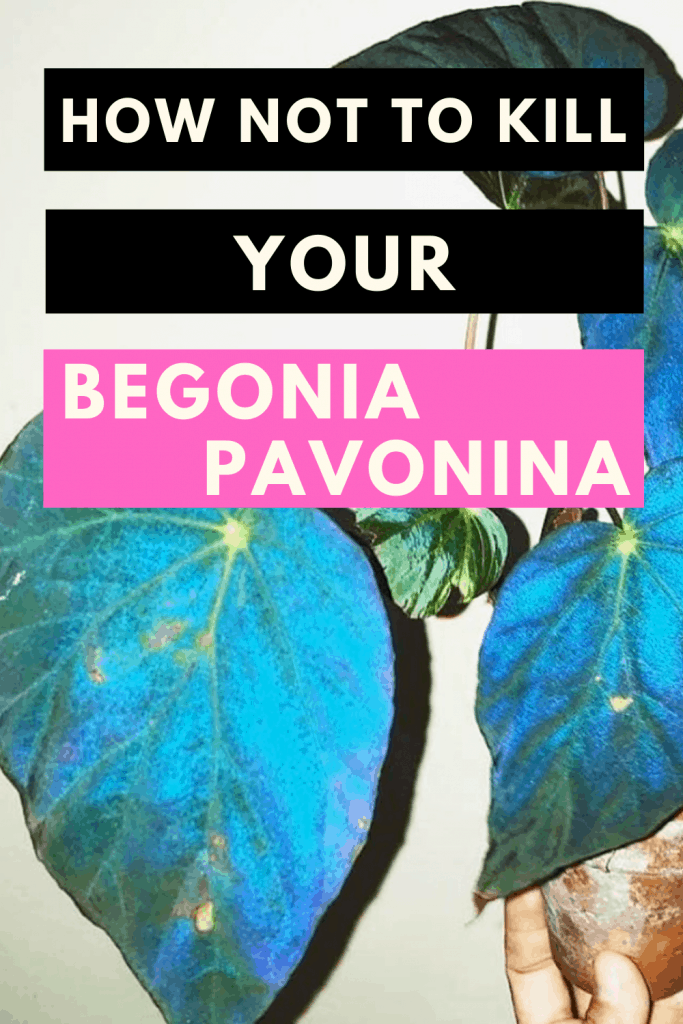
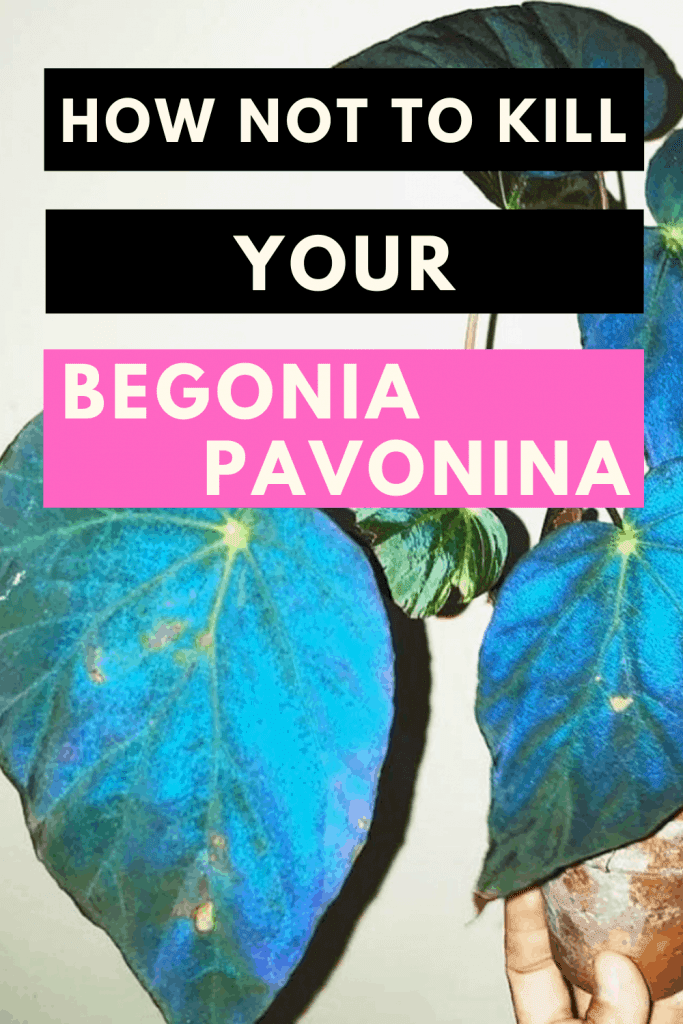
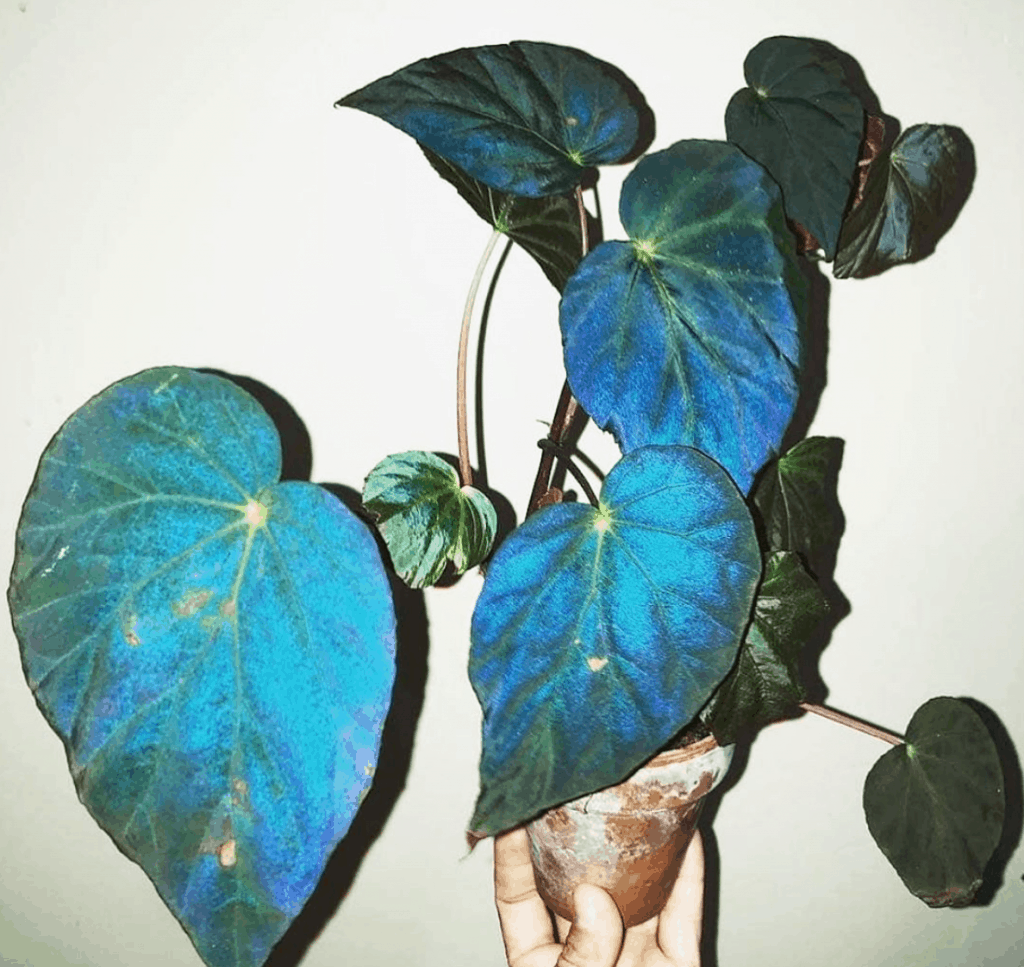
The Begonia pavonina is one of the most gorgeous houseplants you’ll ever find. There’s a reason it’s nicknamed the “Peacock Begonia”.
When the light hits the plant at certain angles, the leaves brighten with a bright blue. Underneath these beautiful blue leaves is a strong dark red.
It’s believed that the change from dark green leaves to bright blue helps the plant absorb more sunlight.
Begonia pavonina plants originate from the rainforest atop mountains in Malaysia.
Since these areas in Malaysia have such low light, Begonia pavoninas need extra light. Which is why it’s believed the leaves change color. So they can absorb more sunlight.
These plants can be grown as the average indoor plant or even in a terrarium.
The Begonia pavonina plant needs special care, like any other plant out there. You have to know how to care for one of these wonderful Begonias.
If you’re ready to care for a Begonia pavonina, we have the best plant care guide for you. Check out how to care for this Begonia species.
Table of Contents
Begonia Pavonina Plant Care
Soil
The soil for a Begonia pavonina needs to be well-draining. This plant enjoys moist soil. However, that doesn’t mean saturate the soil.
According to the University of Missouri, well-draining soil allows water to percolate quickly. That way water doesn’t sit in the soil.
If the excess water doesn’t drain and it sits in the soil, it can cause several conditions. It can cause fungal diseases or even root rot.


Root rot is a scary condition. Too much water in the soil blocks oxygen from coming through to the roots. This causes the roots to start rotting.
The rot can spread through the rest of the roots to your plant. If you don’t treat your plant before it spreads to all the roots, your plant will die.
A good soil mix for the Begonia pavonina includes two parts sphagnum moss and three parts perlite.
The sphagnum moss helps the excess water drain through to the bottom. The perlite retains enough water to hydrate your plant.
Light alkaline soil is perfect for this plant. The pH should be between 5 pH and 7 pH.
Light
The Begonia pavonina needs actual sunlight to thrive. The blue effect on the leaves won’t be as noticeable without natural light. Artificial lights aren’t enough for this plant.
But the plant can’t take direct light beaming down on it for more than four hours. The leaves can get scorched.
Plus, too much direct sunlight will suck the moisture right out of your plant’s soil.
It likes indirect light, much like it’s original environment in the rainforest. In Malaysia, the Begonia pavonina gets sunlight. But it’s shaded by the big leaves of the trees.
To get indirect sunlight, place your plant in either an east or north-facing window. This way it’s getting ample sunlight but it’s not getting damaged from direct sun.
Watering
A Begonia pavonina plant needs the same amount of water as most other plants.
You don’t want to water your plant too much nor do you want to water it too little.
When you over-water a Begonia, you’re blocking the oxygen from the soil. Which blocks oxygen from the roots.
Under-watering this plant starves it. It can’t get to the nutrients it needs. These nutrients hide away in the soil.
The warmer it is outside, the more often you’ll need to water your plant.
A good way to test how moist your soil is is to place your finger into the soil. You should place it knuckle deep or about two inches.
If the soil is dry, it’s time to water your plant. If the soil is moist, wait a few more days to water the Begonia pavonina.
During the summer, you’ll be watering the plant about three times a week.
During the winter, you won’t need to water your plant as much. The cold helps the soil hold some of that moisture for longer.
Temperature
The best temperature range for a Begonia pavonina is between 55F (13C) and 75F (24C).
The plant dislikes hot temperatures all the time, especially warm nights.
Cool nights are best. The temperature at night should be between 54F (12C) and 64F (15C).
But this plant can’t survive freezing temperatures.
Humidity
The humidity for your Begonia pavonina plant should be between 60% and 80%. This plant loves moisture in the air.
Humidity helps your Begonia plant thrive. It also helps your plant grow faster.
The best way to create humidity for your Begonia pavonina involves a tray and some pebbles.
The pebble method is simple. You fill the tray to the top with the pebbles. Then you fill the tray with water, almost to the top. You don’t want the water to cover the pebbles.
Place your plant pot on the pebbles. When the water evaporates, it creates moisture in the air.
Replace the water once it’s gotten low or all has evaporated.
Fertilizer
Begonia pavonina plants thrive on balanced fertilizer. The fertilizer must be balanced in all main nutrients.
It needs 10% of:
- nitrogen
- phosphorus
- potassium
The micro-nutrients in the fertilizer should be:
- calcium
- copper
- magnesium
- molybdenum
Propagation
The main method of propagating a Begonia pavonina plant is through stem cuttings. You can do this in soil or water. It’s a simple process to do.
You’ll learn how to do this process in detail down below.
Growth
A Begonia pavonina plant grows to be about 16 inches in height. And it grows to be around eight inches in width.
The leaves grow between four and six inches in length.
Potting
You’ll have to repot your Begonia pavonina after a year. By then, it will have grown too large for its pot.
You should repot your plant during spring. March is the best month for this task.
Always buy a plant pot that’s only a little bigger than the original pot. If the pot is too large, the roots of your Begonia pavonina plant will become stressed out.
A stressed out plant makes it more susceptible to diseases and pests.
You don’t want to re-pot your Begonia pavonina too much. It’s a fragile plant.

Begonia Pavonina Propagation Steps
Begonia pavonina plants are some of the easiest plants to propagate. Especially with a stem cutting.
In this article, we’re going to learn how to propagate Begonia pavonina stem cuttings in both soil and water.
Propagate Begonia Pavonina in Soil
The very first step is to get your Begonia pavonina stem cutting. This stem cutting needs to be two to four inches in length. You should cut right below a node and it helps if the cutting has at least two leaves on it.
You’ll need a pair of sterilized pruning shears to do this. You can sterilize your shears in isopropyl alcohol.
It works the best and it’s easy to find if you don’t already own a bottle. Once you know what you’re looking for and your shears are ready, cut away.
Now that you have your stem cutting, you’re going to cure it. To cure a stem cutting, let it sit out for seven days in a warm room. This callouses the end of the cutting, which makes it easier to root.
During the seven days that your stem cutting is curing, you can get everything ready. You should get the plant pot (or terrarium) ready. If you’re using a plant pot, make sure it has drainage holes so that excess water can escape. Go ahead and fill the plant pot with the correct soil.
Once the week of curing is over, you can plant the stem cutting. Use your finger to make a hole that’s two or three inches deep. Place the cutting into the soil and pack it around the remaining stem cutting.
There are times when your stem cutting isn’t able to stand straight up by itself. It keeps falling over. You can remedy this situation by tying a straw to the stem cutting.
Now all you have to do is care for it like you do the mother plant. Make sure it’s getting the light and water it needs. It should take about 30 days for the cutting to take root.
Propagate Begonia Pavonina in Water
You need to get your Begonia pavonina stem cutting ready. Before you do, make sure you know the qualities of a perfect cutting. The perfect cutting will be two to four inches in length.
You should cut below a node and it should have two leaves still attached. It needs a node otherwise it’ll rot in the water. To get this stem cutting, you need a pair of sterilized pruning shears.
Again, isopropyl alcohol is perfect for sterilizing the pruning shears. Once everything is ready, go ahead and cut.
Until the clear bowl is ready, you’re going to place your stem cutting into a plastic bag. You need to line the plastic bag with sopping wet paper towels. This is so your stem cutting doesn’t dry out before you get it into the water.
Now you need a clear bowl. Fill the clear bowl with water. It should be about three inches from the top of the bowl. This is what you’re going to use for your stem cutting to start growing in.
Before you place the stem cutting into the bowl, pull any extra leaves from the top end. This helps you differentiate between the top and bottom of the cutting. You don’t want any buds on the cutting so go ahead and remove those as well.
Time to place the stem cutting into the clear bowl. Place the cutting with the bottom end down in the water.
Place the bowl of water in an east or north-facing window. This way it gets plenty of indirect sunlight.
Once a week you need to change out the water. If you let the faucet run into the bowl to fill it, it aerates the water. This is a big bonus because it gives the stem cutting oxygen too. The water shouldn’t be on full blast. You don’t want to hurt your stem cutting.
When the roots of your stem cutting are a few inches long, it’s time to move it to a plant pot.
Fill the pot with the appropriate soil. It’s easiest not to fill the pot all the way up with soil yet. You want the soil down enough that it makes it simple to pack in the roots.
Be careful because the last thing you want to do is injure them. Place the rest of the soil in the plant pot. Pack the soil around the stem cutting.
Now, all you have to do is care for your new infant plant like you would the mother plant. Make sure it’s getting the water, light, and fertilizer needed.
Common Problems with the Begonia Pavonina
Pests love the Begonia pavonina plant. Pests love all Begonia plants. It’s a burden you have to bare caring for one of these plants.
Prevention is your best defense against pests. Check all plants you buy before you bring them into your home. This is your best line of prevention.
But no matter how hard you work to prevent pests, you might still get the uninvited guests.
Whiteflies
Whiteflies are one of the many pests you have to worry about when it comes to your Begonia pavonina.
Whiteflies are related to both aphids and mealybugs. These pests are active during daylight. This is the opposite of most other plant pests.
They have soft bodies. Their wingspans are only about three millimeters in length. They aren’t very big at all.
Whiteflies steal the sap from your Begonia pavonina. When they steal the sap, they’re stealing the important nutrients and water the sap is carrying in its’ cells.
This can prevent photosynthesis and cause many other issues for your plant.
The whiteflies also have toxic saliva that enters your plant once they start feeding off from it.
The toxic saliva causes low turgor pressure. Low turgor pressure results in a shriveled and wilted plant.
Thrips
Another annoying pest that attacks Begonia pavonina plants is thrips.
You think the whiteflies are small? Well, thrips only grow to be about one millimeter in length.
Thrips also suck the sap from your plant to feed and they also have toxic saliva.
The toxins in their saliva rupture your plant’s cells. When the cells rupture, your Begonia pavonina plant becomes sick.
But this isn’t even the worst of a thrip infestation. Thrips are known for carrying many viruses.
They feed on a plant that carries the virus. Then they move on to another plant to feed off it.
When their saliva is introduced to the inside of the plant, they pass the virus on.
Mealybugs
The most common pest in a Begonia pavonina plant is mealybugs. Mealybugs are the pests that make it look like your plant’s covered in cotton.
Mealybugs are unarmed soft-bodied bugs. Their only protection is the cotton-like material that surrounds them.
This covering prevents moisture from escaping the mealybug. It also prevents the pest from over-heating.
Like with most plant pests, mealybugs steal the sap from your Begonia pavonina plant. You’ll find them under the leaves.
There are several safe and natural ways to get rid of these pests. Many methods won’t harm your plant whatsoever.
Our favorite method is to use neem oil. It’s all-natural and most plants can tolerate it. It suffocates pests.
You spray your plant down with the neem oil. After a few minutes, you should be able to wipe off all the dead bugs.
Tips for an Unhappy Begonia Pavonina
Begonia pavoninas are prone to many different plant diseases and conditions. You always want to keep a close eye on the plant.
With dedication, you can keep your plant alive and happy. We’re going to go over a few tips for an unhappy Begonia pavonina.
Your Begonia Pavonina has a Powdery Mildew
Powdery mildew on your Begonia pavonina happens. When your plant is in warm and dry conditions for too long, the mildew develops.
This is different than other fungal diseases.
The disease covers your plant’s leaves with dusty mildewy spots. The leaves will turn yellow and dry up.
The spores get blown by the wind, spreading the disease to your plant and your other plants.
There are several species of this disease. But they all look and act the same.
This condition can slow the growth of your Begonia pavonina.
You can try neem oil to treat the powdery mildew. Neem oil is an all-natural fungicide and pesticide.
You also need to remove all the affected leaves to prevent the spores from spreading.
Your Begonia Pavonina has Soft Brown Rot
Soft brown rot on your Begonia pavonina indicates that it has Botrytis Blight. Botrytis Blight is a gray mold.
It’s caused by the fungus Botrytis cinerea. Your plants get it from being in cold and wet environments for too long.
This soft brown rot can be on your leaves or your stem. There will also be a fuzzy gray mold scattered on the leaves. Sometimes there are even watery lesions.
Blight often attacks injured or already sick plants.
It doesn’t take long for this fungal disease to take your plant down. The fungus multiplies fast.
To treat your Begonia pavonina plant for Blight, remove all infected leaves first.
In extreme cases, you’ll need to use chemical fungicides.
Your Begonia Pavonina Has Blisters Under the Leaves
Blisters under the leaves on your Begonia pavonina are a sign of Bacterial Leaf Spot. This is a dangerous plant disease.
When your plant stays wet for too long, nasty bacteria form. These bacteria reproduce and they reproduce fast.
Since the bacteria reproduce so quickly, Bacterial Leaf Spot spreads quickly.
The spots caused by Bacterial Leaf Spot vary from plant to plant. Some are blister-like lesions. Other plants have brown spots with a yellow halo.
To treat this awful plant disease, you need to remove the affected leaves right away. This will stop the disease from spreading.
If the Bacterial Leaf spot has spread too far, there isn’t much you can do to fix the situation. You might have to throw your plant out.
Varieties of Begonias
There are several impressive Begonia plant species. Some look like your average houseplant. While others stand out more with their flowers.
These are only a few of our favorite Begonia species. There are many more we love.
Begonia burkillii
The Begonia burkillii has long spherical green leaves. The white veins make interesting patterns. It’s one of your standard Begonia houseplants. It goes with most other types of plants.
Begonia x tuberhybrida
This hybrid plant loves hot, hot weather. This is unlike most other Begonias. It produces pretty flowers. The colors of the flowers vary from plant to plant, depending on how they were cultivated.
Begonia semperflorens
Begonia semperflorens is also known as the “Charm Begonia”. This plant is amazing. It’s variegated with bright yellow designs that mix with the green on the leaves. They also sprout beautiful waxy pinkish-red flowers.
Begonia Richmondensis
This Begonia plant color-shifts from different angles, much like the Begonia pavonina. It’s always blooming. It has either pink or red flowers.
Begonia aconitifolia x Begonia coccinea
Another Begonia hybrid, this plant has a long stem. The leaves zig-zag in shape, making them fun to look at. The plant also creates flowers to bring some love into your home.
Begonia Pavonina FAQ
Why are there weird yellow patterns popping up on the leaves of my Begonia pavonina?
If your Begonia pavonina has yellow mosaic patterns, it has some type of plant virus. There are so many types, it’s hard to say which is affecting your plant. But you treat all the viruses the same.
Can I transplant my mature Begonia pavonina?
You should only transplant a mature Begonia pavonina plant when it needs a bigger pot. However, you want to do this as little as often. The roots are sensitive and don’t always take well when moved.
Why does my Begonia pavonina have sunken spots on the leaves?
Sunken spots on your Begonia pavonina plant aren’t a good sign. This means your plant has impatiens necrotic spot virus. This virus is usually transmitted by the pest thrips.
Why can’t I mist the leaves of my Begonia pavonina to create humidity?
Misting the leaves of a Begonia pavonina can cause powdery mildew. The mildew comes from fungal pathogens. They’re sensitive to fungal diseases.
Conclusion
Begonia pavonina plants are a favorite houseplant for a reason. The Begonia genus creates several gorgeous plants that light up any home.
The problem is you have to be careful caring for one of these plants. They’re picky so knowing the proper care is a must.