
Image credit: Fine Gardening
In gardening, ensuring your plants receive the right amount of water without overdoing it or wasting this precious resource can be a bit of a balancing act. This is where drip irrigation systems come into play, offering a solution that benefits your garden’s health and convenience.
Based on a comprehensive and insightful video by Fine Gardening, this article delves into the essentials of setting up a drip irrigation system and highlights its simplicity and effectiveness.
Getting Started at the Faucet
The journey to a self-watering garden begins at your water source. The initial setup includes attaching a filter to prevent system clogs and a pressure regulator to adjust water pressure to an optimal level for the drip system. A timer is also crucial, ensuring the system only runs as needed and conserves water. All these components connect easily, akin to attaching a hose, making the setup process straightforward and user-friendly.
Laying Out the Mainline
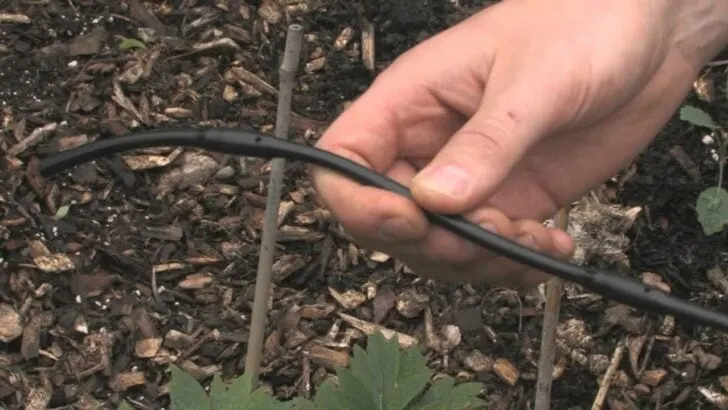
The backbone of your drip irrigation system is the 1/2 inch mainline tubing, which transports water throughout your garden. Connecting this tubing to various components is made effortless by softening the ends in hot water, allowing for a snug fit on fittings. The tubing can be laid out along your garden beds, secured in place with hold-downs, and easily adjusted or expanded with elbows and tees for corners or new branches.
Installing Emitters
Emitters are pivotal in directing water from the mainline to your plants. Installing them is as simple as punching a hole in the tubing at the desired location and popping the emitter in. For areas or plants requiring more precise watering, tubing with built-in emitters, available with different spacing options, can be woven around plantings. This flexibility ensures each plant receives the right amount of water, enhancing growth without promoting weed development.
If you encounter any errors while placing emitters, such as misjudging a plant’s watering needs, goof plugs come to the rescue, allowing you to seal unwanted holes easily.
Addressing Container Gardens
Drip irrigation can also revolutionize how you water container gardens. Attaching quarter-inch tubing without built-in emitters to the mainline and running it into containers allows you to connect this to emitter tubing around the container’s rim. This method ensures your potted plants receive consistent moisture, just like the rest of your garden.
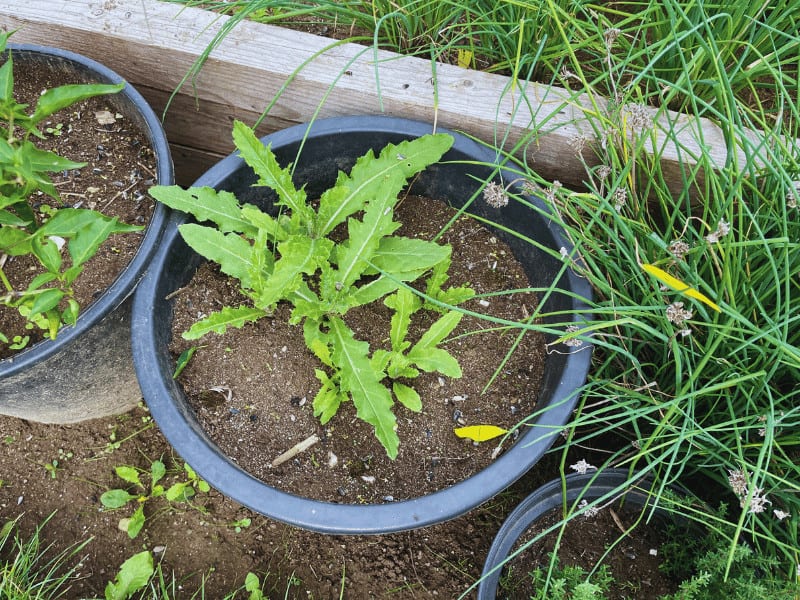

You don’t have to wait for garden beds to become ready. You can get started in containers.
Seasonal Maintenance and Conclusion
Capping the end of your system is crucial for maintenance and winter preparation. Options include fittings that can be easily drained at the season’s end or a simpler figure-eight cap that allows for quick disassembly and draining. Besides removing the filter and timer during winter, the system requires minimal upkeep and must stand ready for the next growing season.
Establishing a drip irrigation system is straightforward and a transformative step towards more efficient and effective gardening. By automating the watering process, you save time and ensure your plants thrive with the precise amount of water they need when they need it.
For anyone considering this smart gardening upgrade, the video by Fine Gardening demystifies the process and shows just how accessible and beneficial drip irrigation can be for gardeners of all levels.
Credits
This content is based on a video by Fine Gardening.


Daniel has been a plant enthusiast for over 20 years. He owns hundreds of houseplants and prepares for the chili growing seasons yearly with great anticipation. His favorite plants are plant species in the Araceae family, such as Monstera, Philodendron, and Anthurium. He also loves gardening and is growing hot peppers, tomatoes, and many more vegetables.