

Early February is when the garden looks quiet, but your best decisions happen now. Most people jump straight to seed catalogs, then miss the small planning steps that prevent wasted money and spring frustration. Let’s focus on the overlooked basics, like checking what actually survived winter, mapping your sun and shade, and spotting space you can reclaim.
Do these first, and your planting list finally matches your yard, your energy, and your goals.
1. How to Mine Last Year’s Notes and Photos for Quick Wins


Last year’s notes and photos are your fastest planning tool in early February. They show what actually happened, not what you hoped would happen.
Pull up pictures from late spring through fall and zoom in on the details. Look for where plants flopped, leaned, or vanished, which often points to low light, wind, deer, or dry soil.
Then scan your notes for repeat problems, like powdery mildew on bee balm, tomatoes that split after rain, or a bed that dried out every July. Write three quick fixes beside each issue, like moving one pot, adding a simple trellis, or switching to drip so watering stays steady.
Also flag your biggest surprises, like a salvia that bloomed nonstop or a zinnia that never mildewed. Those are your proven winners, so mark them for repeats and take a few minutes to note where they were planted and when they peaked.
🔎 The “Zoom In” Checklist
- Flop or lean: Mark it as a support problem, not a “bad plant.” Plan one stake, ring, or short trellis.
- Vanished plants: Circle likely causes like deer, rabbits, heat, or winter loss. Add one change such as a cage or tougher replacement.
- Thin bloom: Look for shade creep from trees or shrubs. Note one move to brighter light, even if it is just a few feet.
- Leaf trouble: Match the photo to the pattern, mildew, spots, or chew marks. Write one prevention step you can do early.
- Water drama: Flag any bed that cracked, wilted, or split fruit after storms. Decide on mulch, drip, or a simple soaker hose.
Bonus Tip: When you spot a “winner,” add a note that starts with “Repeat because…” and finish the sentence. It makes future decisions much easier.
2. How to Map Sun and Shade Now for Smarter Garden Beds


Winter light is deceptive, so map sun and shade before you place beds. A quick sketch now saves you years of moving plants later.
On a clear day, step outside three times, late morning, midafternoon, and near sunset. Mark the sunny patches and the long shadows from trees, fences, and your house on a simple yard map.
Notice spots that get six or more hours of direct sun, those are prime for tomatoes, peppers, and most cut flowers. Areas with three to five hours are better for leafy greens, parsley, and many herbs. Deep shade usually means a mossy corner or a resting bench, not a productive vegetable bed.
🧭 A quick light check that pays off for years
- Best day: Choose a clear day, clouds can blur the true edges of shade.
- Simple map: Print a satellite view or sketch your yard outline, then add big features like the house, trees, and fences.
- Three check-ins: Mark sun and shade late morning, midafternoon, and near sunset to catch long winter shadows.
- Sunny threshold: Circle areas with 6+ hours for fruiting crops like tomatoes, peppers, cucumbers, and zinnias.
- Part-sun plan: Label 3 to 5 hour zones for lettuce, spinach, parsley, chives, and many perennial herbs.
- Future-proof note: Add a reminder that spring and summer sun will reach farther than winter sun.
Bonus Tip: Use small yard flags to mark your sunniest spots, then take a photo. It becomes your planting cheat sheet.
3. How to Measure Beds and Calculate What to Plant


Bed measurements turn wish lists into a real planting plan. A quick sketch saves money and prevents overcrowding.
Measure the inside planting space, not the outside frame. Write down length and width for each bed, then multiply to get square feet.
Use your seed packet spacing to calculate how many plants fit. Example: if lettuce needs 8 inches each way, you can estimate about 2 plants per square foot.
Keep a little breathing room for paths, supports, and the plants that sprawl. Leave at least 10 to 20 percent of each bed open so you can tuck in herbs or replacement seedlings later.
🧮 A quick bed math cheat sheet
- Measure inside edges: Use the true planting space, not the outside wood frame.
- Square feet: Length (ft) x width (ft) gives you your usable area for that bed.
- Spacing to plants: If spacing is about 12 inches, plan roughly 1 plant per square foot.
- Closer spacing example: At 8 inches each way (like many lettuces), estimate about 2 plants per square foot.
- Hold-back space: Leave 10 to 20 percent open for supports, paths, and a few “insurance” replacements.
Bonus Tip: Make one simple bed map on paper and keep it in a zip bag. It saves you from re-measuring in the wind.
4. Set a Seed Starting Calendar From Frost Dates and Lead Times

Your last spring frost date is the anchor for every seed starting decision. Lead times tell you how many weeks each crop needs indoors before planting out.
Look up your average last frost date for your ZIP code, then write it at the top of a simple paper calendar. On each seed packet, find “start indoors X weeks before last frost” and count backward to mark a start date.
Add two extra notes beside each crop, a hardening off week and a transplant window, so you do not rush tender seedlings outside. If a crop lists a long lead time (like peppers), consider shifting it a week later if you have limited light, since leggy seedlings are harder to fix than a slightly smaller plant.
🗓️ Count backward, then add a safety buffer
- Find your anchor: Write your average last frost date at the top of your calendar.
- Count back: Use the packet’s “start indoors X weeks before last frost” and mark the sowing week.
- Add hardening off: Block 7 to 10 days before transplanting for outdoor adjustment.
- Mark a window: Give yourself a 1 to 2 week transplant range, not one perfect day.
- Light reality check: If you have weak window light, start long-lead crops (like peppers) a week later.
Bonus Tip: Put a sticky note on each tray with the crop name and the target “plant out” week. It stops mix-ups fast.
5. Order Seeds Early and Choose Varieties That Fit Your Region
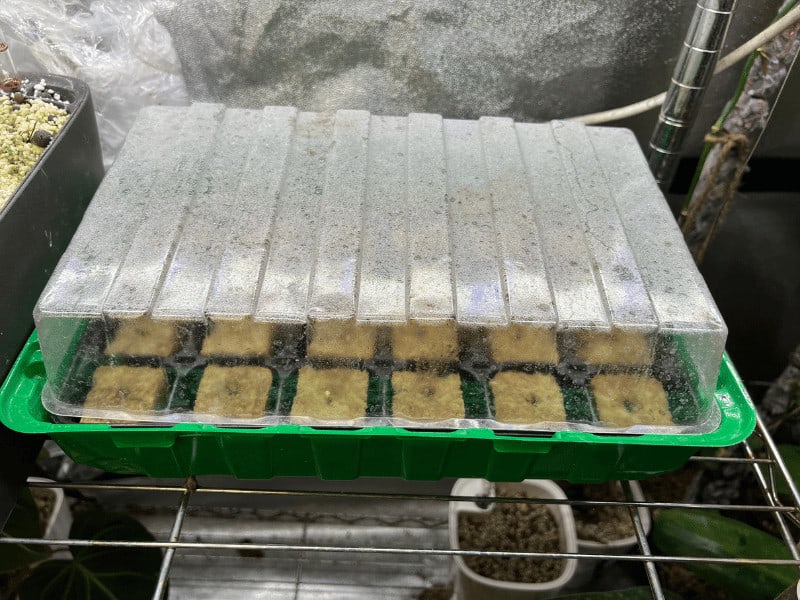
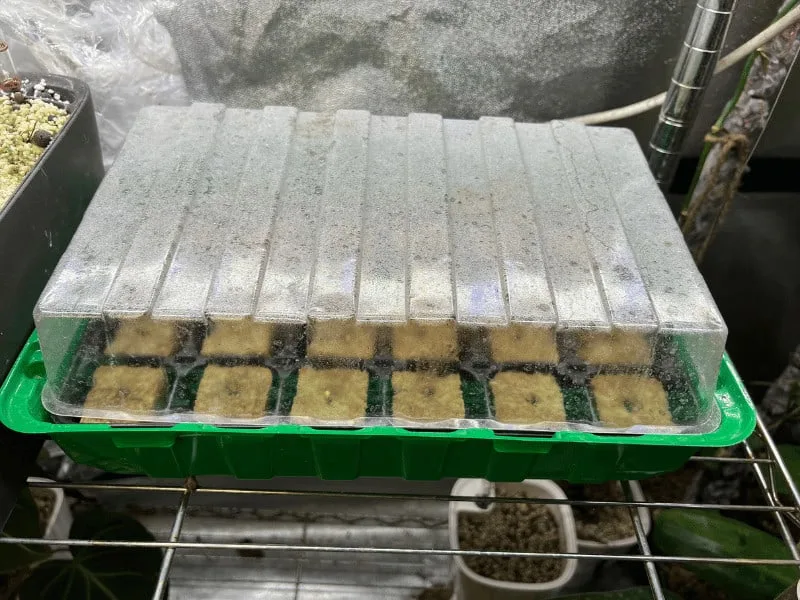
Seedling tray
Early February seed racks can look full, but the best varieties sell out fast. Order now so you get the exact cultivars you want.
Start with what actually performs in your area. Look for wording like heat tolerant, short season, bolt resistant, or downy mildew resistant on the packet or catalog listing.
Use your region as the filter, not the photo. A tomato bred for cool nights can struggle in hot, humid summers, while a southern favorite may stall in a short growing season.
Stick with reliable workhorses for most of your garden. Add one or two new-to-you varieties as experiments, and label them clearly so you can judge them at harvest.
If you are unsure, choose widely proven classics. Think ‘Provider’ bush bean, ‘Celebrity’ tomato, ‘Better Boy’ tomato, and ‘Black Seeded Simpson’ lettuce.
🧾 A quick seed-order checklist
- Order timing: Buy now so you do not lose your first choice when popular packets sell out.
- Packet clues: Prioritize words like short season, heat tolerant, bolt resistant, and disease resistant.
- Match your conditions: Think about summer heat, humidity, cool nights, and your typical first fall frost.
- Reliable staples: Make most of your garden proven performers, then add one or two “just for fun” varieties.
- Label experiments: Write the variety name and planting date, then note taste and yield at harvest.
Bonus Tip: If a catalog says “widely adapted,” it is often a safer choice when you are still learning what thrives in your yard.
6. How to Sketch a Crop Rotation Plan That Reduces Pests

Crop rotation breaks pest and disease cycles in your garden beds. A simple sketch now saves headaches in summer.
Start by grouping vegetables by family, like tomatoes and peppers (nightshades), beans and peas (legumes), cucumbers and squash (cucurbits), and cabbage and broccoli (brassicas). Draw your beds on paper and label what grew where last year, even if you only remember the big ones. Then plan to move each family to a different bed this season, and keep the same family out of that spot for at least 3 years.
If you only have two beds, rotate between “fruiting crops” (tomatoes, peppers, squash) and “leaf and root crops” (lettuce, carrots, beets), and add beans where you can. Keep notes in a cheap notebook or on the back of your seed order so you do not have to guess next February.
💙 Make pests “lose the map”
- Start with families: Nightshades, legumes, cucurbits, and brassicas are the big four to track.
- Use bed nicknames: Label beds A, B, C, and D, or “Fence Bed” and “Porch Bed” so notes stay clear.
- Circle problem spots: Mark where you saw blight, squash bugs, or cabbage worms last year. Keep those families away longer.
- Aim for 3 years: Try not to repeat a plant family in the same bed for at least three seasons.
- Two-bed shortcut: Rotate “fruiting crops” and “leaf plus root crops”, then tuck beans in where you have space.
Bonus Tip: Write the rotation on an index card and tape it inside your seed box. Next February you will thank yourself.
7. How to Plan Succession Sowings for Longer Harvests


Planting broccoli in raised garden beds with fences will help keep the rabbits from eating its leaves
Succession sowings keep your harvest coming instead of ending all at once. A simple schedule now saves you stress later.
Pick crops that grow fast, like lettuce, radishes, spinach, and bush beans. Then write two or three sowing dates on your calendar, spaced about 10 to 14 days apart for greens, and about 2 to 3 weeks apart for beans.
Use your seed packet “days to maturity” as a guide, but plan around weather too. In early February, map where each wave will go so you are not planting into a bed that is still full. Save a little seed for a backup sowing if a cold snap, rabbits, or poor germination thins the first round.
📅 A simple sowing schedule that works
- Pick “repeat” crops: Choose fast growers like lettuce, spinach, radishes, and bush beans.
- Set your spacing: Sow greens every 10 to 14 days. Sow beans every 2 to 3 weeks.
- Map your beds: In February, sketch where wave one, two, and three will go so you do not double book a spot.
- Hold back seed: Save a small amount for a quick re sow if cold, rabbits, or weak germination hits.
- Use maturity days wisely: Treat “days to maturity” as a guide. Adjust for chilly weeks that slow growth.
Bonus Tip: Put a plant label in the bed with the sowing date. It makes timing the next round much easier.
8. Choose What to Start Indoors vs Direct Sow

Starting everything indoors sounds efficient, but it usually creates extra work. A simple split plan saves space, potting mix, and time.
Start indoors only the plants that need a long runway, like tomatoes, peppers, eggplant, and many flowers such as snapdragons. Direct sow the seeds that dislike root disturbance or grow fast, like peas, beans, carrots, beets, spinach, and radishes.
If a seed packet says “transplant carefully” or “does not transplant well,” treat that as a big hint to sow outside. If it says “start indoors 8 to 10 weeks before last frost,” that is your indoor candidate. Keep a short list on paper so you do not accidentally start three trays of things that would have done better in the ground.
💡 A quick “seed packet” decision trick
- Indoor winners: Long-season crops like tomatoes, peppers, and eggplant, plus many slow-start flowers.
- Direct sow stars: Fast growers and fussy roots, like peas, beans, carrots, beets, spinach, and radishes.
- Packet clue #1: If it says “start indoors 8 to 10 weeks before last frost,” put it on the indoor list.
- Packet clue #2: If it says “does not transplant well” or “transplant carefully,” plan to sow it outside.
- Work-saver habit: Keep one short written list for indoor starts, so you do not overdo trays and potting mix.
Bonus Tip: If you are on the fence, direct sow a small row and start one tiny indoor backup. It spreads risk without doubling your workload.
9. Check Seed and Bulb Storage and Run a Quick Germination Test

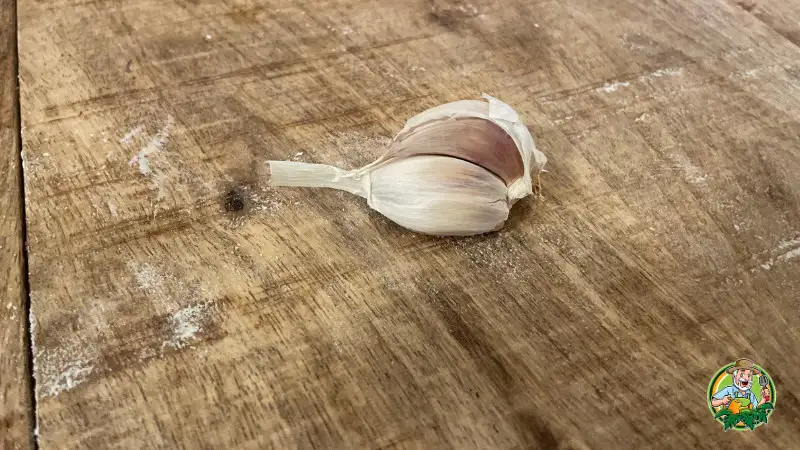
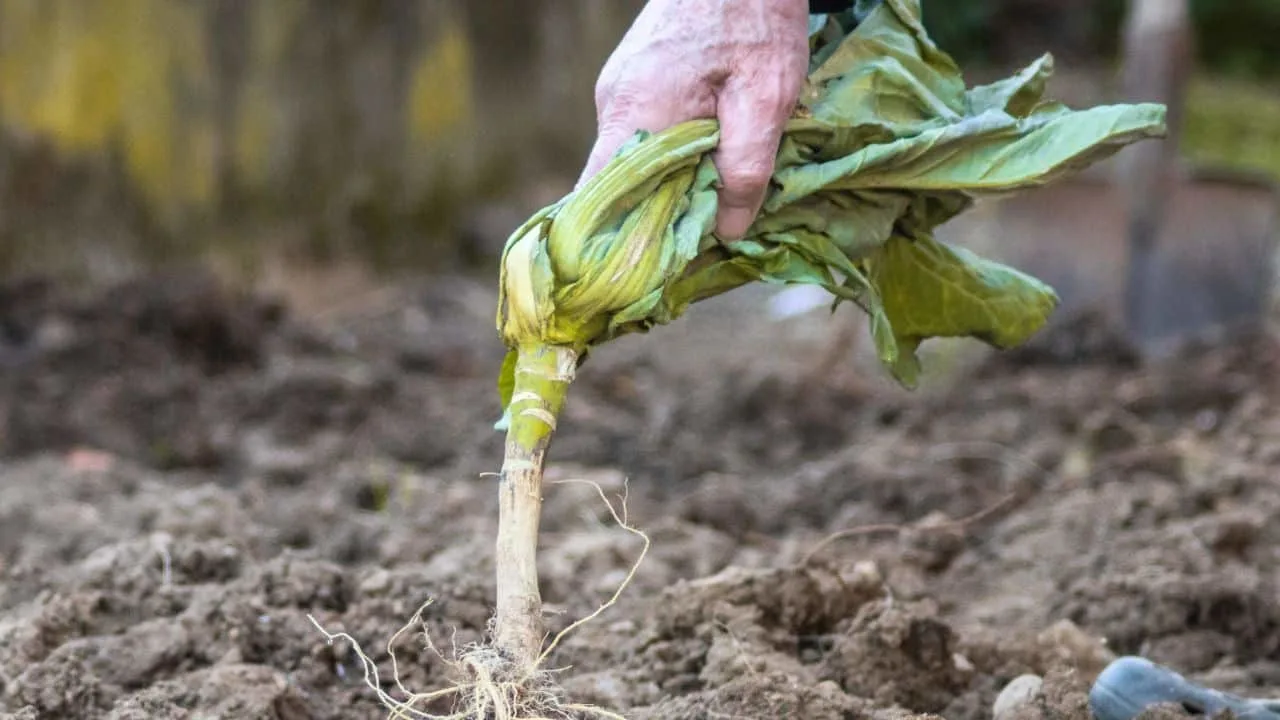
Fresh garlic bulb on rustic wooden table, ideal for cooking and garden planting.
Old seeds and stored bulbs can fail quietly after winter. A simple check now prevents wasted space in spring beds.
Open each seed packet and look for moisture, clumps, or a musty smell. Good seeds feel dry and pour freely, and they should be stored cool, dark, and dry in a tightly closed jar or bin.
For a fast germination test, place 10 seeds on a damp paper towel, fold it, and seal it in a labeled plastic bag. Keep it warm indoors and check daily, then count how many sprout to estimate your success rate (7 out of 10 is about 70 percent).
Inspect bulbs and tubers for soft spots, mold, or shriveling. Keep the firm ones, and discard anything mushy or with spreading rot because it can ruin the rest.
🔎 Quick viability check, no guesswork
- Moisture check: Seeds should feel dry and flow freely. Any clumping often means damp storage.
- Smell test: A musty odor can signal mold. Move those packets out of your main stash.
- 10 seed test: Use 10 seeds on a damp paper towel in a labeled bag. It makes the math easy.
- Warmth matters: Keep the bag warm indoors, like on top of the fridge. Check daily so sprouts do not rot.
- Bulb sorting: Keep firm bulbs and tubers. Toss anything mushy, moldy, or leaking because rot spreads.
Bonus Tip: If a packet tests under 50 percent, either sow thicker outdoors or replace it now while popular varieties are still in stock.
10. Make a Soil and Compost Shopping List for Seed Starting

Seed starting goes smoother when soil and compost are on hand before you sow. A simple list also keeps you from buying the wrong bag.
Write down what you need by container type, like cell trays, 4 inch pots, or soil blocks, because each uses a different volume of mix. For most indoor sowing, buy a fresh, fine textured seed starting mix and skip heavy garden soil, which can stay wet and cause damping off.
Add compost only if you plan to blend it lightly into potting mix for larger transplants, because straight compost can be too rich for tiny seedlings. Include practical extras, like bottom trays, humidity domes, plant labels, and a small bag of perlite or vermiculite if your mix needs better drainage. Put one note at the top, check for fungus gnats and moldy smell before you leave the store, because old, wet bags can be trouble.
🛒 A quick cart check before you buy
- Seed-starting mix: Choose a fresh, fine-textured bag, it should feel light and crumbly.
- Compost plan: Only buy compost if you will blend a little into potting mix for bigger transplants.
- Drainage helper: Add perlite or vermiculite if your mix seems dense or stays wet.
- Container math: Note how many trays, 4 inch pots, or soil blocks you will fill, then estimate the volume.
- Store sniff test: Skip bags with a sour smell, visible mold, or lots of tiny flying gnats.
- Little essentials: Grab bottom trays, a humidity dome, and labels so you are not improvising later.
Bonus Tip: Write “buy smaller, fresher bags” at the top of your list, old opened mix is a common seedling setback.
11. Turn This Week’s Plan Into a Calmer Spring Garden


Pick one small win today, map your sun and shade, or test a few seeds, and write down what you learn. Then set your seed starting dates, order the varieties you trust, and keep everything in one simple notebook or folder. Finish by measuring your beds and making a short supply list, so you buy only what you will truly use.
When planting time comes, you will already know where things go, how much to plant, and what to start indoors versus direct sow.
Frequently Asked Questions About Early February Garden Planning Steps, What Most People Miss
1. How do I find my average last frost date in the US?
Use your ZIP code on a trusted garden or weather site that lists frost dates, then note the average last spring frost. Treat it as a guideline, not a promise, because spring weather can swing widely. Keep a backup plan like row cover or frost cloth for surprise cold nights.
2. What vegetables are worth starting indoors in February?
Start slow growers like onions from seed, leeks, celery, and herbs like parsley. Peppers can also be started now if you have warm, bright conditions. Many other vegetables can wait until later, based on your frost date.
3. How many seeds should I order for a small raised bed?
Count how many plants you actually have space for, using the spacing on the packet. Plan for extra seed to cover uneven germination and thinning, usually 25 to 50 percent more. For crops like carrots and lettuce, one packet often goes a long way.
4. How do I do a simple germination test at home?
Place 10 seeds on a damp paper towel, fold it, and seal it in a labeled plastic bag. Keep it warm and check daily, then count how many sprout by the normal packet timeframe. If 7 sprout, you have about 70 percent germination, so sow a little thicker.
5. Is crop rotation necessary in raised beds?
It still helps, especially for plant families that share pests and diseases, like tomatoes, peppers, and eggplant. If you only have one or two beds, rotate by plant family and refresh with compost each season. Good sanitation and healthy soil often matter as much as rotation.
6. What’s the easiest way to plan succession planting for beginners?
Pick one fast crop like lettuce or radishes and sow a small amount every 2 weeks. Use a simple note on your calendar to repeat the sowing dates. Stop when heat makes the crop bitter or when you run out of space.
7. Do I need grow lights for starting seeds indoors?
A bright windowsill rarely gives enough light for sturdy seedlings in late winter. Basic LED shop lights work well if kept close to the seedlings and raised as they grow. Without enough light, seedlings get tall, thin, and weak.
8. How can I plan a garden that’s easier on my knees and back?
Use taller raised beds or containers so you can work from a seat or standing position. Keep paths wide and firm, and put the most used crops near the edge for easy reach. Choose long handled tools and a kneeling pad or garden seat to reduce strain.


Daniel has been a plant enthusiast for over 20 years. He owns hundreds of houseplants and prepares for the chili growing seasons yearly with great anticipation. His favorite plants are plant species in the Araceae family, such as Monstera, Philodendron, and Anthurium. He also loves gardening and is growing hot peppers, tomatoes, and many more vegetables.