
Your garden does not stop producing just because your fridge is full. Late summer has a way of overwhelming even the most organized gardener, with baskets of tomatoes on the counter, herbs spilling over the cutting board, and cucumbers hiding in the crisper. The thrill of harvest quickly shifts into a quiet panic — how do you keep it all from going soft before you can enjoy it?
The answer is simple: preserving. It is the bridge between the rush of August and the comfort of winter. From quick freezer hacks to age-old cellar tricks, there are plenty of ways to stretch today’s abundance into tomorrow’s meals. Let’s walk through seven of the smartest methods that will save your harvest before it slips away.
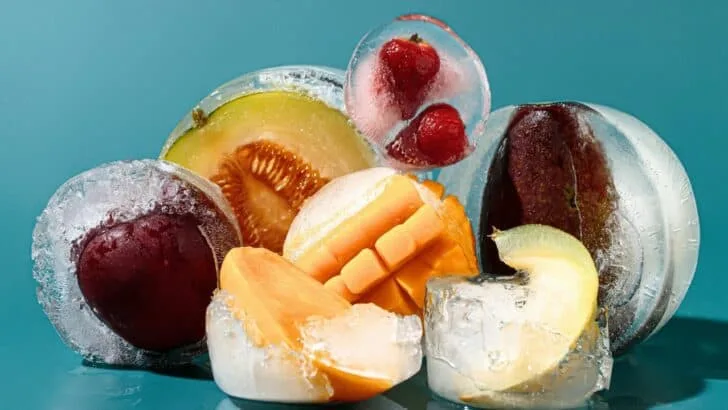
1. Freezing for Instant Freshness

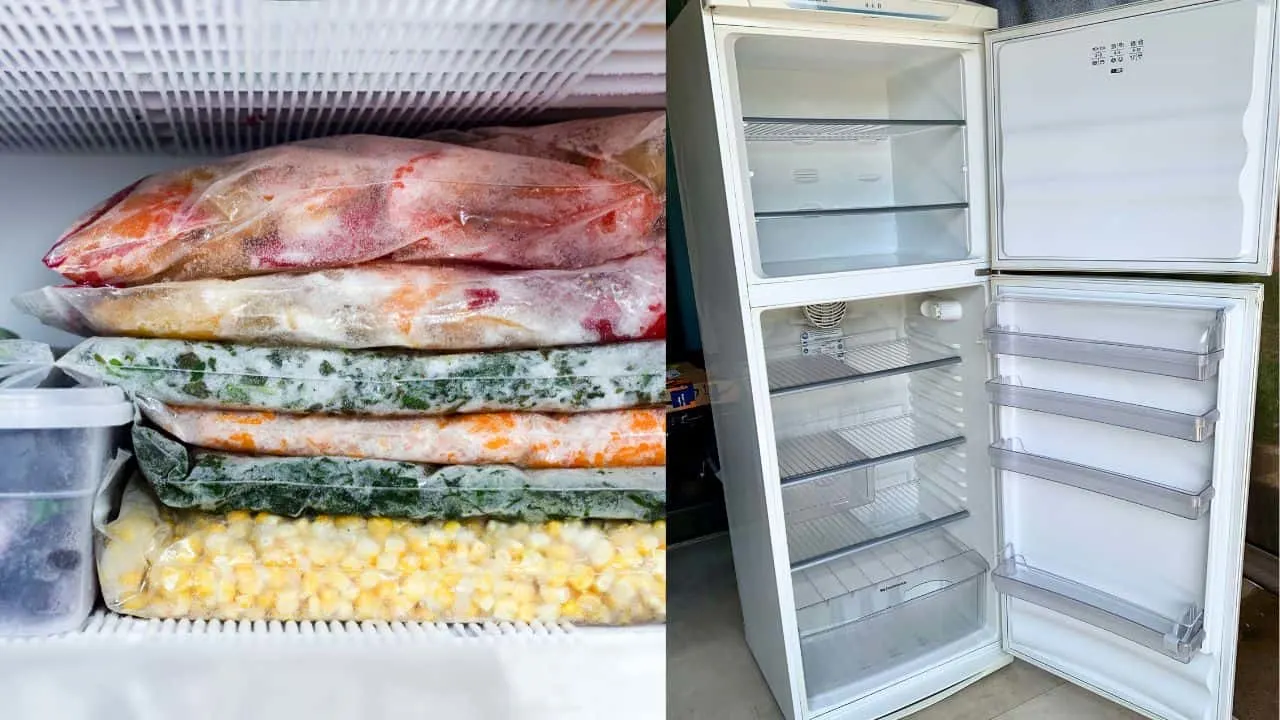
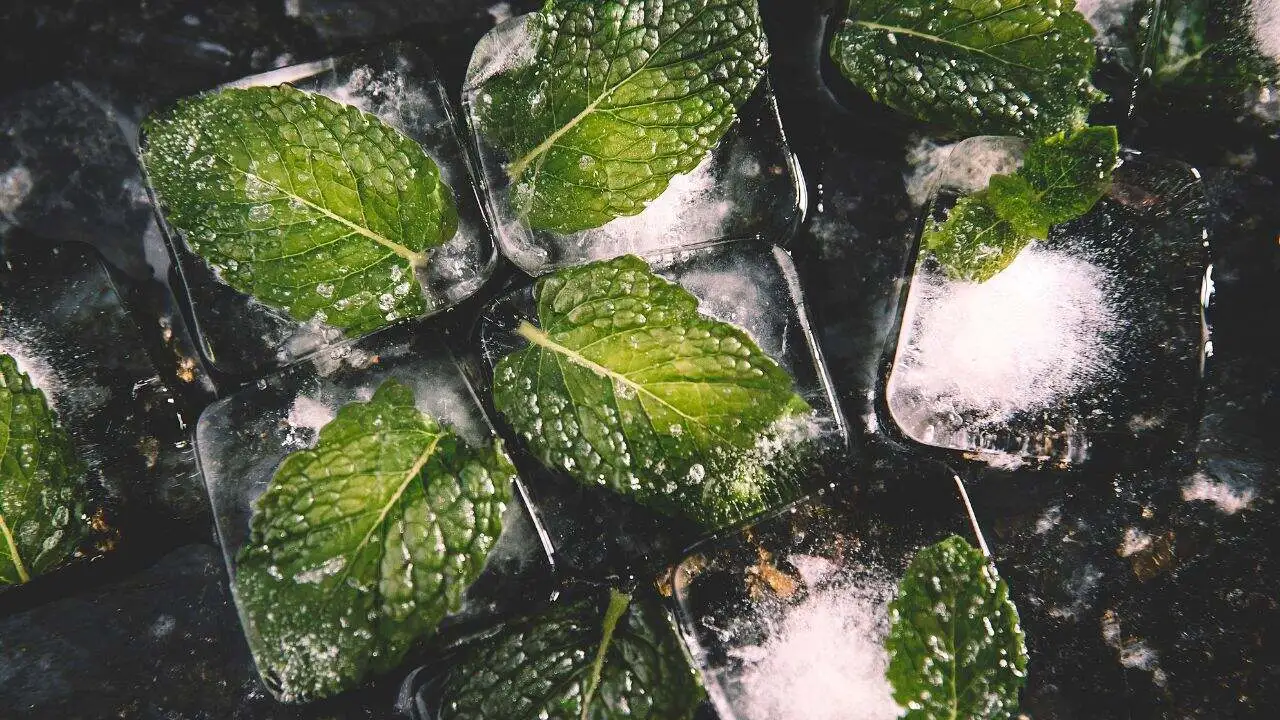
When the kitchen counter is buried under herbs, beans, or peppers, the freezer is your best ally. Freezing locks in flavor and nutrients with very little effort. Herbs like basil, parsley, and cilantro can be chopped and packed into ice cube trays with water or olive oil. Once frozen, you pop them out and drop them straight into soups and sauces all winter long.
Vegetables such as beans, broccoli, or spinach benefit from a quick blanch before freezing. This step halts enzymes that cause flavor loss and preserves their bright color. Peppers are even easier — slice them up raw and bag them, no blanching required. The freezer keeps the garden alive in its own icy pause button.
- Use freezer-safe bags or containers to avoid frost damage.
- Label everything with the date so you don’t lose track.
- Blanch most veggies for 2–3 minutes, then plunge into ice water before freezing.
2. Canning for Pantry Power

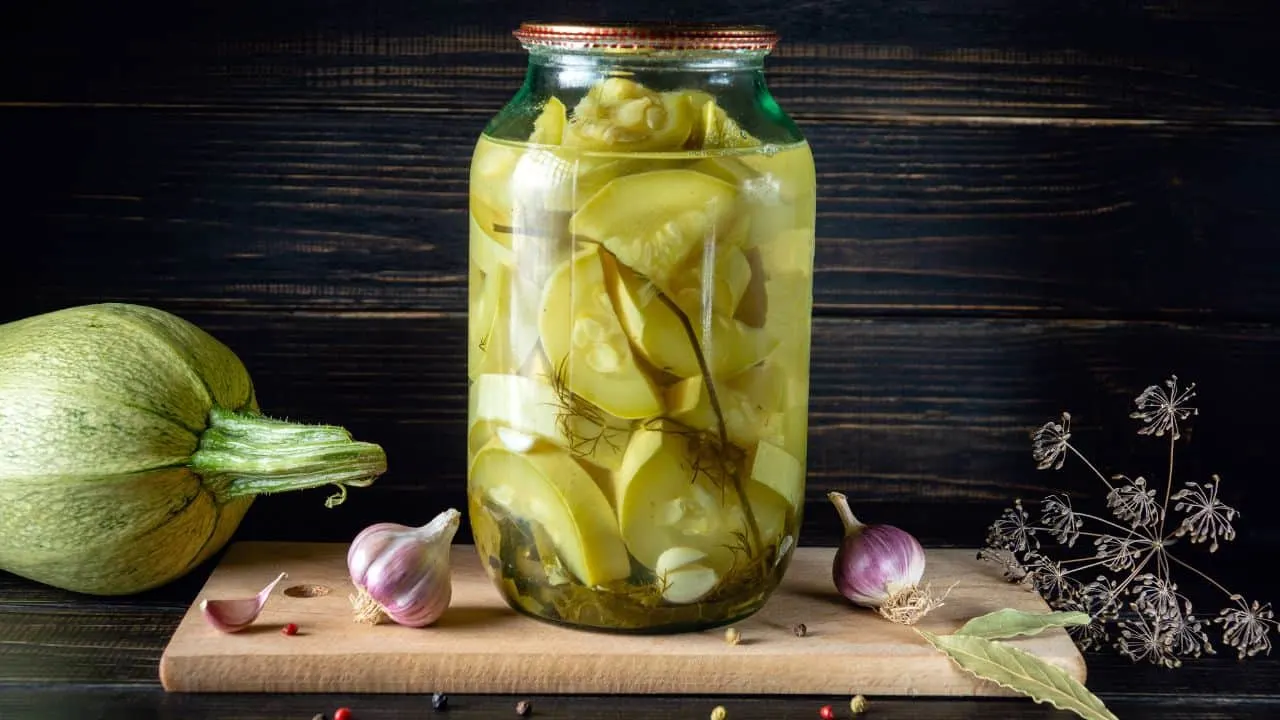
If the freezer is your short-term fix, canning is your long-term insurance policy. A properly canned jar can sit on your pantry shelf for a year or more, giving you homegrown flavor when the garden is frozen solid outside. The beauty of canning is its range — you can turn tomatoes into rich sauces, cucumbers into crisp pickles, or fruit into jewel-colored jams.
There are two main canning methods. Water bath canning is perfect for high-acid foods like tomatoes, pickles, and jams. Pressure canning, on the other hand, is required for low-acid vegetables, meats, and beans to keep them safe from bacteria. Both require some setup, but once you get the rhythm, your pantry becomes a treasure chest of preserved harvests.
- Water Bath: Best for acidic foods like tomatoes, jams, and pickles.
- Pressure Canner: Safe option for beans, corn, and low-acid veggies.
- Always sterilize jars and follow trusted recipes to ensure food safety.
3. Drying and Dehydrating

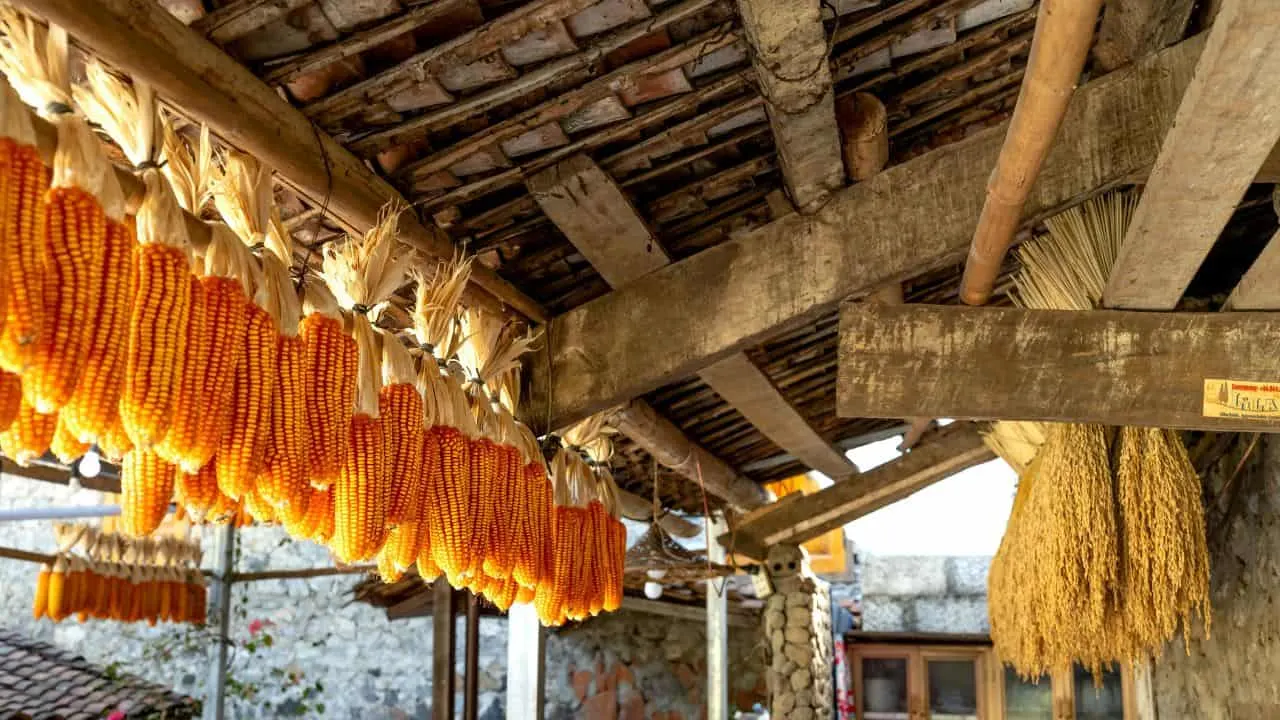
If your freezer is packed and canning feels like too much work, drying is the oldest and easiest way to make food last. Removing water stops bacteria and mold in their tracks, leaving behind concentrated flavor that keeps for months. Dried food also takes up almost no space, which makes it perfect for gardeners who are short on storage.
There are a few different ways to do it. Air-drying works best for herbs like oregano, thyme, and rosemary — simply tie them in small bundles and hang them in a dry, breezy spot out of direct sunlight. Oven-drying is a good option for sliced fruits and veggies like apples, tomatoes, or peppers; you spread them on a baking sheet and keep the oven at its lowest setting with the door slightly open. Dehydrators take it up a notch by circulating warm air evenly, letting you dry everything from zucchini chips to fruit leather with consistent results.
The beauty of drying is the variety: you can make chewy apple chips from orchard apples, tangy sun-dried cherry tomatoes from late-season harvests, or crispy zucchini chips from that never-ending glut. Even hot peppers can be dried into flakes for homemade chili spice. The trick is to keep your dried produce in airtight containers away from moisture — a glass jar in a dark cupboard is usually perfect.
- Air-Dry: Best for sturdy herbs. Tie bundles and hang upside down in a ventilated area.
- Oven-Dry: Low heat (140–170°F) for 4–8 hours depending on thickness. Try apple slices, tomato halves, or peppers.
- Dehydrator: Most reliable method for even drying and larger batches — zucchini chips and fruit leather turn out especially well.
- Always cool completely before sealing to prevent hidden moisture from spoiling your jars.
4. Fermentation for Flavor and Gut Health

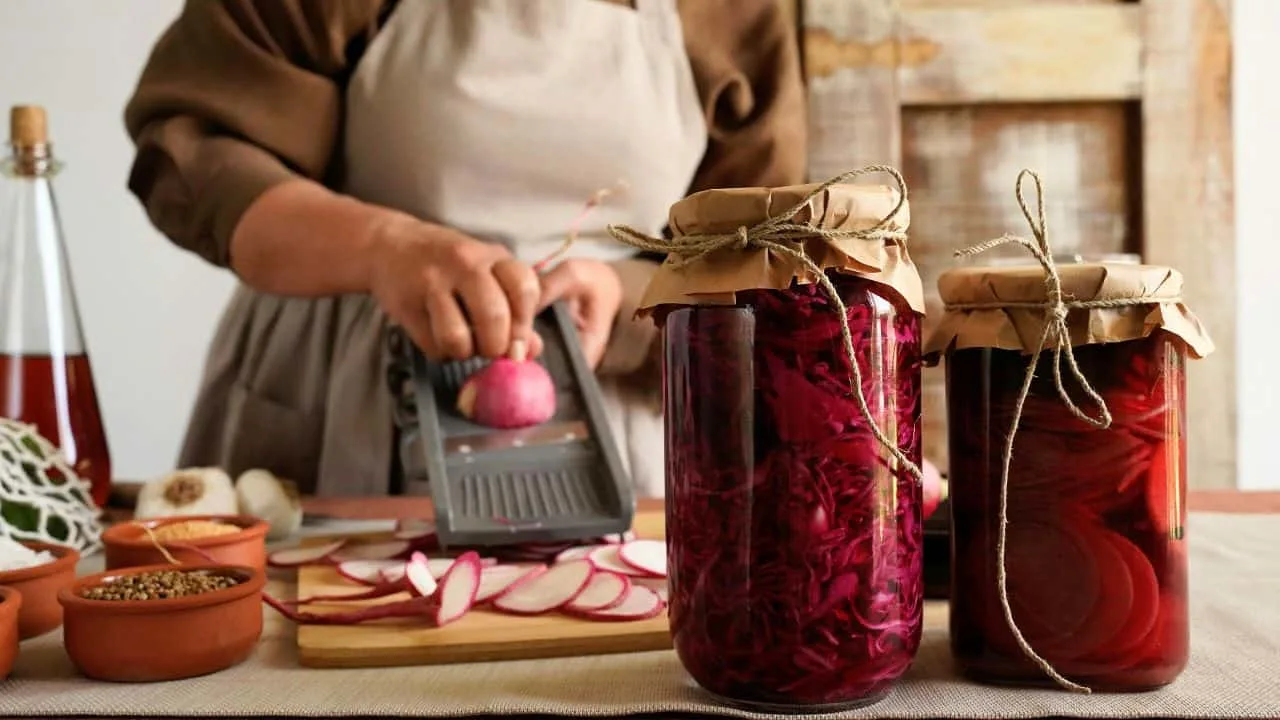
Fermentation is one of the most fascinating ways to preserve your harvest because it does not just keep food edible, it transforms it into something completely new. The process relies on beneficial bacteria that thrive in salty environments, producing tangy, complex flavors while keeping harmful microbes away. Unlike canning, there is no special equipment needed beyond clean jars, vegetables, salt, and water.
Classic choices include sauerkraut from shredded cabbage, kimchi from spicy seasoned napa cabbage, or even fermented beans and carrots. The method is simple: pack your prepared vegetables tightly into a jar, cover them with brine, and weigh them down so everything stays submerged. Over the next days or weeks, bubbles will appear, and flavors deepen as lactic acid builds up. It is safe, natural, and has been used for centuries to extend harvests through the winter.
Fermentation also comes with a modern bonus: probiotics. These friendly bacteria not only add zing to your meals but also support gut health, making it one of the few preservation methods that makes food arguably healthier than when it started.
- Salt Brine: 2–3 tablespoons of salt per quart of water is a good starting point.
- Submersion: Keep veggies below the brine line to prevent mold.
- Fermenting Time: Taste daily. Most veggies are ready in 5–14 days depending on warmth and preference.
- Storage: Once you like the flavor, move jars to the fridge to slow fermentation and keep them fresh for months.
5. Cold Storage and Root Cellaring
Before freezers and fancy dehydrators, gardeners kept their harvests fresh through cold storage. The idea is simple: many vegetables last for months if kept in a cool, dark, and slightly humid environment. A basement, garage, or old-fashioned root cellar mimics the underground conditions that keep root crops safe through winter.
Carrots, beets, potatoes, turnips, squash, and cabbages are the classic candidates. These crops naturally want to hibernate, and a little planning can keep them crisp well into spring. Store roots in boxes filled with slightly damp sand or sawdust, which prevents shriveling. Squash and pumpkins prefer shelves in a dry, cool area with good air circulation. Cabbages can even be hung upside down or wrapped in newspaper to extend storage life.
The beauty of cold storage is that it requires no special equipment and costs almost nothing, but it does require vigilance. Check stored produce regularly and remove anything that shows signs of rot before it spoils the batch.
- Temperature: Aim for 32–40°F for most root crops.
- Humidity: Keep it high (85–95%) to prevent shriveling.
- Storage Boxes: Layer roots in damp sand, peat moss, or sawdust.
- Regular Checks: One rotten potato can quickly ruin a whole crate.
6. Herb Preserving Hacks

Herbs may be small, but nothing makes a winter stew taste like summer faster than a handful of preserved basil, thyme, or parsley. September is the moment to grab armfuls before frost takes them down, and thankfully there are plenty of easy ways to save them for later. The trick is matching the method to the herb so flavor stays intact.
For sturdy herbs like thyme, oregano, and rosemary, air drying is as simple as tying bundles upside down in a warm, airy space. Delicate herbs like basil or cilantro do better frozen. Chop them and pack into ice cube trays with a splash of water or olive oil, then pop the cubes into bags for easy use. Another favorite trick is herb butter: mash chopped herbs into softened butter, shape into logs, and freeze for instant flavor bombs. If you like experimenting, infused oils with garlic, rosemary, or sage bring both preservation and gourmet flair.
- Air Dry: Works best for woody herbs like thyme, oregano, sage.
- Freeze in Cubes: Chop basil, parsley, or cilantro, freeze in water or oil.
- Herb Butter: Blend soft butter with dill, basil, or chives, freeze for later.
- Infused Oils: Store rosemary or garlic in olive oil for quick marinades.
7. Creative Preserves

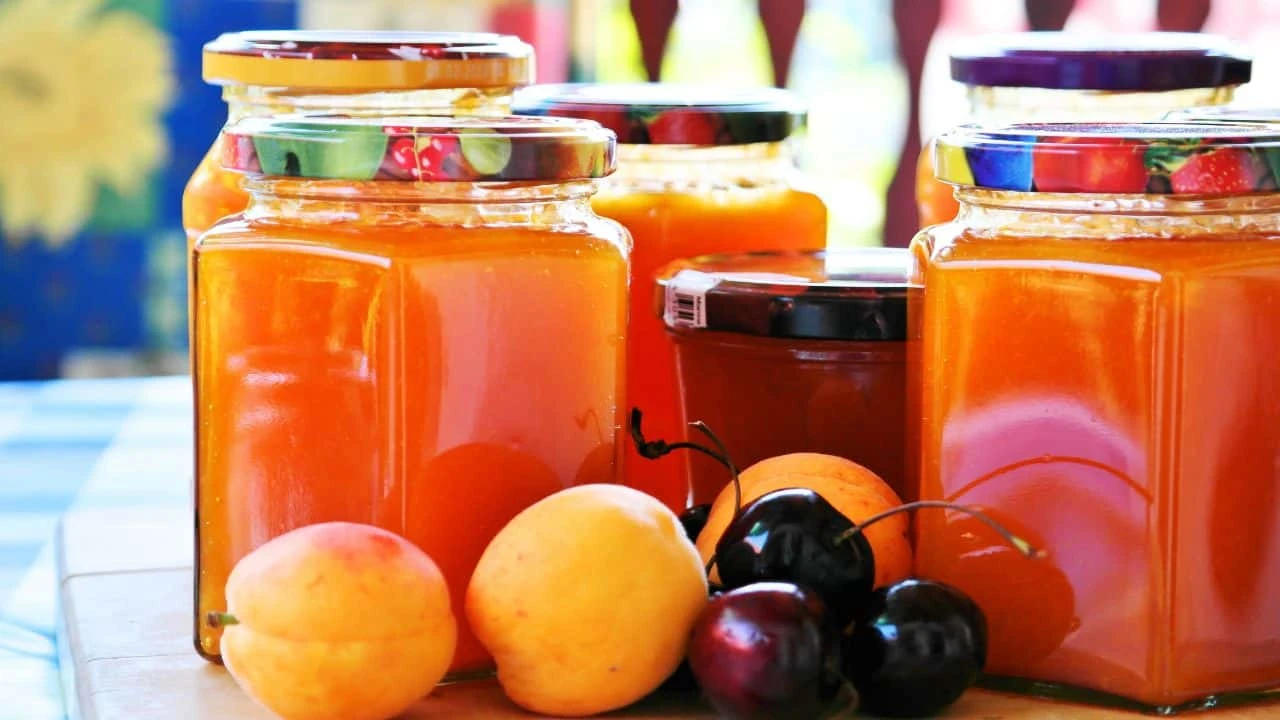
Sometimes the fun of preserving is not just saving food, but reinventing it. This is where creative preserves shine. Instead of letting odd handfuls of fruit or extra veggies go to waste, turn them into something new and exciting. The beauty is that these preserves often last for months and bring variety to your pantry.
Jellies and jams are the classics, but you can go beyond strawberry. Grapes, apples, or even hot peppers can all be transformed into spreads with sugar and pectin. If you like a savory kick, chutneys made with tomatoes, onions, and spices give you a condiment that works on everything from cheese boards to roasted meats. And for the snack lovers, fruit leathers are simply puréed fruit spread thin and dried — healthy, sweet, and perfect for kids or lunchboxes. For salsa fans, chopping extra tomatoes and peppers into homemade jars means you’ll still taste summer in January.
- Jellies & Jams: Grapes, apples, or hot peppers make unique spreads.
- Chutneys: Use late tomatoes, onions, and spices for savory preserves.
- Fruit Leathers: Purée fruit, spread thin, and dry for natural snacks.
- Salsas: Bottle extra tomatoes and peppers for winter flavor.
The Joy of Preserving Your Harvest
Preserving is not about making your kitchen look like a pioneer homestead, it is about stretching the taste of summer into the months when the garden is sleeping. Whether you freeze herbs in an ice cube tray, line up jars of pickles on the counter, or stash apples in a cool basement, you are keeping the season alive in a simple, practical way. The trick is to pick one method and actually try it, instead of letting extra produce slip away. By the time winter rolls in, you will be glad you saved a little sunshine for your table.
🌿 Key Takeaways
- 🥕 Freezing is the fastest way to save herbs, peppers, and greens without fuss.
- 🍅 Canning locks in tomatoes, jams, and pickles for pantry-ready meals all winter.
- 🍏 Drying concentrates flavor and creates long-lasting snacks like apple chips or dried herbs.
- 🥬 Fermenting turns veggies into gut-friendly staples like sauerkraut and kimchi.
- 🥔 Root cellaring remains unbeatable for storing carrots, beets, squash, and potatoes naturally.
- 🌿 Herb hacks like infused oils or frozen herb butters give flavor bursts long after the season ends.
Frequently Asked Questions About Preserving Harvests
1. Do I need special equipment to start preserving my harvest?
No. Freezing, drying herbs, or even fermenting can be done with just jars, your freezer, or a simple dehydrator. Canning requires jars, lids, and either a water bath or pressure canner depending on the food.
2. How do I know whether to use water bath or pressure canning?
High-acid foods like tomatoes, jams, and pickles are safe with water bath canning. Low-acid foods like beans or meats require pressure canning to avoid food safety risks.
3. Can I freeze everything from my garden?
Most vegetables can be frozen, but many need to be blanched first to preserve texture and nutrients. Herbs and peppers freeze well without blanching.
4. How long do fermented foods last?
Ferments like sauerkraut and kimchi can last several months in the fridge, and their flavor often improves with time. Always store them in airtight containers once fermentation is complete.
5. What’s the easiest method for beginners?
Freezing is the simplest and fastest. You can start with herbs in ice cube trays or chopped peppers in freezer bags. No special skills or equipment needed.
6. How do I know if my preserved food has gone bad?
Look for off smells, mold, bulging jars, or unexpected fizz in non-fermented items. When in doubt, throw it out.
7. Is root cellaring still worth it if I don’t have a basement?
Yes. Even a cool garage, shed, or insulated box outdoors can work for storing squash, carrots, and potatoes through much of the winter.


Daniel has been a plant enthusiast for over 20 years. He owns hundreds of houseplants and prepares for the chili growing seasons yearly with great anticipation. His favorite plants are plant species in the Araceae family, such as Monstera, Philodendron, and Anthurium. He also loves gardening and is growing hot peppers, tomatoes, and many more vegetables.