

Over time, indoor gardens have become an ideal decor choice for indoor spaces as they lend a touch of sobriety and class to the room arrangement.
The Tillandsia family of air plants has slowly gained prominence in this context, thanks to the fact that they are both low maintenance as well as quite hardy.
The Tillandsia Harrisii is native to Guatemala, and has soft silvery grey leaves. They have sufficient trichomes that grow along their stems in a rosette shape.
The Tillandsia Harrisii is considered to be a caulescent species as it grows along the stem. Caulescent means that “it grows above the ground, along a stem.”
In the wild, these air plants live in places with an altitude ranging from 0 to 500 meters above sea level.
It produces red inflorescence with purple flowers that are 2 inches (6cm) long and tubular in shape.
The plant’s height also gets extended by 5 inches (15cm), thanks to its inflorescence, and also it has up to 10 beautiful blooming flowers!
This plant, with its soft and pearly green leaves, is not just a beauty to behold but also super easy to maintain. Air plants are special in the sense that they don’t require soil for their nutrient needs.
Most often, the plants are provided with the special ability to absorb the nutrients they need directly from the air itself.
[toc]
Tillandsia Harrisii Care
In order to take proper care of the Tillandsia Harrisii, you should try to recreate its natural environment indoors, which, after all, is not that difficult. Just make sure that it is kept in temperatures ranging from 25℉- 50℉ (-3.9℃-10℃) in the presence of moderate humidity and indirect sunlight. Also make sure that there is proper air flow and while watering it, prevent the collection of stagnant water on the plant by simply misting it and then allowing it to dry.
If you are looking for some help with your Tillandsia Harrisii, or if you are contemplating getting one for your home, this is where you will find all the information you need!
Soil
The Tillandsia Harrisii is known for being low maintenance—you won’t have to put in much effort behind it. This is because the plant does not need soil at all. The Tillandsia Harrisii is an air plant, which means that all of the absorption-based functions that plants generally need soil for are performed directly from the air.
These functions are done via organs and systems that are in place on the roots and leaves for this specific purpose. In the case of the Tillandsia Harrisii, the trichomes on the leaves perform this function.
Naturally, while planting the Tillandsia Harrisii, you won’t need to concern yourself with matters like preparing a potting mix at all! The plant just needs to be provided with other factors of growth, like appropriate heat, light, nutrition, and you are all set!
Light
The Tillandsia Harrisii, in nature, grow under the canopy of other larger trees, so they get sunlight as well as partial shade. The plant thrives in indirect sunlight, but can tolerate direct sunlight. In fact, as long as it isn’t midday, you could even give the plant some direct morning sun, or you could simply leave it out during the late afternoon!
Receiving some sunlight directly during these periods of the day can even contribute towards making the plant healthier and brighter in appearance.
I would strongly suggest you to ensure that the plant does not get exposed to the harsh midday sun long enough to have its leaves singed.
However, at the same time, you can’t leave the plant in areas that are dim and dingy either. A window sill that receives plenty of indirect sunlight during the day would be the perfect place for your plant.
Watering
Say you have mounted your plant on a board—you could avail the option of dunking your entire plant in water about three times a week. This way, you won’t have to submerge the mounting board in water and make it susceptible to fungal growth.
Like I said, misting your plant would also be a great option. If that is the route you’re willing to take, then you have to be pretty thorough with it. Misting the plant every day of the week—enough to drench it completely, would be the way to go about it!
Finally, if dismounting the plant from the mounting board isn’t too much trouble for you, then you could also soak your plant in a bowl of water for about a couple of hours a week—or less than that if you are based in an area that has more humidity.
That is the fun of taking care of the Tillandsia Harrisii, you have a number of options at your disposal and all of them are easy to undertake!
Temperature
The Tillandsia Harrisii is quite resistant, so even though the plant is primarily heat loving, it can withstand temperatures as low as 26°F (-3°C) for a few hours. Ideally, temperatures ranging between 50°F-89°F(10°C-32°C) are the most well suited for the plant. Not only does this plant love brightness, it is evidently also a big fan of warm temperatures!
Humidity
The Tillandsia Harrisii grows best in moderate humidity. At the same time, the plant requires adequately free and swift air flow as well. Always remember that water remaining stagnant on the plant can lead to mild unnecessary complications involving fungal infestation.
Besides, the main reason that efficient aeration is an important factor for the growth of this plant, is that the leaves have trichomes that are meant to absorb nutrients and moisture as required by the plant, and clogging them up would not help the plant to thrive.
Fertilizer
The fertilizer requirements of the Tillandsia Harrisii are proof of how easy it is to grow and maintain the species. You can cater to the plant’s fertilizer needs with medium doses of fertilizer, following a schedule that isn’t unnaturally demanding.
Fertilizing the plant once a month or once a fortnight in summers would be enough, of course, keeping in mind other climatic conditions and factors. In winters, just once a month would work fine!
Growth
The Tillandsia Harrisii is a slow growing plant. So if you don’t see flowers for, say, a couple of years, don’t be disheartened. Chances are, the plant is really just growing at the natural rate and there is nothing to be alarmed about.
Also, the good news is that after the first two years, the plant will have a comparatively more rapid growth rate.
As for potting, the tillandsia harrisii is an air plant, which means that potting in the traditional sense of the term plays no role in the culture of this plant.
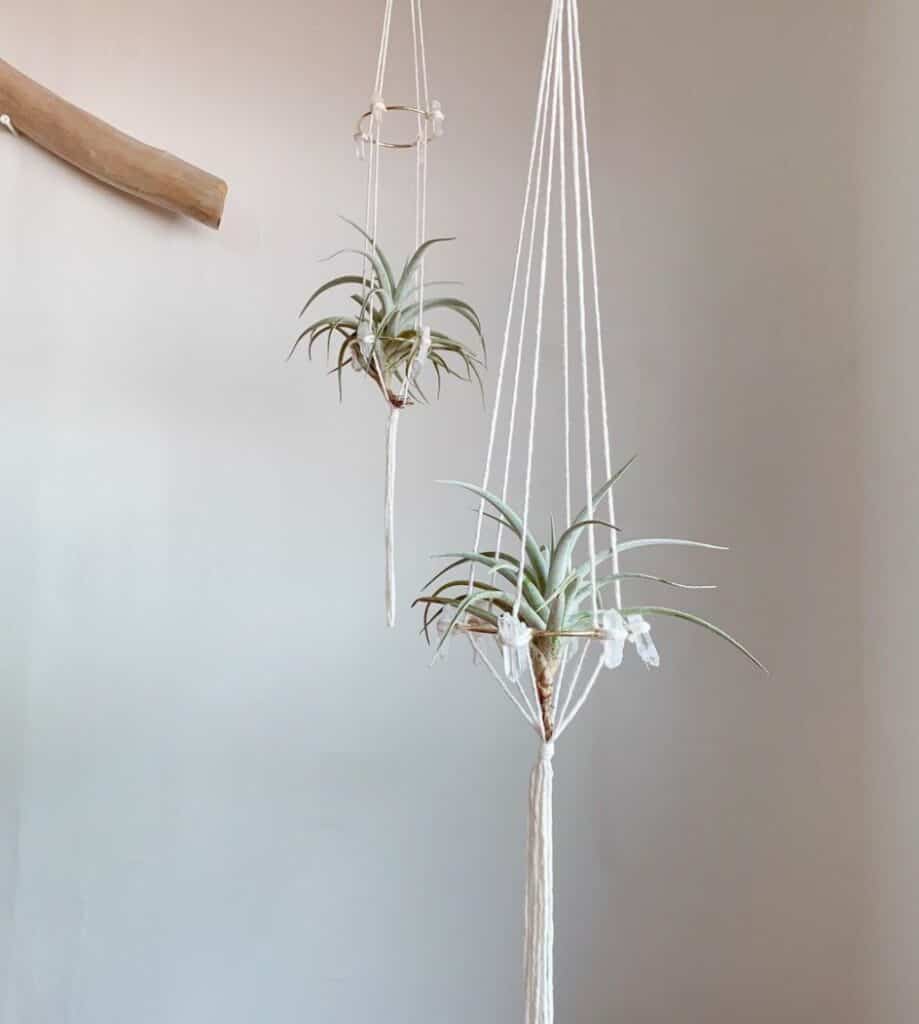
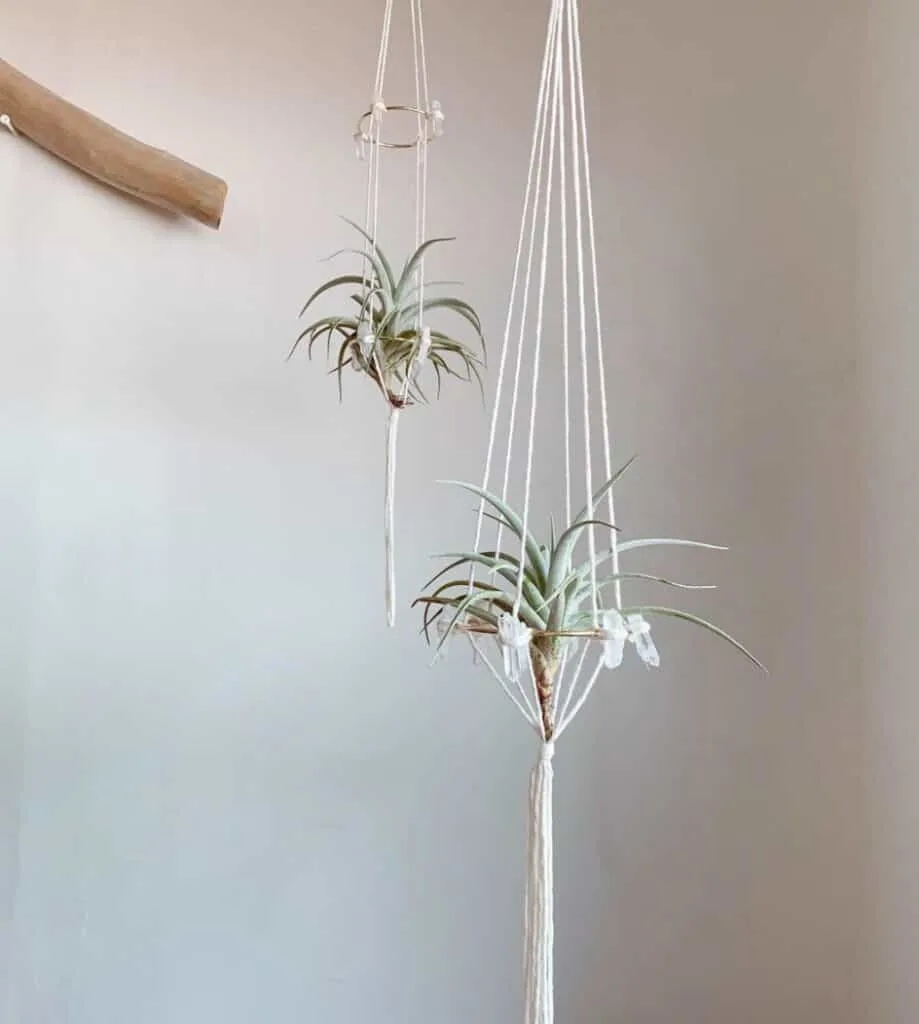
Of course, the way you choose to display this plant is very essential to the effect it can have on the appearance of the interior decor.
For one, you could always choose to mount it, and there are absolutely no rules you need to follow while deciding how to do it. As long as the mounting board isn’t of the nature that retains too much moisture, you are good to go!
You could also choose to use see-through glass containers like terrariums or aeriums—inside which you can place the plant on a bed of pebbles to make it more aesthetically pleasing.
The point is, however you choose to display the tillandsia harrisii, it will be fine. The arrangement is completely up to your taste and preference, so you could freely do what you want!
Propagation
The Tillandsia Harrisii is the kind of plant that uses pollination as the primary means of propagation. But if you want to propagate the tillandsia harrisii, you can follow a fairly simple method that doesn’t involve any complications.
- Start off by dismounting the plant, or extracting it from whatever container it had been displayed in.
- Submerge it completely in a bowl of water. Soaking the plant completely for a few hours will make the parent plant more hydrated, plus, it will ease the process out.
- After this, you have to allow the excess water to drain out of the plant or from the creases between leaves, and lay it out flat on a plane surface. Gently shake the plant to remove excess water.
- Next, spread out the leaves to expose the base, at the bottom of which you will find the pups. Extracting the pups involves some gentle, tactful pulling and tugging, and once you have obtained the pups, make sure you place the parent plant back in its original container.
- Now that you have the pups, all you need to do is place them in a fresh container, once again without any soil or potting mix—thanks to the Tillandsia being an air plant.
- Thereafter, all you need to do is ascertain that the growing plant receives the brightness, warmth, humidity, air circulation, and moisture it needs to mature into a healthy plant.
- Don’t forget to spray water on the plant twice a day to prevent the plant from shrivelling up and dying out!
Common problems with Tillandsia Harrisii
A majority of the problems that arise with respect to the Tillandsia Harrisii are related to overwatering or underwatering the plants. For instance, you may see that the leaves of your plant are discoloring to an unhealthy brown, or are becoming unnaturally crispy and fried to touch.
This means that your plant is parched, and it is craving water. In such a scenario, you have to immediately review your watering schedule and significantly increase the frequency of watering.
Again, not allowing the plant to dry properly post a watering session can turn the leaves soft and that is also not healthy for the plant. This is indicative of inadequate circulation around the plant so if this happens, make sure that the plant is relocated to wherever it will find freer air movements.
One fairly common mistake that plant parents tend to make with air plants like the Tillandsia Harrisii is with the fertilizer. Using too much fertilizer, especially if the fertilizer in question is not exactly of the best quality, can prove to be quite the problem for your plant.
In fact, excessive fertilizer can even singe the roots of the plant and in turn, have a drastically negative effect on the healthy development of your precious plant.
To avoid this, adhere to the instructions of experts. Often, instructions are provided on the packaging of the fertilizer, or in manuals that come along with it. So referring to those about the quantity of the fertilizer to be used would be a good starting point.
Frequently Asked Questions about Tilandsia Harrisii
Can I place my Tillandsia Harrisii in a glass globe?
Of course you can. I love to get creative with my air plants in glass globes. Just remember to opt for large glass globes, and make sure your plant is completely dry after soaking before you place it in the globe. Never place the plant on a window where there is direct sun.
How to revive my dying Tillandsia Harrisii?
This may be due to underwatering. The best way to revive a dying Tillandsia is submerging it in water for at least 5 hours(keep in a warm location whilst soaking). After that, you should gently shake it, and wait for it to dry before placing it back. Misting the plant is often recommended.
Tip—You may need to tie the plant to a heavy object to keep it from floating to the top of the water while soaking it.
Should you trim your air plants?
Yes! You can trim an air plant. Most air plants can survive even if you cut off some of its leaves or the spike as they are very hardy. The cut leaves can grow longer from the bottom and new leaves will grow as the plant matures. It is very safe and common to trim off dry tips or dead leaves.
Conclusion
Well, now that you have the necessary information about the care and nurture of the Tillandsia Harrisii, it should be fairly clear to you that this plant is easy to take care of.
There aren’t any complicated pruning or feeding rituals that are a must for the growth of this plant, and the fact that soil or potting mix won’t be a cause of concern should further make this plant the ideal choice for a newbie plant enthusiast.
The red inflorescence of the plant, that gives way to the dark purple flowers, complements the greyish green leaves and makes the plant look lovely no matter where you put it.
If the colour scheme of your house is compatible, then that is just an added bonus! In short, there is no reason for you to second guess the addition of the Tillandsia Harrisii to your indoor garden family!


Daniel has been a plant enthusiast for over 20 years. He owns hundreds of houseplants and prepares for the chili growing seasons yearly with great anticipation. His favorite plants are plant species in the Araceae family, such as Monstera, Philodendron, and Anthurium. He also loves gardening and is growing hot peppers, tomatoes, and many more vegetables.