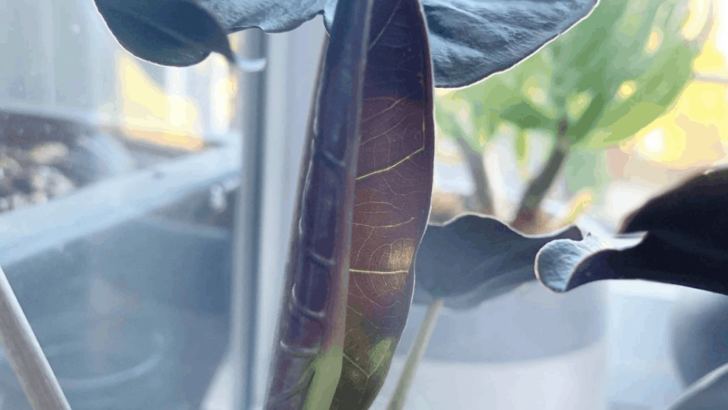

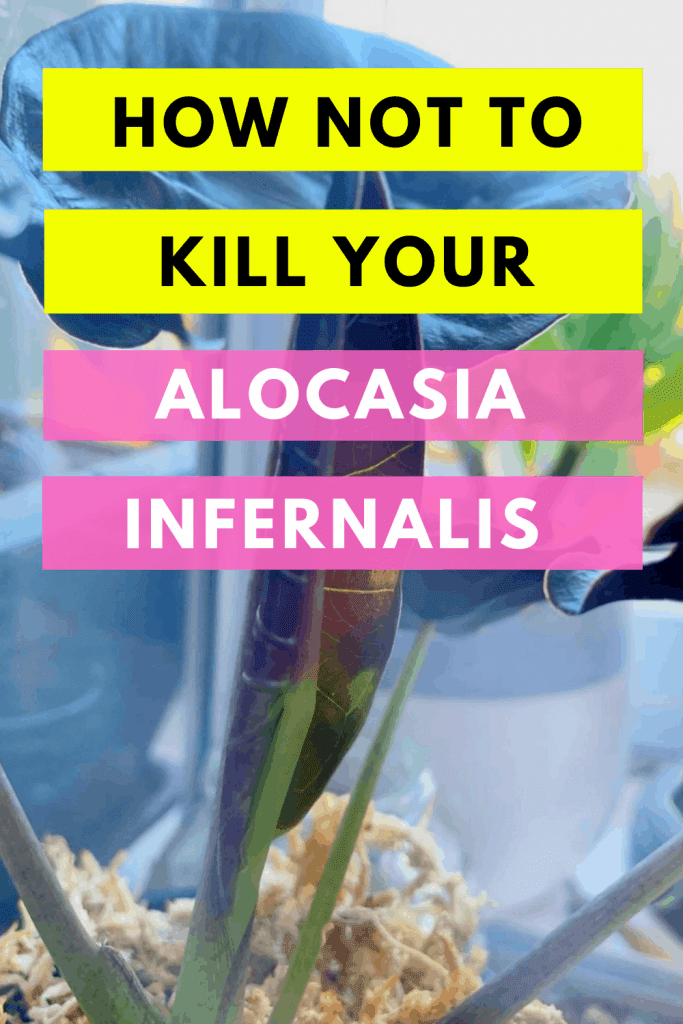
With the right care, an Alocasia infernalis can live for many, many years. You’ll have this plant around to show off to all your friends.
We’re going to go over the care for this plant in great detail. After you read this article, you know everything you need to know to keep it healthy.
Table of Contents

Alocasia Infernalis Care
Use fast-draining soil with sphagnum peat moss and perlite. Thrives in bright, indirect sunlight. Water only when the soil is nearly dry to prevent root rot. Keep daytime temps between 50°F-85°F and nighttime 55°F-65°F. Maintain around 60% humidity using pebble trays or a humidifier.
Soil
The Alocasia infernalis plant needs fast-draining or well-draining soil. This is the middle of the road soil.
Fast-draining soil helps to prevent both over-watering and under-watering. Certain ingredients in the soil absorb an appropriate amount of water. So your plant is getting plenty of hydration.
But other ingredients in the soil allow excess water to drain to the bottom. You’ll still want to use a plant pot with drainage holes in the bottom so the water doesn’t sit with the roots.
Sphagnum peat moss and perlite are the best soil ingredients for any Alocasia plant.
The perlite holds onto the moisture to keep your plant healthy and hydrated. At the same time, perlite has aeration so it doesn’t hold too much water. The sphagnum peat moss also ensures that extra water drains.
Who needs to spend major money on the soil when you can make it for much cheaper at home?
Light
The Alocasia infernalis plant loves bright but indirect sunlight. If this plant sits in direct sunlight for too long, the leaves will burn. Nobody likes to see scorch marks on their beloved plants.
If it doesn’t receive enough light, the leaves will lose chlorophyll. The leaves might also dry up or wither away.
In nature, this Alocasia plant receives bright light. But it’s sheltered by trees and other plants so that light isn’t blaring down on it.


To create bright indirect light, you can place your plant in either a north or east-facing window. If you use artificial lights, place it a few inches from the light so it doesn’t sit right underneath.
Watering
Watering an Alocasia infernalis plant is much like watering other Alocasia plants. You want to avoid dry soil but you also want to avoid saturated soil.
This plant needs the perfect middle ground.
Over-watering an Alocasia plant is one of the biggest mistakes you can make. It can cause several serious issues that are hard to reverse. The worst consequence of over-watering this plant is root rot.
Root rot is how it sounds. When the soil is too saturated, oxygen can’t get through to the roots. This causes the roots to rot. Once all the roots have rotted, there’s nothing more you can do for your plant. It’s best to prevent this ailment at all costs.
Make sure the soil has almost dried out before you water it to stop over-watering. If you’re not sure, you can always feel your way through the soil to see if it’s ready for more hydration.
Temperature
The temperature range for an Alocasia infernalis during the day should be between 50F (10C) and 85F (29C).
The temperature range during nighttime should be between 55F (13C) and 65F (18C).
Humidity
The Alocasia infernalis plant loves high humidity. For best results and healthy growth, aim for a humidity of about 60%.
Most homes have to create their own humidity, especially in dry environments. But this process doesn’t have to be difficult.
The easiest way to create humidity is to invest in a humidifier. But these machines can be pricey.
If you don’t have the money to spend on a humidifier, you have other options.
The pebble tray method is one of the best methods for humidity. All you need is water, pebbles, and a tray.
You start by filling the tray with pebbles. Then, you fill the tray with water. Make sure the water doesn’t flow over the pebbles. All you have to do after that is place your plant pot on top of the pebbles.
The water will evaporate. As it evaporates, it creates moisture in the air. Since your plant sits right on top of the pebbles, that moisture goes right to your plant.
Fertilizer
It’s important to fertilize the Alocasia infernalis plant. Otherwise, it will start to lose leaves. The right fertilizer will keep this plant lush and happy.
All-purpose fertilizer is your best bet for this plant. You will need to dilute it. Otherwise, the fertilizer can be too strong for the plant.
You should fertilize the Alocasia about every two weeks during the warmer months.
But once the cold hits, you want to skip fertilization. This will prevent salt build-up in the soil. Salt build-up can burn your plant’s roots.
Propagation
There are two ways to propagate the Alocasia infernalis. You can propagate by root division or by using water. Keep reading and we’ll walk you through the steps.
Growth
The Alocasia infernalis plant can grow to be between a foot (12 inches) to two feet in height (24 inches). The leaves grow to be about five to nine inches in length.
Potting
You need to re-pot the Alocasia infernalis plant about every two years. You’ll know it’s time to re-pot when you see the roots seeping out of the pot’s drainage holes.
Alocasia plant roots like to spread out. But you don’t want to stress the plant out with too much extra room.
So, get a plant pot that’s only a few inches bigger than the original.
Alocasia Infernalis Propagation Steps
You have choices when it comes to propagating your Alocasia infernalis plant. The methods are easy to do. You don’t have to be a pro to propagate this awesome plant.
We’re going to walk you through how to propagate your Alocasia through root division. Then we’ll walk you through how to propagate your plant using water.
Root Division Propagation
- Using root division, you must remove your Alocasia infernalis from its’ plant pot. Always be careful during this process because roots can be fragile. You don’t want to injure your roots.
- Once the roots are out in the open, you want to clear all dirt from them. This makes it easier to see what you’re doing. You can shake the dirt off most of the time. If this doesn’t work, run water over the roots. Don’t run the water on full force.
- Now that you have cleared the Alocasia’s roots, you’ll see separate clumps of roots. Most of the time you should be able to shake any baby offsets to use.
- If shaking doesn’t work, don’t be afraid to cut out the roots you need. You’ll want to use sterilized pruning shears for this task. You can sterilize the pruning shears with 70% isopropyl alcohol. Only cut off the clump of roots you need to create a new Alocasia infernalis plant.
- You need to get your plant pot ready now. Make sure you’re using fast-draining or well-draining soil.
- You’re going to plant these roots now. Again, be careful when messing with the roots. The roots should be under the soil.
- Once you plant the roots, you only have to care for them like you do the original plant. Make sure it’s getting indirect sunlight and allow drying between watering.
Propagating in Water
- You need either Alocasia infernalis baby offsets or root clumps for this process. To get either one, you have to remove your Alocasia plant from the plant pot. You have to be careful during this process so you don’t harm the roots of the plant.
- Now that the plant is out of the plant pot, you need to shake them to remove some of the dirt. If any baby offsets or root clumps fall loose, even better.
- Either way, you’ll need to run water over the roots to clean them. You don’t want the water on full force because it might harm the roots. This makes sure the water doesn’t get dirty and it makes the roots easier to see.
- Once you’ve rinsed the roots, you’ll want to cut some roots from the plant to work with. You want to use sterilized pruning shears for this. You can use 70% isopropyl alcohol to sterilize the shears.
- You’re going to need a clear bowl for this type of propagation. You want to use soft tap water. It helps to let the water sit out overnight before you use it. This allows any chlorine or other added chemicals to fade or dissolve.
- Once you have your clear bowl ready, you’re going to place the roots inside of it. You want the roots submerged under the water.
- Now you have to set the bowl of roots in either an east or north-facing window so it gets indirect sunlight. This makes sure the roots start to grow.
- You have to switch out the water once or twice a week. Otherwise, bacteria will grow and attack the plant roots. The best way to add water is to run water from a faucet or hose into the clear bowl. This creates aeration which gives the roots oxygen.
- Get your plant pot ready. Fill it with fast-draining or well-draining soil. The plant pot should have drainage holes at the bottom so extra water drains out.
- You want the roots to be at least three or four inches in length before you plant them. When you do go to plant the roots, make sure you pack the soil tight around them.
- Now you’re going to care for your new Alocasia plant as you do the original plant. Place it in either an east or north-facing window to get indirect sunlight. Allow the soil to dry out before you water it.
Varieties of Alocasias
Alocasia infernalis isn’t the only cool Alocasia species out there. Alocasia plants are some of the most interesting indoor plants out there.
Here are some of our favorite Alocasia plant species.
The Alocasia amazonica is often referred to as “Polly”. It’s a smaller plant but creates arrow-shaped leaves.
Alocasia micholitziana
This plant is nicknamed “Green Velvet”. This is because it has velvety dark green leaves. The veins stick out giving it wonderful contrast.
The Alocasia zebrina is one unique plant. The stalks of the plant have a cool zebra pattern that stands out. The leaves are arrow-shaped.
Alocasia reginula
This Alocasia plant is another smaller one. The leaves created are small but wide. They’re adorable. The leaves are velvety and dark green.
Common Problems with the Alocasia Infernalis
Plant pests love the Alocasia infernalis plant. In fact, plant pests love all Alocasia plants. You might find yourself in an ongoing battle against pests.
Don’t worry. We’re going to share with you the best ways to get rid of these nuisances.
One of the most common plant pests is the spider mite.
Spider mites aren’t like most insects that invade plants.
They’re actual arachnids meaning they have eight legs like a spider. Hence, the name of the plant pest.
These creatures are difficult to see because they’re so small. If you want to check if you have a spider mite infestation, place a white sheet of paper at the base of your plant. Gently shake the plant. Tiny black bugs should drop onto the sheet of paper. When you look closer, you’ll see their eight legs.
Spider mites steal the nourishment from your plant. They do this by sucking the sap out of it. The sap is what carries both nutrition and hydration throughout the plant. This prepares it for photosynthesis.
Thrips also love the Alocasia infernalis plant. They’re very small pests and resemble little pieces of thread.
Thrips also feed on the sap from your plant. They have pointy mouths that penetrate the plant. These pointy mouths are also straw-like, allowing them to suck up all that nutrition.
You might also find yourself with a mealybug infestation. These plant pests are covered in a cotton fluff. That’s how you always know your plant has mealybugs. You’ll see this cotton-like fluff all over your plant.
Mealybugs like to hide under the leaves. They feed on the sap from the bottom of the leaves. Like the others, they steal the nutrition and hydration your plant needs.
Our favorite all-natural solution for plant pests is neem oil. We’ve never heard of a plant having a bad reaction from this oil. You’ll still want to test a small area of your plant to be on the safe side.
You need to dilute the neem oil with water. Mix it in a spray bottle. Spray your plant down with the oil. Don’t forget to get under the leaves.
Neem oil is heavy so it suffocates plant pests. You’ll see them dying within minutes. You’ll want to repeat this step a few days later to make sure you got every bug and every egg.
Tips for an Unhappy Alocasia Infernalis
Once in a while, you may find that your Alocasia infernalis plant is unhappy. Don’t stress. No matter how much effort you put into care, you can’t prevent everything.
We’re going to go over the most common reasons an Alocasia plant is unhappy. We’ll also discuss how to fix these unfortunate situations.
Your Alocasia Infernalis Has Drooping Leaves
Droopy leaves on an Alocasia infernalis is a sign of under-watering or over-watering.
To determine which situation is affecting your plant, all you have to do is feel the soil. If it’s bone dry, you’re under-watering the plant. So, water your plant right away. It might help to create a watering schedule. You’ll still want to check the soil before you do so.
If the soil feels saturated, you’re over-watering your plant. You’ll need to switch out the saturated soil for fresh, moist soil. Otherwise, your plant will continue to sit in that wet mess.
Your Alocasia Infernalis Has Spots on the Leaves
If there are spots on your Alocasia infernalis plant’s leaves, there could be two issues.
The most common suspect is chlorine. These are sensitive plants and one thing they’re sensitive to is chlorine in water.
If this is the case, you have two options. The easiest solution is to switch to distilled water. Or you can leave tap water out for 24 hours before using it on your plant. This allows the chlorine to dissolve.
The other issue your plant could be facing is salt build-up from fertilizer. This happens if you over-fertilize or if you fertilize while the soil is dry.
If salt build-up is the problem, you can flush the soil out. This only means you let water flow through the soil to push excess salt and minerals out. You can use a hose or a faucet. But we don’t suggest having either on full force.
You can also replace the soil with fresh, moist soil. That way, you won’t have to worry if all the salt was flushed or not.
Your Alocasia Infernalis Has Rusty Leaves
The Alocasia infernalis plant, like other Alocasia plants, is prone to fungal disease. Which is why over-watering is dangerous.
When this plant has rusty-looking leaves, it has Rust Disease. It starts with orange spots on the leaves and spreads to under the leaves of your plant. Eventually, these spots turn into rust lesions. These lesions can kill the leaves of your plant.
You can’t get rid of lesions that are already on your plant. But you do want to remove the infected leaves right away. Otherwise, Rust Disease will continue to spread.
You have to use a fungicide to get rid of this fungal disease. Nothing else is strong enough to contend with it. Always test a small area of your plant to make sure it doesn’t have a bad reaction to the chemicals.
Frequently asked questions about Alocasia infernalis
Is the Alocasia infernalis toxic?
Yes, the Alocasia infernalis plant is toxic. According to the University of North Carolina, the leaves are covered in calcium oxalate crystals. These oxalate crystals can cause difficulty breathing. They also can cause skin irritation. It’s toxic to humans and animals.
Where does the Alocasia infernalis originate from?
The Alocasia infernalis plant originates from Sarawak. Sarawak is located in Malaysia. It’s covered in a rainforest.


Daniel has been a plant enthusiast for over 20 years. He owns hundreds of houseplants and prepares for the chili growing seasons yearly with great anticipation. His favorite plants are plant species in the Araceae family, such as Monstera, Philodendron, and Anthurium. He also loves gardening and is growing hot peppers, tomatoes, and many more vegetables.