Ferns are not exactly the type of plants you would recommend to new plant parents. Why is that?
Well, first of all, it is a pretty well-known fact that ferns are rather difficult to care for, and sometimes they just seem to die in mysterious ways without you actually knowing and understanding why.
But are all ferns like this or are some ferns fussier than others?
Today, we will have a look at Kangaroo Paw Fern Care.
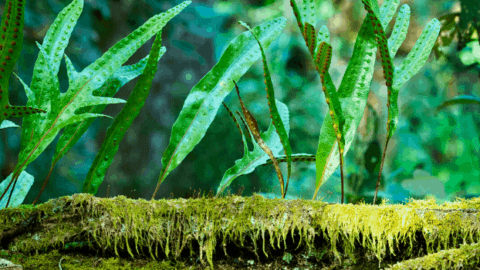
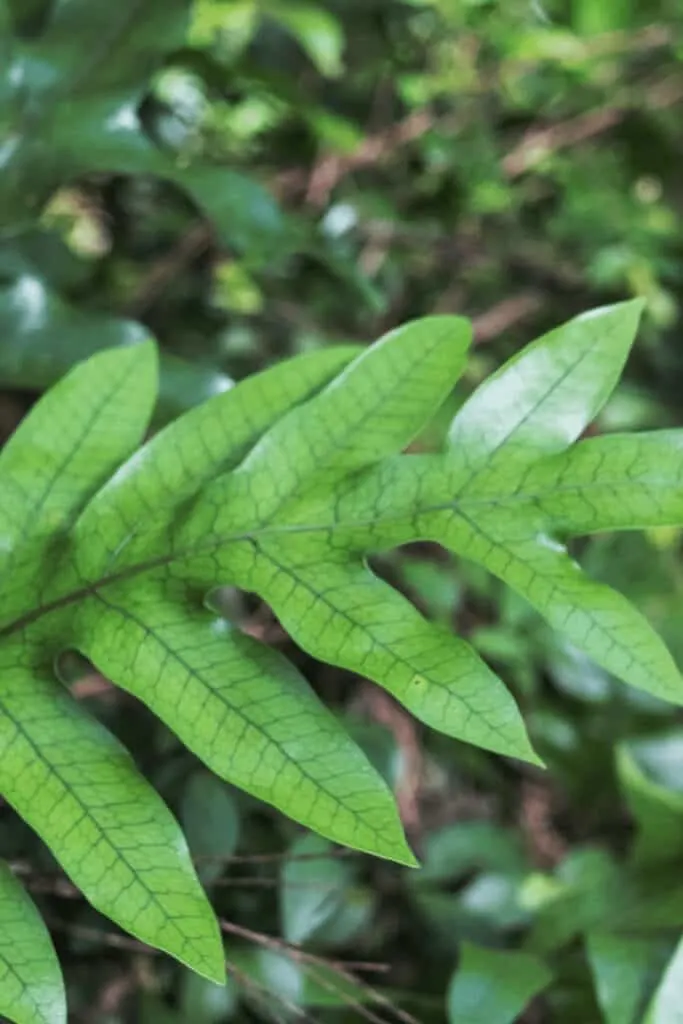
The Kangaroo Paw Fern (Microsorum diversifolium or Microsorum pustulatum NZflora) is a fern species belonging to the plant family Polypodiaceae according to Texas University.
It is native to both New Zealand and Australia.
While discussing Kangaroo Paw fern care, I will also try to answer the question of whether this fern is yet another diva or easier to care for.
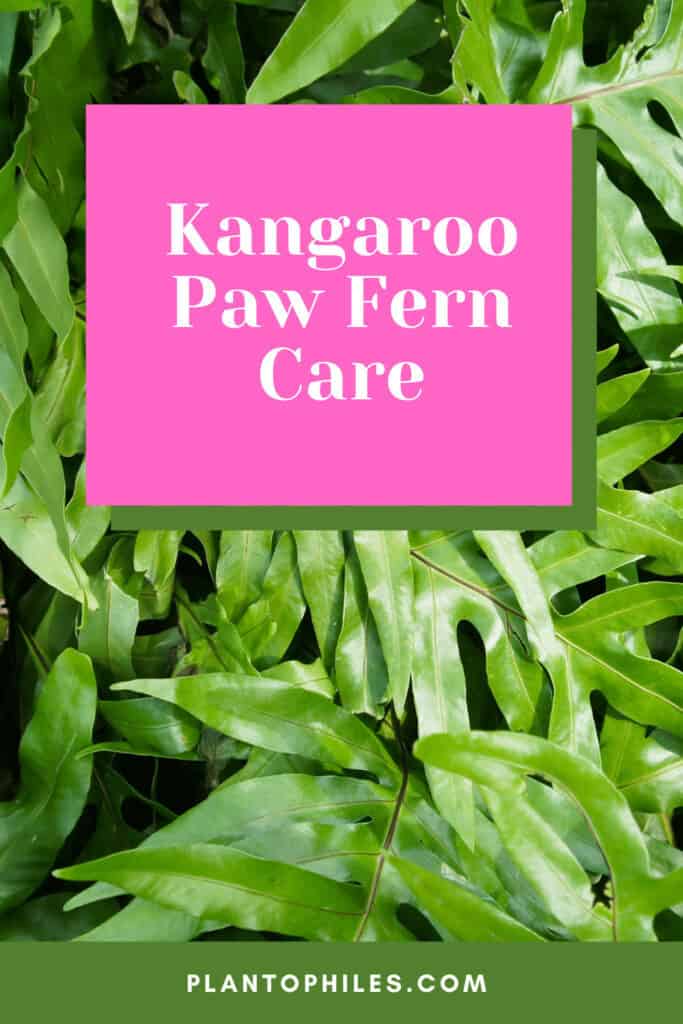
Kangaroo Paw Fern Care
To care for a Kangaroo Paw Fern use well-draining soil containing compost, perlite, bark, and bright indirect light. Provide a temperature between 70° F to 75° F (21°C to 24°C) and humidity above 50%. Fertilize monthly with a liquid fertilizer at 1/2 strength in spring and summer.

Kangaroo Paw Fern Care
Table of Contents
Kangaroo Paw Fern Plant Care Guide


Kangaroo Paw Fern Care
SOIL
The single most important factor when choosing soil for your Kangaroo Paw fern is to choose soil that is moist and well-draining.
Soil with some organic matter in it is perfect for your Kangaroo Paw fern, think compost, perlite, or pine bark/orchid bark.
Perlite and bark will improve the aeration of the soil.
For even moisture retention (which is crucial for this type of fern), you could also work in some coco coir.
LIGHT
Kangaroo Paw ferns grow well in bright locations with bright indirect sunlight.
However, they also do tolerate lower light conditions.
Low light might not kill your Kangaroo Paw fern but it might very well stunt its growth.
So if your fern does not seem to grow at all, chances are that it does not get enough sunlight.
A semi-shady location without direct sunlight generally yields the best results.
If you are not familiar with light levels for houseplants, you’d better have a look at our useful guide on light levels.
In this guide, you will learn what bright, indirect sunlight and another specific vocabulary just as moderate light and low light actually mean.
The meaning of these terms is not always evident, especially not for new plant parents. So please give it a go if you are new to the world of (house)plants.

Bright in direct light is best for a Microsorum pustulatum
WATERING
Keep the soil consistently and evenly moist, yet not soggy. The Kangaroo Paw fern does not like wet feet.
It is best to use either rainwater or distilled water when watering your Kangaroo Paw fern.
Always use lukewarm water rather than cold water.
Consistent moisture is key for the well-being of your Kangaroo Paw fern. But you will have to make sure that you are never flooding your plant with water!
When watering your fern, make sure to NOT water the crown.
A telltale sign that your Kangaroo Paw fern is desperate for a drink is when its leaves start to droop.
As far as watering goes, most ferns have pretty similar needs (they like to drink a looot!)
If you are a big fan of ferns, you might also want to have a look at our care article about the popular Boston Fern.
As beautiful as the Boston fern is, it needs to be said that Boston fern care is deemed pretty difficult.
For beginners, the Kangaroo Paw fern is definitely the better choice.

The soil should stay evenly moist during the growing season
TEMPERATURE
The Kangaroo Paw fern does best in warm temperatures ranging from 70° F to 75° F (21°C to 24°C).
Temperatures too low or too high are likely to cause heavy issues with your Kangaroo Paw fern.
HUMIDITY
Kangaroo Paw ferns do enjoy high levels of humidity above 50%.
Growing ferns indoors is usually a pretty challenging task.
One aspect that can make indoor fern care challenging is that ferns generally require (or at least prefer) high levels of humidity.
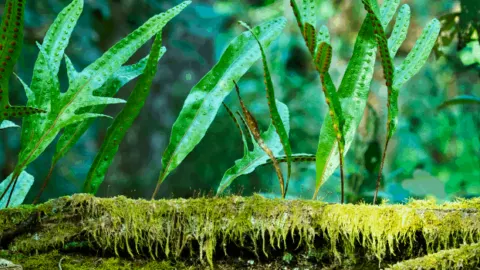
This is not all that surprising, as the natural habitat of many ferns is moist, shady forests.
So does that make our Kangaroo Paw fern a humidity-loving and -requiring fern? Well, kind of.
But they will also thrive in lower humidity. Even average household humidity is fine for these epiphytic evergreen plants.
They do tolerate dry air pretty well, as long as you don’t expose them to draughts.

FERTILIZER
During the growing season, feed your Kangaroo Paw fern monthly with a liquid fertilizer diluted at half strength.
In winter, reduce fertilizing to a minimum, or don’t feed your fern at all.
PROPAGATION
To propagate a Kangaroo Paw fern. you can propagate it by division, plantlets, spores, or even layering.
It is also possible to grow the Kangaroo Paw fern from seeds.
For a detailed step-by-step instruction on how to propagate a Kangaroo paw fern through division, please see below
GROWTH
Kangaroo Paw fern spreads up to about 3 feet (91cm), but generally only gets about one foot high (30cm).

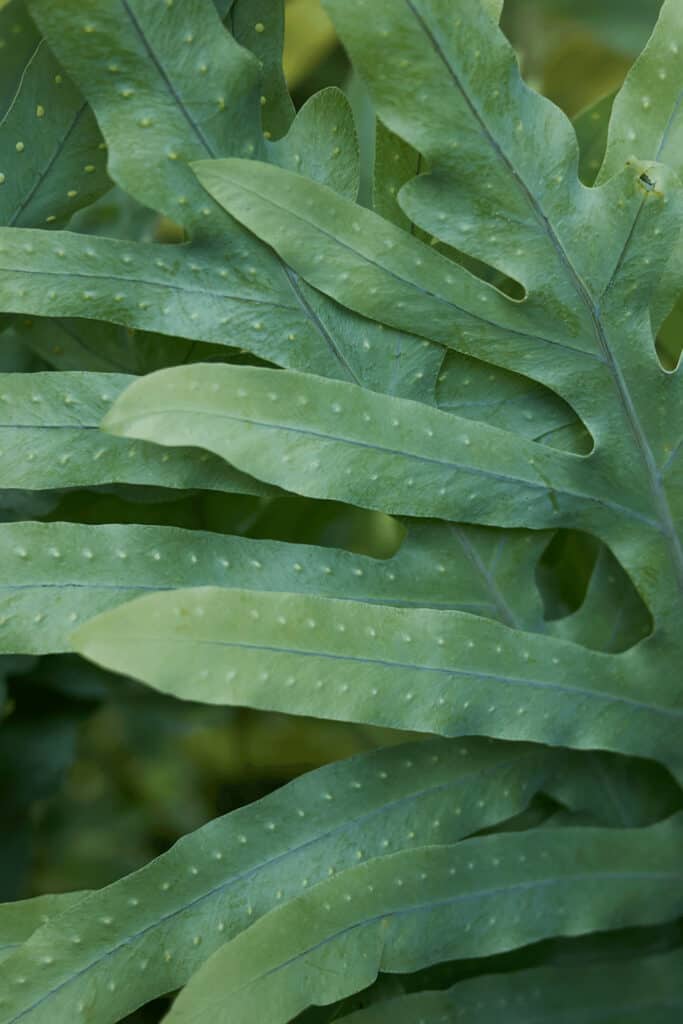
Kangaroo Paw Fern has bulges on the upper lamina surface
REPOTTING
Repot a Kangaroo Paw fern every other year when it outgrows its pot.
There’s nothing really special to mention on the topic of repotting your fern.
Repotting is best done in spring.
Also, after repotting, don’t feed your plant with fertilizer until the following year.
At the time of repotting, you might also want to divide your plant (=propagate it through rhizome division).
To do so, simply divide the rhizomes with a sharp, sterile knife.
In order for the propagation to be successful, it is important to know that each plant section (after division) needs to include several fronds and rhizomes.
If that is not the case, the (new) plant won’t be able to survive.
If you are unsure of how repotting actually works in detail, please don’t worry.
Plantophiles got you covered! All you need to do is to read our in-depth guide on how to repot plants and repotting will definitely become a piece of cake!
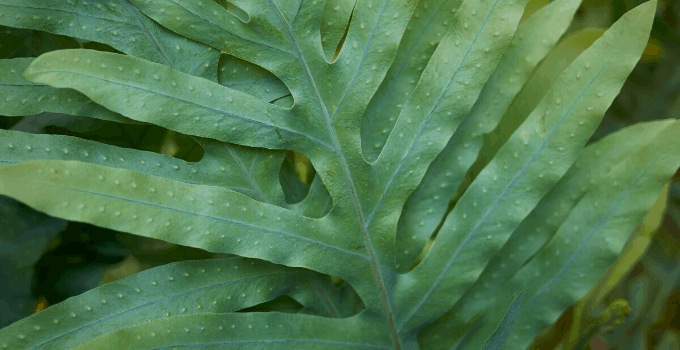
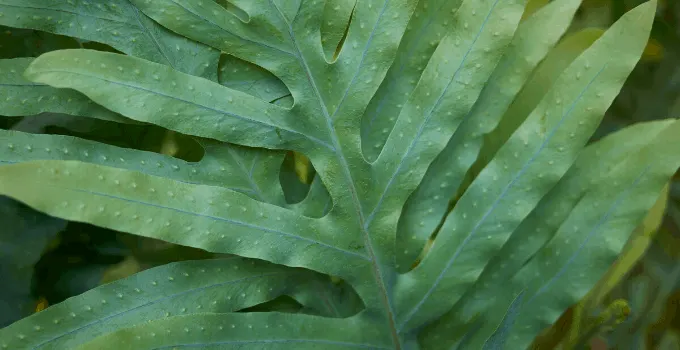
Look at these beautiful leaves of the Kangaroo Paw Fern…did you just say leaves? Oops, we are sorry. If it is ferns that you are talking about, the correct way to go about it is to actually use the word “fronds” rather than leaves. This holds true for any kind of fern.
Kangaroo Paw Fern Propagation Techniques
Here’s a step-by-step instruction guide on how to propagate a Kangaroo Paw fern through rhizome division:
You could also try to propagate your fern from spores. This is actually how ferns reproduce in nature.
Spore propagation is not particularly difficult, however, it can take a very long time until you will finally see some results.
For some fern species, propagation from spores takes up to a year!
Now, if you still haven’t lost your interest in propagating your Kangaroo Paw fern through spores, here’s how you actually do it:
- Prepare some clean, sterile scissors or a sharp knife
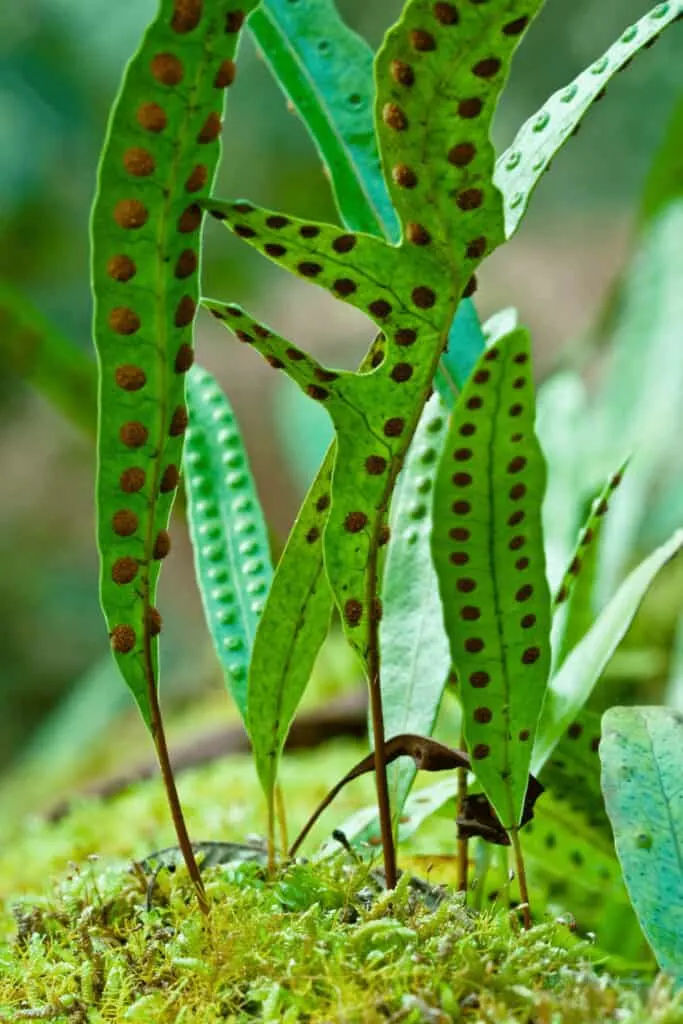
- Look for spores on the underside of the fronds. The spores should be of brown color. If they are green it means that they are not ready to be propagated yet!
- Make a clean cut (you will want to cut off the stem with the fronds!)
- Now, you will want to put these cuttings in an empty envelope and just leave them in there for about a week.
- After a week, these fronds with the spores should now be dry. Now, close the envelope and crunch it up.
- The next step is to clean the spores. To do so, dump out everything but the spores from the envelope. The spores are tiny (they look like brown dust!). Drop everything else out of the envelope.
- Prepare a transparent container (with lid!) and the potting medium of your choice (use a sterile mix, a seeding mix is recommended, and then distribute the spores evenly on top of the soil mix)
- Now, put a little bit of that seeding mix in the clear container. Then, add a layer of vermiculite (helps with retaining moisture!).
- The next step is to mist the soil with sterilized water (=distilled water). Use a hand mister for that purpose.
- Now, you can close your little container. Due to the condensation and the lid the soil should stay moist without you having to mist it again (if it does get too dry though, you can simply mist again).
- Now, it is finally time to sow your spores. Put all the spores from the envelope inside the container (on top of the soil mix that you just prepared.
- After sowing the spores, you can put the lid on the container.
- Store the container in a warm, well-lit room. Make sure that it does not get direct sunlight.
- Now, you need to be patient. Wait for a couple of weeks. Then you should see a green disc on the soil (the so-called gametophytes).
- When you see those gametophytes, the propagation process is actually still far from over. It will now take a couple of months until you will finally see some small ferns in your container (hopefully).
- From time to time, you can open up the container for a little bit (mist it from time to time to get some more moisture) and make sure that your fern slowly adjusts to the new environment (to the air that is obviously more dry than in the container).
- Once the fern grows bigger, it is time to repot. You might want to repot once again into the same medium (use seeding mix again and report into a bigger container) before you eventually repot your fern into an even bigger container while finally using a regular potting mix suitable for ferns.
Please have a look at the following video, if you are unsure that you are doing everything right with fern spore propagation.
Patience is key when propagating Microsorum diversifolium through spores.
It is a fun process but actually takes a looong time! (half a year up to a year!).
If you don’t have the required patience or simply would like to get the job done quicker, you might as well just divide the plant (only possible if you do have a healthy, mature plant with many fronds and rhizomes) by rhizome division.
Here’s how you do that:
- Expose the rhizomes of your Kangaroo Paw fern
- Use a sharp, sterile knife to divide it in half (if you have a very big plant, you might cut it into more parts)
- Make sure that each part has some fronds and enough rhizomes that come with it
- Place each part (or half) in its own container. Make sure to use a suitable soil mix for your fern (for instance, that could be a peat-moss based soil mix)
- Once the repotting is done, regularly water them and care for them just as you would for a mature plant. After repotting, don’t fertilize them until the following year, though.
Five Steps to a Healthy, Active Kangaroo Paw Fern
- Ferns need a lot of water. The Kangaroo Paw fern is no different (although a little bit more forgiving than other ferns)
- Choose soil that contains some nutrients and that is well-draining
- Kangaroo paw ferns don’t tolerate direct sunlight. Keep it out of direct sunlight at all costs.
- Keep the soil wet, yet not soggy
- Keep the humidity high. Lower humidity levels won’t kill your Kangaroo Paw fern but are certainly not ideal
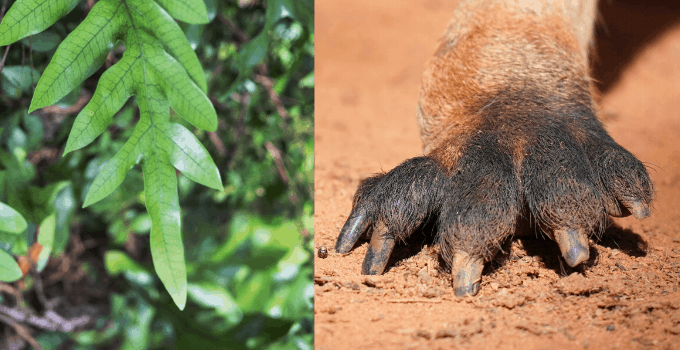

The Kangaroo Paw fern is apparently named after the paws of kangaroos. We don’t really see much of a resemblance here but maybe we are missing something…
Kangaroo Paw Fern Problems
Care problems with ferns? Well, we would be lying by saying that I am surprised.
After all, ferns are known to be divas, so certain struggles and problems while dealing with ferns are absolutely normal.
That said, the Kangaroo Paw fern is not that much of a diva than other ferns such as the Boston fern, the Staghorn fern, or the Maidenhair fern.
So, that is the good news.
The bad news is that you can obviously still experience some problems even with a Kangaroo Paw fern.
But don’t worry, Plantophiles got your back!
So let us have a closer look at the most common Kangaroo Paw fern problems and how you can actually solve them.
Problem #1: Droopy fronds
If your Kangaroo Paw fern looks droopy, chances are that you are keeping your fern in an environment that is too dry.
While low humidity usually won’t kill your Microsorum diversifolium, it is still recommended to provide it with higher levels of humidity.
But how do I provide my Kangaroo Paw fern with more humidity?
Well, there are a couple of easy ways to do that. One way to go about is to keep your fern in a room with high humidity.
This is usually the bathroom.
So the bathroom could be an ideal place for your Kangaroo Paw fern, as long as it still gets enough light (see the section “Light” above)
Also, drooping fronds could be a result of temperatures either too cold or too warm.
Problem #2: Fronds that are falling off the plant
If your Kangaroo Paw fern is losing fronds, this could be a sign that your fern does not get enough water.
Typically, these fronds would sport a yellow color.
Yellow Fronds & Yellow leaves often indicate that there is something wrong with your watering regimen.
However, yellow (yellowing) leaves could also mean that your fern feels either too warm or too cold.
Both temperatures too high or too low can cause this kind of problem with the Kangaroo Paw fern.
Remember that the Kangaroo Paw fern does enjoy warm temperatures but these temperatures should not exceed 23 degrees Celcius (72 Fahrenheit).
Problem #3: Mushy roots
If your Kangaroo Paw fern exhibits mushy roots, you can be almost sure that you are doing something wrong with watering your Microsorum diversifolium.
And after all, mushy (black) roots are a sign of root rot.
The most typical cause for root rot is overwatering. But there are other causes for root rot.
Please take a gander at our articles about root rot to know more about this annoying problem:
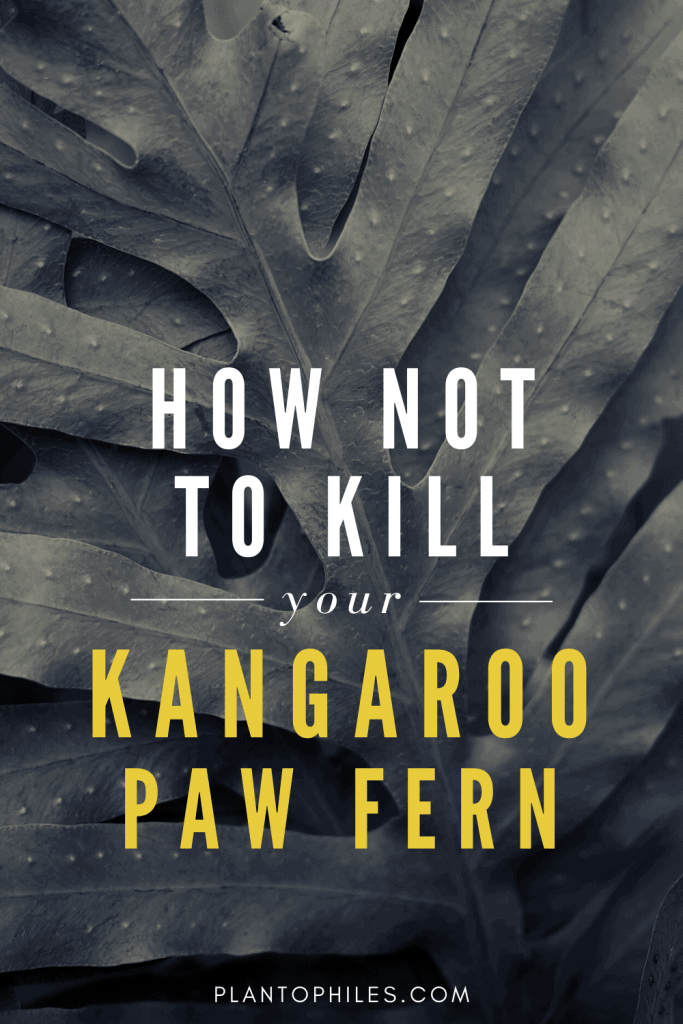
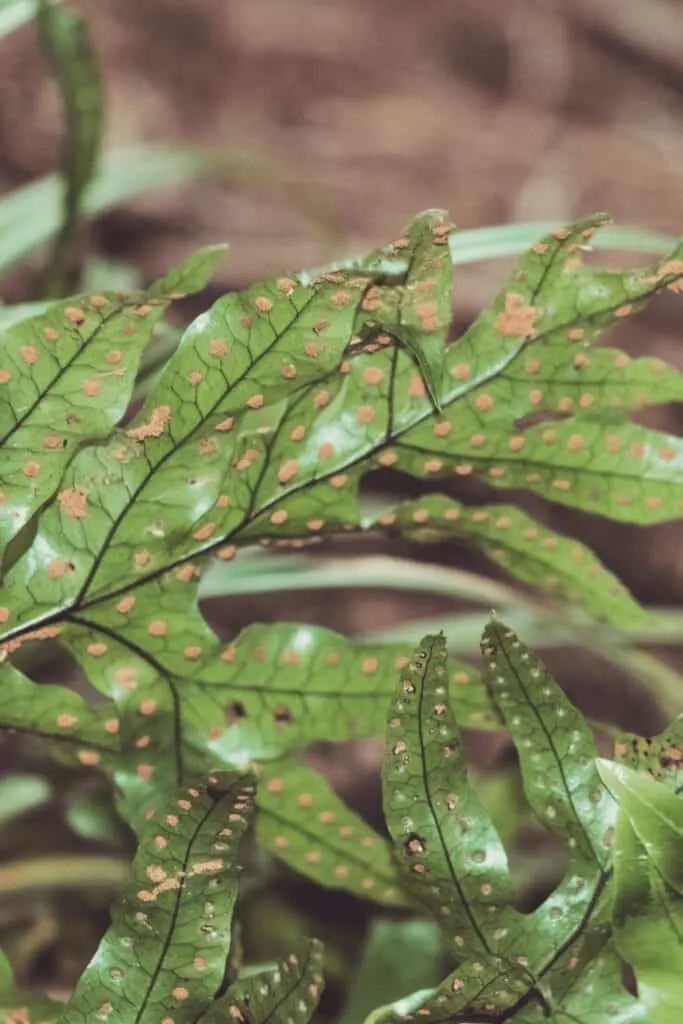
Problem #4: Green or dark dots on the undersides of the fronds
Well, this is actually not a problem at all because these green or brown spots on the fronds are absolutely normal, even necessary.
So what are we dealing with here?
We are simply dealing with spores here. In nature, all ferns reproduce through spores. Green (white) spores indicate immature spores.
In summer, you will find that the spores are turning into a somewhat brownish color.
This indicates that the spores are mature (ripe).
If you would like to get a copy of your fern, this would be the time for you to collect the spores.
If you are indeed interested in fern spore propagation, you’ll find a detailed guide on how to do that a little bit further above.
Kangaroo Paw Fern: Pests
Microsorum diversifolium is not very prone to plant pest attacks.
However, at some point your plant might get infested with aphids or slugs.
If the former happens, make sure to get a good look at our in-depth guide on aphids pest control.
In this guide, you will learn what aphids are, how they attack your plants, and, more importantly, how you can get rid of these pesky pests (hopefully forever!).
Occasionally, Kangaroo Paw ferns might also get attacked by scale insects. This is, however, pretty rare.
Is the Kangaroo Paw fern a good fern for beginners?
If there really is such a thing as a good fern for beginners, the Kangaroo Paw fern would probably take that spot.
Kangaroo Paw ferns are somewhat more tolerant and forgiving than most other ferns.
For instance, high humidity levels are a must for certain ferns. Not for the Kangaroo Paw fern.
Frequently Asked Questions About Kangaroo Paw Fern Care
Are Kangaroo Paw Ferns poisonous to cats?
The ASPCA, the American Society for the Prevention of Cruelty to Animals, is the place to visit (online!) when wondering whether a plant is toxic or not to your pets. But as far as the Kangaroo Paw fern goes, there is no information to be found on the website. It does neither figure on their list of toxic plants to cats nor on their list of non-toxic plants to cats.
Are Kangaroo Paw Ferns poisonous to dogs?
We couldn’t find any reliable information on whether the Kangaroo Paw fern is poisonous to dogs or not. The ASPCA, the American Society for the Prevention of Cruelty to Animals, which usually provides a reliable answer to this kind of question, does not list this type of fern in their list featuring plants that are toxic to cats (but it does also not feature in their list of plants that are actually non-toxic to dogs).
How to display a Kangaroo Paw fern?
It is most common to grow Kangaroo Paw ferns in a regular pot as a tabletop plant, as these plants don’t get very tall. Growing Kangaroo Paw ferns in hanging baskets are also possible.
Is it recommended to keep the Kangaroo Paw fern outside in summer?
While it is possible to grow the Kangaroo Paw fern outside in summer, it is not exactly recommended, as it is best to keep this fern at the same location always. This is because ferns, and also other houseplants, are very susceptible to change in location and environment. Moving the Kangaroo Paw fern from one location to the other does, therefore, mean (unnecessary) stress for your plant.


Daniel has been a plant enthusiast for over 20 years. He owns hundreds of houseplants and prepares for the chili growing seasons yearly with great anticipation. His favorite plants are plant species in the Araceae family, such as Monstera, Philodendron, and Anthurium. He also loves gardening and is growing hot peppers, tomatoes, and many more vegetables.