
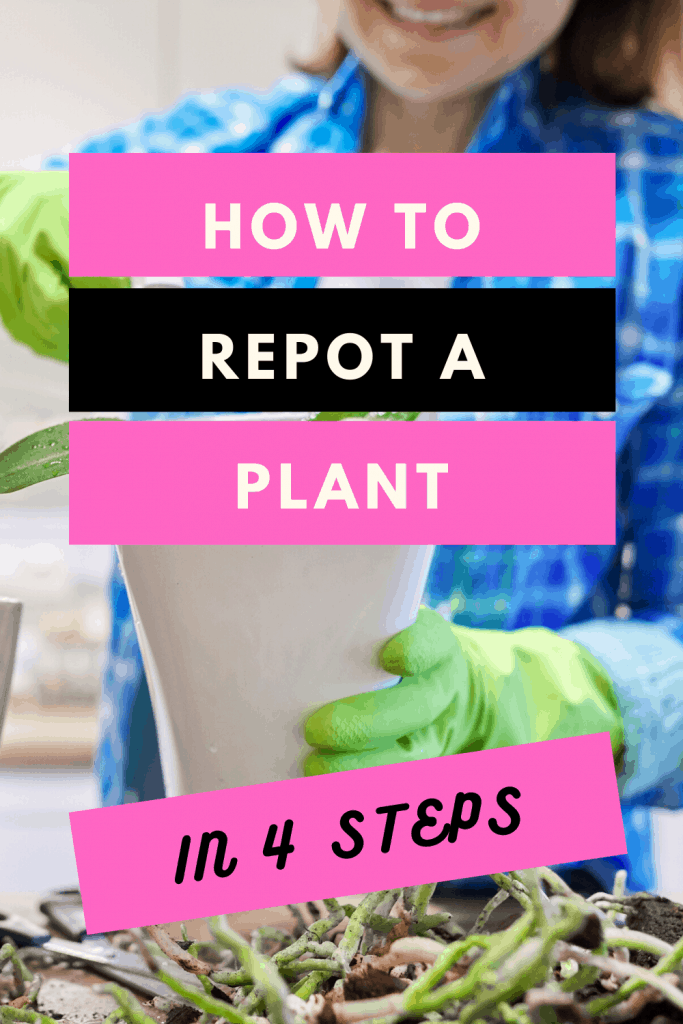
In this gardening guide, I will walk you through the basics of how to repot a plant properly.
How to Repot a Plant Takeaways
| Step Number | Step Description |
|---|---|
| 1. Choosing the right pot | – One size larger than the previous pot. |
| – Must have drainage holes. | |
| – Material options: plastic or clay. | |
| 2. Prepare the pot | – Clean and disinfect using a bleach and water solution. |
| 3. Soak the new pot | – Soak for 5-6 hours (only for clay pots). |
| 4. Cover the drainage holes | – Use porous material like paper towel or coffee filter. |
| 5. Add Soil | – Add a few inches of soil at the bottom. |
| 6. Prepare the plant | – Lightly water the plant in the old pot |
| – Remove the plant and prune the rootball | |
| 7. Repot the plant | – Add new potting mix. |
| – Place the plant in the new pot. | |
| – Place the plant in the new pot. | |
| 8. Watering | – Water generously but avoid immediate fertilization. |
Repotting
Re-potting or potting up plants is a great way to facilitate plant growth. But only a tiny percentage of home gardeners know the science of repotting a plant. That is to say, they damage the plant roots during the repotting process.

The Repotting Process
1. Choosing the right pot

You will come across various options when choosing a container to repot your house plants. These are the most important aspects:
- Pot Size: Pick a pot one size larger than the previous pot. The new pot needs to be wider and deeper. The larger dimensions will allow the roots to grow well before the plant grows. Additionally, a strong root system is pivotal to a plant’s growth in an upward direction.
- Drainage Holes: The pot also needs drainage holes. These holes will be the gateway for access water to drain out. Of course, you wouldn’t want your plants swimming in the water, causing the roots to get damaged.
- Pot Material: The most commonly found pot materials are plastic and clay. Plastic pots are cheap and lightweight. Clay pots have the added advantage of reduced waterlogging as they are porous. There also is a lower possibility of plants tipping over as they are heavier.
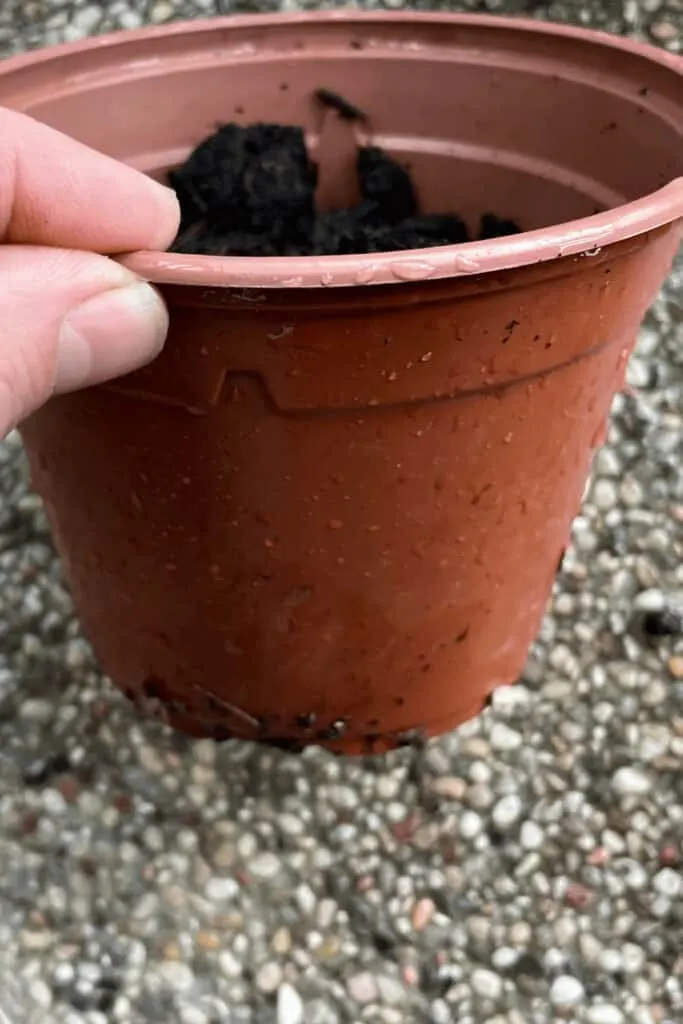
2. Prepare the pot
Cleaning and Disinfecting
Once you have settled on your choice of the pot to repot the plant, it is time to prepare the pot to proceed with the repotting process.
First and foremost, you must clean and disinfect the pot. Iowa State University suggests using bleach in a concentration of 9 ratios of water to 1 ratio of bleach.
Soak the pot in this solution and then put the pot in a dish detergent and water solution.
If you are using clay pots, you may have to use steel wool or brushes to clean and contaminations such as mineral deposits.
This is mostly not a step we think about when we think about how to repot a plant. This will ensure that any existing detrimental minerals on the pot are washed away so that the plant growth is not affected.
To explain this further, kindly note that minerals often dehydrate the plants, causing the roots to dry and the leaves to wither. Therefore, this necessitates the need to clean and disinfect the pot.
You can disinfect the pot by simply soaking it in a solution of bleach and water.
Take one part of bleach with nine amounts of water and allow the pot to stand in the solution for approximately 10-15 minutes. Later, dip it in a washing detergent and water solution for cleaning.
And then, rinse it with clear water.
3. Soaking the new pot in water
If you use clay pots to repot garden plants, soak the pot in water.
The pot must be allowed to soak for 5-6 hours before you begin the repotting process.


Clay pots or terra cotta are porous and quickly soak up water. Thus, your plants must be watered frequently.
Keep that in mind, as it isn’t always about How to repot a plant but also about what you repot your plant into.
4. Covering the drainage holes
Now that you have picked a pot with drainage holes, you have to make sure the soil remains intact within the pot. Only the water must be allowed to pass through.
To do so, get a porous material like a paper towel or coffee filter.
This will prevent the soil from excessive dampening. Thus allowing the water content to drain away at regular intervals, eventually helping your plant grow better.
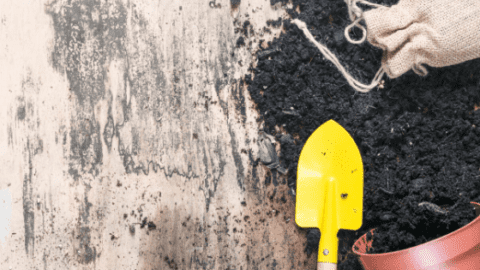
5. Add a few inches of the soil
After following the steps above, your pot is now ready. All you need to do now is out a few inches of soil at the bottom of the new pot. This soil layer will be a base for the plant roots to grow.
Please note that at this point, don’t overfill the pot with soil and potting mix. The pot will be filled with soil once the plant has been transferred from the old pot.
Add enough so the plant doesn’t over-bulge from the soil once repotted.
6. Preparing the Plant
Water the plant

Now lightly water the plant in the old pot. This will help the plant slide off easily as the rootball will get moist enough to leave the edges of the pot.
But ensure you give ample time for water to travel down through the root ball. Therefore, you must do this step hours before repotting the plant.
Doing this process correctly will help the plant maintain its health during repotting.
Remove the plant from the current pot
Now, to remove the plant from the pot, reach out for the plant’s stem with your thumb and index finger. Then, turn the plant sideways and hold it gently by the stems, working it to and fro until you feel it is coming out.
However, use a knife if the plant isn’t losing after several tries. Run the knife around the edges and then try again.
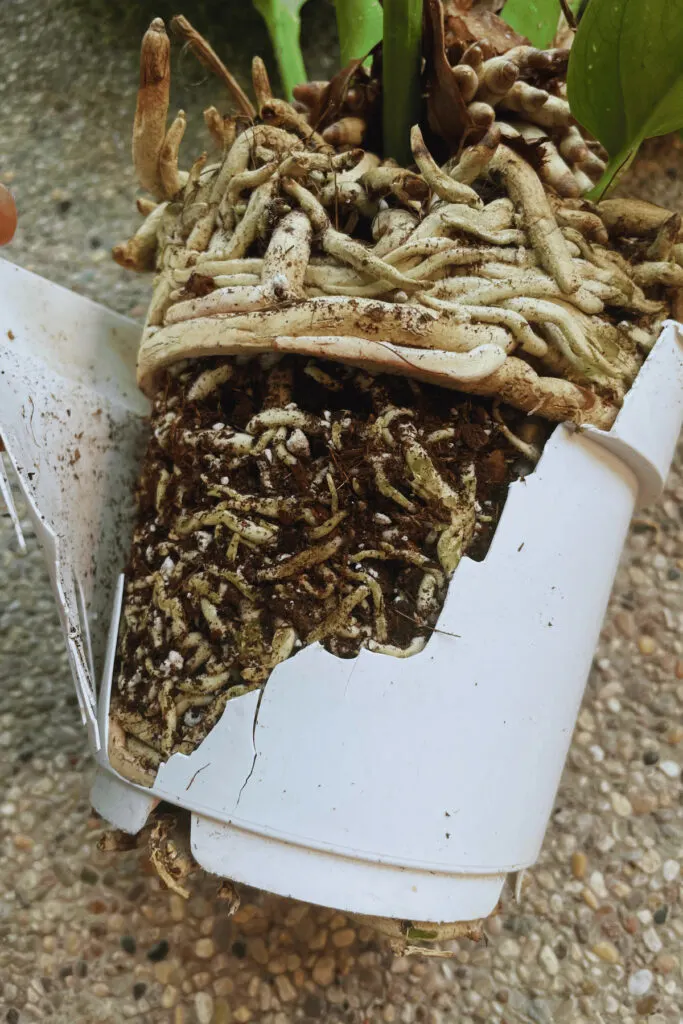
Pruning the rootball
Pruning is vital in helping your plant settle in a new pot. Therefore, you must remove the old root balls, allowing fresh ones in the soil.
If any roots have turned black or smell spicy, remove them immediately. However, if a major portion of the root system is affected, your plant has a fungal disease. That is to say, that the plant cannot be saved or repotted.
On the other hand, if the roots are healthy. You can then prune off any thin roots that are extra long and delicate. But be sure to leave the thicker ones at the base.
And if, in doing so, you happen to damage a few roots, there is nothing to worry about. The soil will be pruned once repotted.
Also, use your fingers to loosen the coils if the roots are tightly coiled. Do so in a gentle motion. You can also use a sharp knife to slice any tight coils that are hard to work through.
And don’t forget to cut away the rotten ends.
7. Repot the Plant
Add new potting mix
Before placing the plant in the new pot, pour a layer of fresh mulch and pat it down. This will be the soil bed for your plant to settle in.
You can add lava rocks or gravel at the bottom of your pot without drainage holes. This will help the water drain in the absence of drainage outlets.
Moreover, ensure that the top of the rootball is at least an inch below the pot’s surface. The reason is that the rootball may bulge out and spill when watering.
Place the plant in the new pot
Now comes the much-awaited part of the repotting process: placing the plant in its new home.
Set the plant you removed from the old pot in the new pot and spread a fresh layer of soil. Ensure the plant is placed in the right position, in the center. The plant must be equally distanced from all sides of the pot and be upright.
To check the upright position, revolve the pot around and observe the straight 90-degree angle. If you notice any tilting, fix the placement with soil support.
Fill the pot
Fill the pot with soil. However, you must not overpack the pot with excessive soil, as this will prevent airflow to the root system.
Don’t forget it will take time for the plant to settle in a new soil environment, so it needs some breathing space.
Although you can stuff the pot with soil if you have planted a top-heavy plant, excessive soil supports it. But this is limited to a very few plant varieties.
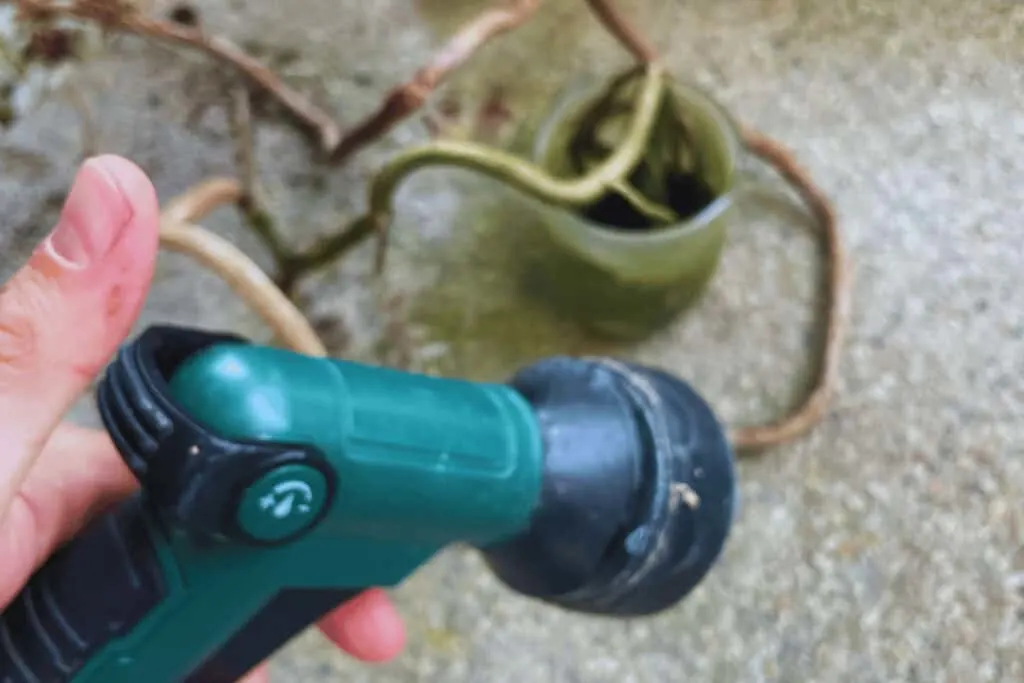
8. Watering
Even out the soil on the top, before you start giving your plant it’s well-loved water!
Watering will help the plant’s roots absorb the staple soil nutrients. And it will also facilitate the plant in getting used to the new pot. When watering, please keep the following pointers under consideration:
- Refrain from fertilizing the plant immediately after repotting.
- Keep it away from sunlight and humid conditions after watering.
- Keep some extra soil ready to fill empty spots once the soil settles down after watering.
Be sure to water your newly potted plant generously. Wait until the soil gets moist evenly and excess water drains away, and alas! You have successfully pulled off the repotting procedure.
Why do Plants need Repotting?
Plants need repotting because the nutrients in potting soil are not endless. Plant growth slows down over time. This is because the soil becomes deficient in nutrients. Organic matter in the soil contains nutrients. Water content pulls the organic matter towards the bottom of the pot as you water the plant.
As plants grow, they overcrowd the pot with their roots. And as they grow bigger, they need more nutrients. Therefore, plants must occasionally be repotted into a bigger pot with new soil.
Repotting recharges the soil with organic matter. This helps the plants grow better.
Table of Contents

When Does a Plant Need Repotting?
Here are a few common signs to help you better understand when and why a plant needs to be repotted:
- Water stands on the top and is not being absorbed by the soil.
- The roots are overgrowing through the drainage holes.
- You notice the soil is shrinking inside the pot
- The soil is disintegrating and has a dried texture.
- The plant has grown too big, and the pot size is small.
- A considerable amount of salt or minerals is building upon the plant surface.
- It’s been over 12 months since you last repotted the plant.
- Plants that have grown pale or are not growing further.
What is the Best Season to Repot Plants?
The best seasons to repot plants are spring and summer as they come with long daylight hours. Higher temperatures and exposure to direct sunlight help plants in their early stages of growth.
Spring and summer are the seasons where plants grow the most. Spring and summer are also when your plants need the most nutrients, and fertilizer is essential.
Care Tip for Repotted Plants
Repotting a plant is an entirely unsettling experience for the plant itself during the first few days. The plant was removed from its comfort zone and placed in an entirely new, unfamiliar environment. Therefore, you must be accommodating during this period of shock for the plant.
Here are a few basic tips to assist you,
- You might have to water them at short intervals in the beginning. But for the first week, don’t water the plant, as you must allow the damaged roots to heal.
- Also, ensure that you have placed the reported plant in a cool place with more shady hours and no direct sunlight for long hours.
- Furthermore, it prevents over-fertilizing the soil, as the potting soil already has ample fertilizers to get started with. So, wait a few more weeks before you work on extra fertilizers.
- After repotting, try to increase moisture in the air around your plants, at least for a while.
- Give your plants an all-purpose, water-soluble food for the first few weeks.
What is Transplant Shock?
One common problem your repotted garden plant will undergo is a transplant shock. It is normal for plants to suffer from this shock once their root system has been disturbed and moved from one place to another.
To treat plants undergoing transplant shock, sprinkle some sugar and water solution.
This might sound out of context and insane, but research has shown that grocery-bought sugar, when dissolved in water, helps prevent transplant shocks in reported plants.
Moreover, it would be best always to keep the roots moist. This is a good way to help the plant overcome the shock phase soon.
FAQ
How often should plants be repotted?
Large plants grown well should be repotted every 20-24 months. Young plants that are still undergoing their growing phase must be repotted at least once a year. This will nurture their growth while allowing them to maintain a healthy outlook.
Can we repot the plant in the same pot?
To repot a plant in the same pot, you have to follow a thorough cleaning process. Wash off the pot with hot water and soap. Leave it soaked in a detergent-based solution for a few minutes to disinfect any harmful minerals. Then rinse it off to use.
How can we know our plant needs to be repotted?
You can easily tell when your plant needs to be repotted if the roots are growing out of the soil or if your plant has stopped growing.
Moreover, if the soil starts absorbing water too quickly or too late, then it’s a sign that your plant should be repotted.
What soil works best for potting?
Soil specially made for potted plants must be used when repotting a plant. This soil is often referred to as a potting mix. It includes a peat-based mix and a composted mix.
Can you kill a plant by repotting it?
Repotting comes with easy-to-follow instructions. And it doesn’t always mean you pull it out of the stem and change the pot. You can also work in new soil and potting mixture to help the plant grow better in the same pot.
When should I repot my plants after buying?
Repot a plant right after you have purchased it from the local nursery. You never know how long the plant has been sitting in the same pot. So, it’s better to repot it immediately to move out of the recovery period at its earliest.
What happens if you don’t repot a plant?
If you don’t repot a plant, you gradually decrease the plant’s life. Root-bound plants will be deprived of essential nutrients as the soil eventually gets poor.
Therefore, repotting a plant once a year is crucial for a plant’s health.
Conclusion
Repotting a plant comes with its pros and cons. But what home gardeners fear the most is killing the plant during the repotting process. This is why I wrote this handy guide for all of us.
I was often unsure when to repot a plant and what needed to be done to keep the plant happy and healthy. Initially, I was apprehensive that my plants might die and often preferred not to repot, even when needed.
However, repotting plants is easy and must be practiced if you wish for your plants to grow well and your garden to bloom. So, do what works best for you. And don’t forget to experiment with new planting methods as you explore the vast horizon of the gardening world.


Daniel has been a plant enthusiast for over 20 years. He owns hundreds of houseplants and prepares for the chili growing seasons yearly with great anticipation. His favorite plants are plant species in the Araceae family, such as Monstera, Philodendron, and Anthurium. He also loves gardening and is growing hot peppers, tomatoes, and many more vegetables.