
How to Repot a Philodendron birkin?
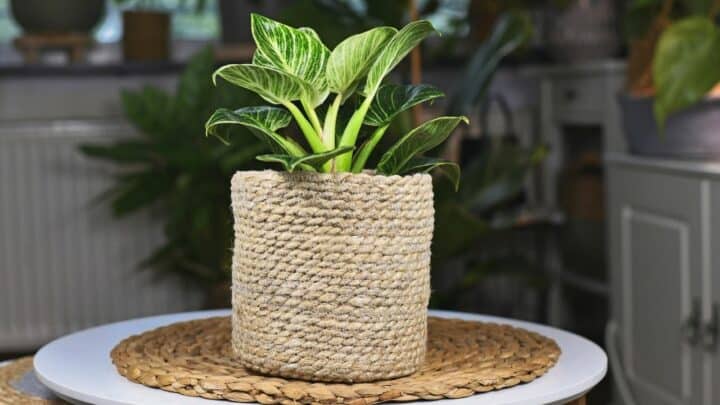
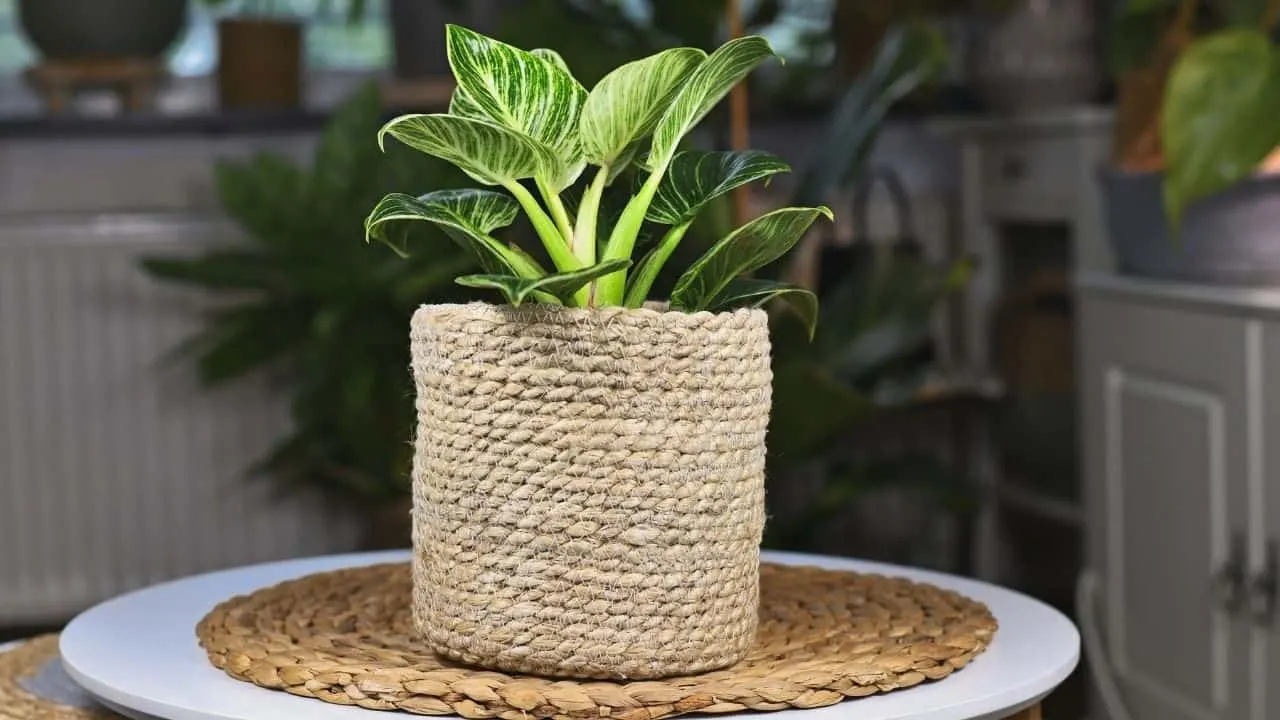
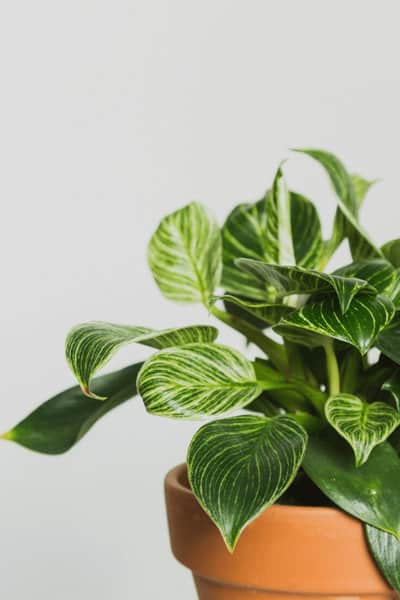
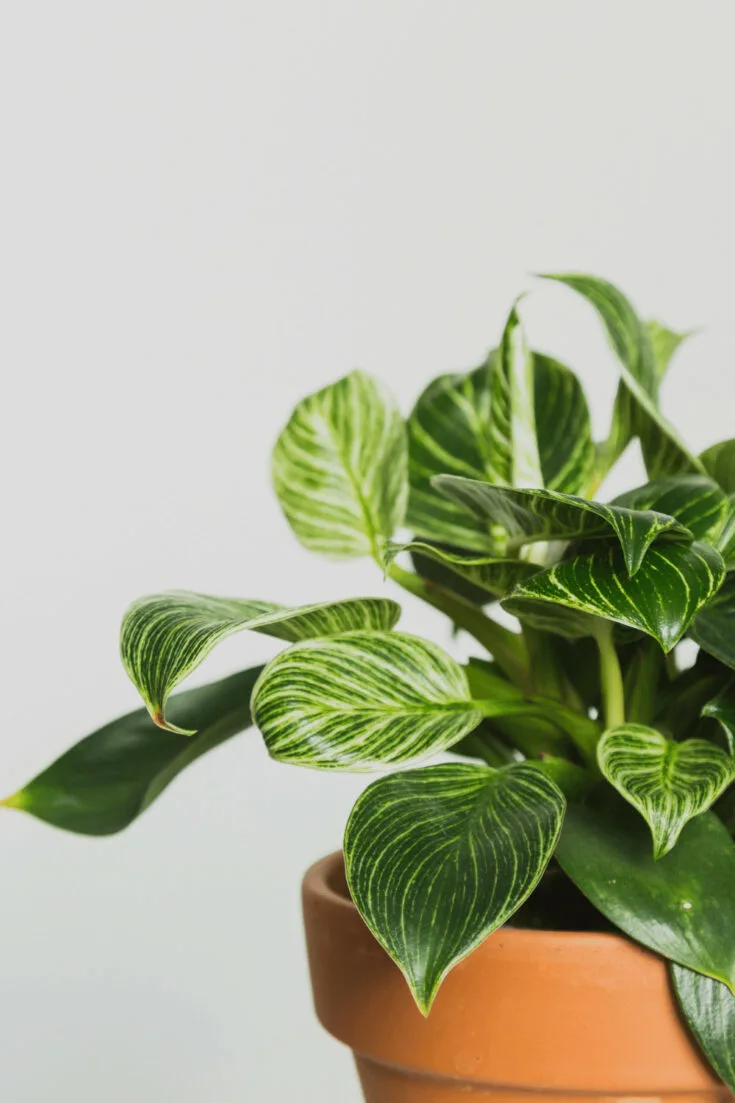
I’m quite besotted with my Philodendron birkin (a Philodendron White Wave) because it’s a stunning plant.
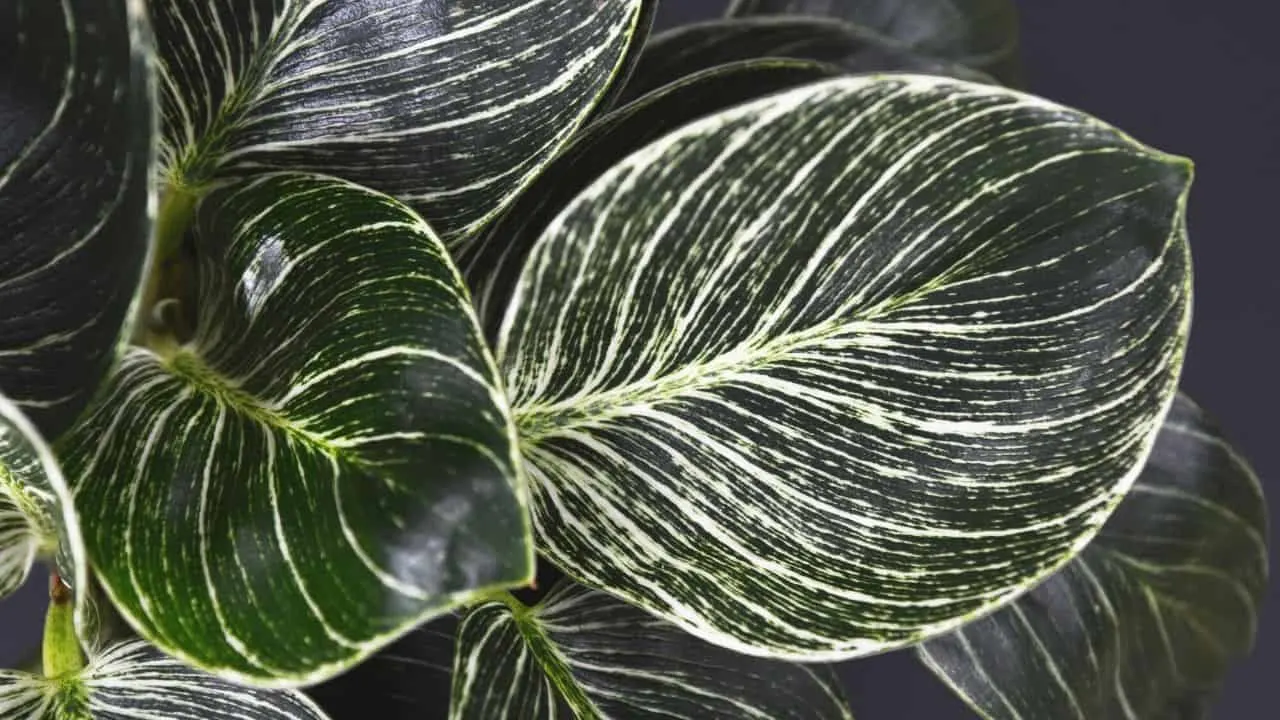
The white pinstripes on the leaves and occasional white or plain green leaves make it simply stunning.
And the plant is a great conversation starter too.
The Philodendron birkin grows quite fast, so I was really surprised one day to see the roots starting to grow out of the bottom of my light blue pot.
I also noticed that the plant’s growth had slowed recently. I then realized I’d have to repot my tropical plant.
Do you also need to repot your Philodendron birkin but are unsure where to start?
Look below at the exact procedure I followed; my plant is growing even better.
Table of Contents
How to Repot a Philodendron birkin
First, check your Philodendron birkin to see if it needs to be repotted. If it does, water it a day before repotting. Inspect the plant’s roots while gently removing them from the current pot. Place the plant into a 1-2-inch bigger pot (2.5-5cm) filled with soil. Gently pat the soil. Water the next day to let broken roots callous over first.

Just place your Philodendron birkin in a warm and humid room where it’ll get lots of bright, indirect light for it to thrive.
Signs Your Philodendron birkin Need to Be Repotted or Transplanted
No two plants grow at the same rate, but in general, you’ll probably need to repot your Philodendron birkin every 12-24 months.
Not sure when to repot or transplant the Philodendron birkin? Here are the signs to look for:
- Roots growing out the bottom of the pot or container (the plant has become rootbound)
- Slowed growth
- Yellow or brown leaves
- Soil becomes slow-draining, and water pools readily on top of the soil

A Guide to Successfully Repot Your Philodendron birkin
Repotting or transplanting sounds like a scary step if you are a newbie to plant care. But it doesn’t have to be.


All you need is a clear step-by-step guide, and that’s exactly what I have here to make your life easier.
When Best to Repot your Philodendron birkin
- Late spring or early summer
Why Repot Your Philodendron birkin
- Prevent stunted growth and leaf browning or yellowing
- Prevent your pot or container from cracking or breaking because of root pressure
- Prevent your plant from choking itself as the roots become denser and denser, which can be fatal for your plant
- Prevent your plant from becoming stressed, which makes it more prone to diseases and pests
- Ensure the plant thrives by growing well and having enough space in the pot to grow
- Replace soil that has degraded (soil that doesn’t hold enough nutrients and water for the plant to grow)
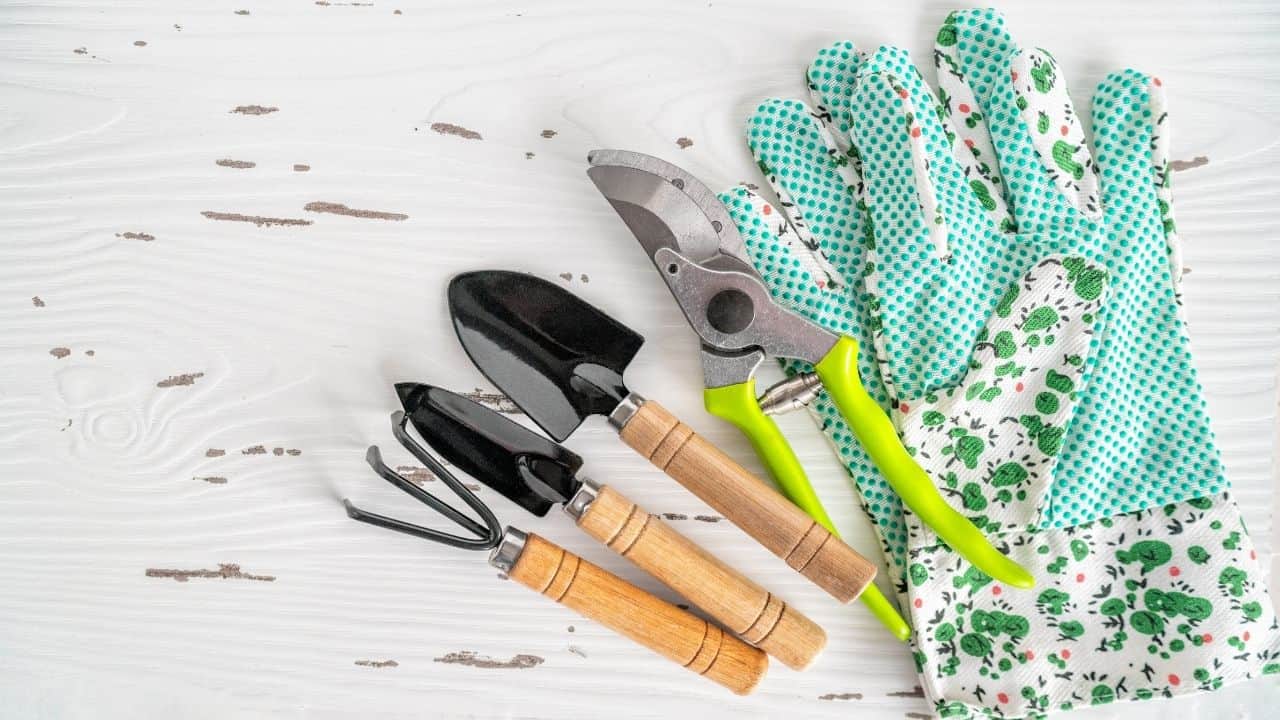
Tools You Need to Repot your Philodendron birkin

- A new, well-draining pot that’s 1-2 inches bigger in diameter than the current pot
- Well-draining potting mix
- Trowel
- Rubbing alcohol
- Scissors or pruning shears
Follow these steps to repot your Philodendron birkin:
Repotting Step 1: See If Your Philodendron birkin Plant Needs Repotting
The first step to transplanting your Philodendron birkin is to inspect the plant to see if repotting is necessary.
If you see signs that your Philodendron birkin is ready to be repotted (like slowed growth), move on to the next step.
Repotting Step 2: Water Your Philodendron birkin a Day Before Repotting It
A day before you repot the Philodendron birkin, water the plant well.
This helps in minimizing transplantation stress and keeps the roots structurally sound. Plus, it allows for easier plant repotting.
Repotting Step 3: Get the New Pot Ready
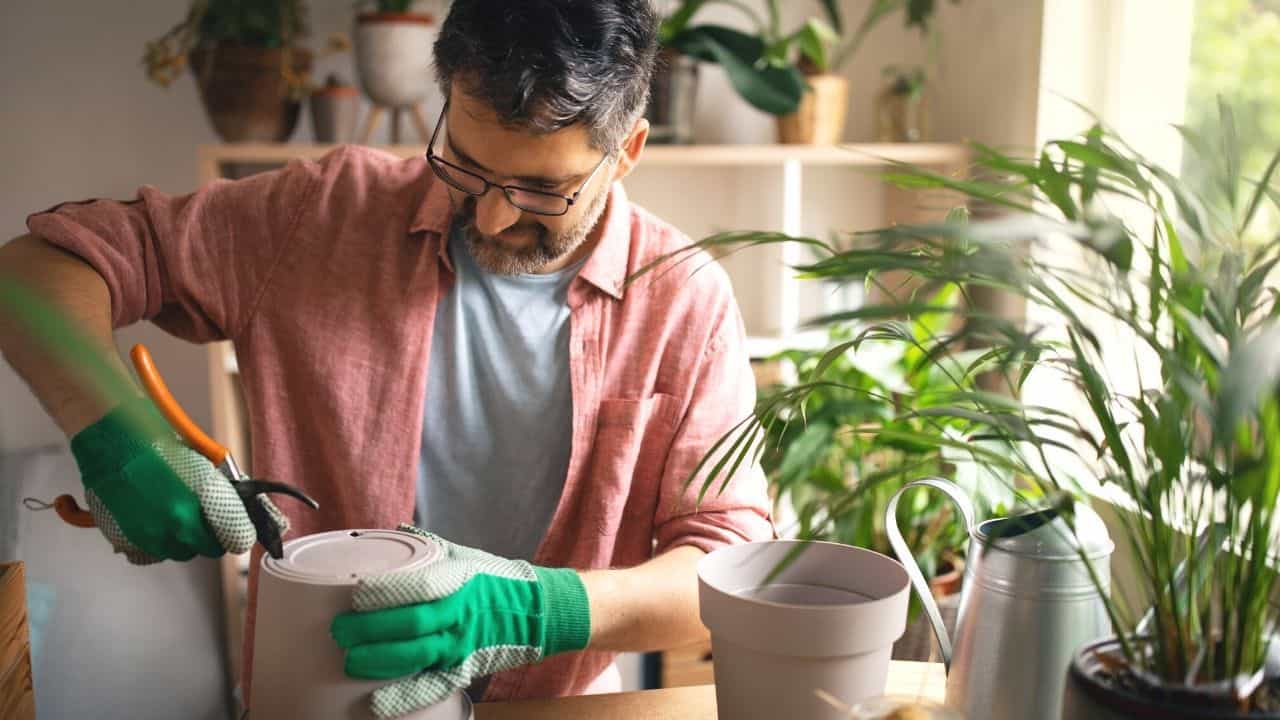

When the Philodendron birkin is ready to be transplanted, get the new, slightly bigger, well-draining pot ready.
Cover the drainage holes with porous paper, like a paper towel, so you don’t lose soil when you repot the plant.
Now add enough well-draining potting soil to cover the pot’s base and more to place the root ball in. You want to fill the new pot about ½ to ¾ of the way with the potting mix.
Repotting Step 4: Remove the Philodendron birkin From Its Pot
Now it’s time to remove the Philodendron birkin from its pot. You want to minimize the time your plant is out of its pot, so work as fast as possible but carefully and gently simultaneously.
Turn the pot upside down to remove the Philodendron birkin from its pot or container. Then gently wriggle the plant lose from the soil by holding its base.
You may need a trowel to help slide the Philodendron birkin out of its old pot.
Repotting Step 5: Check the Roots of the Philodendron birkin
While you have the Philodendron birkin out of its pot, inspect the roots.
Gently shake some soil from the root system. You want to ensure the root ball is healthy, so the roots should be a light tan or white and bendable.
Dealing With Root Rot
If you see roots that are mushy and soggy, as well as a dark brown, then root rot has set in.
Before you repot the Philodendron birkin, cut away the root rot with pruning shears or scissors cleaned with rubbing alcohol.
You can also read more about how to save your plant from root rot for additional tips in addressing the problem.
Dealing With Rootbound Roots
If the roots have become rootbound, get your sanitized scissors or pruning shears ready.
Vertically cut the rootbound roots from top to bottom; you only need to make a few cuts to open the rootball. This will help encourage new growth.
Repotting Step 6: Repot the Philodendron birkin
Finally, it’s time to repot the Philodendron birkin. Gently put the tropical plant in the new pot.
Hold the plant and fill the rest of the pot with soil so it can stand on its own, and until the soil is at the level, it should be — covering the whole of the root system.
Pat the soil to make it look neat, but don’t press down a lot because the Philodendron birkin needs loose soil. If you compact the potting soil, it can suffocate the plant.
Water the Philodendron birkin the next and make sure it does not show any signs of transplant shock.
Watering the next day will prevent damaged roots from rotting.
It allows sufficient time for callous to build where the roots could have been damaged during the process.
A Few Philodendron birkin Repotting Tips
Once you’ve repotted the Philodendron birkin:
- Fertilize the plant in its new pot after a month to ensure the roots don’t burn.
- Ensure the environment you place your Philodendron birkin in is warm and humid. Keep other plants nearby to increase the humidity level, or mist the leaves every so often.
- Place the Philodendron birkin in a room where the plant gets plenty of bright and indirect sunlight.
Frequently Asked Questions about How to Repot Philodendron birkin
When should I repot my Philodendron birkin?
Your Philodendron birkin grows relatively fast, so check it yearly for signs of becoming rootbound. If the roots start growing out the bottom of the container or pot, transplant or repot your Philodendron birkin in a bigger pot to maximize growth late in spring or early in summer.
Is perlite or pumice good for Philodendron birkin?
A Philodendron birkin needs well-draining loose soil, so perlite or pumice are good choices. A potting mix of perlite, pumice, potting soil, and orchid bark or peat moss is ideal for your Philodendron birkin.
Conclusion About How to Repot a Philodendron birkin
I was a bit nervous when I repotted my Philodendron birkin the first time.
But I carefully followed the instructions I shared with you today and haven’t had any issues with the other transplants.
Ready to repot your Philodendron birkin now?


Daniel has been a plant enthusiast for over 20 years. He owns hundreds of houseplants and prepares for the chili growing seasons yearly with great anticipation. His favorite plants are plant species in the Araceae family, such as Monstera, Philodendron, and Anthurium. He also loves gardening and is growing hot peppers, tomatoes, and many more vegetables.