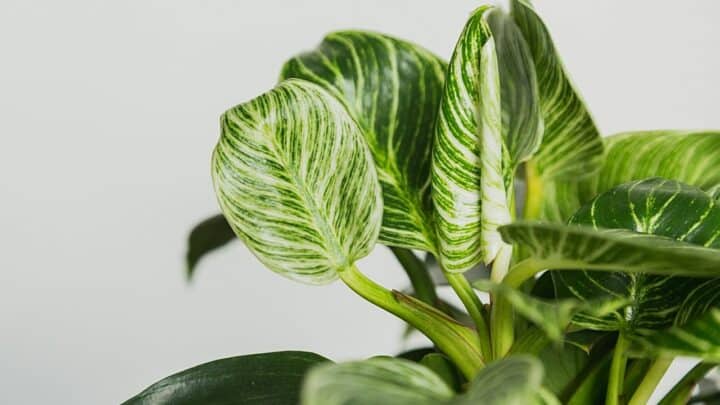

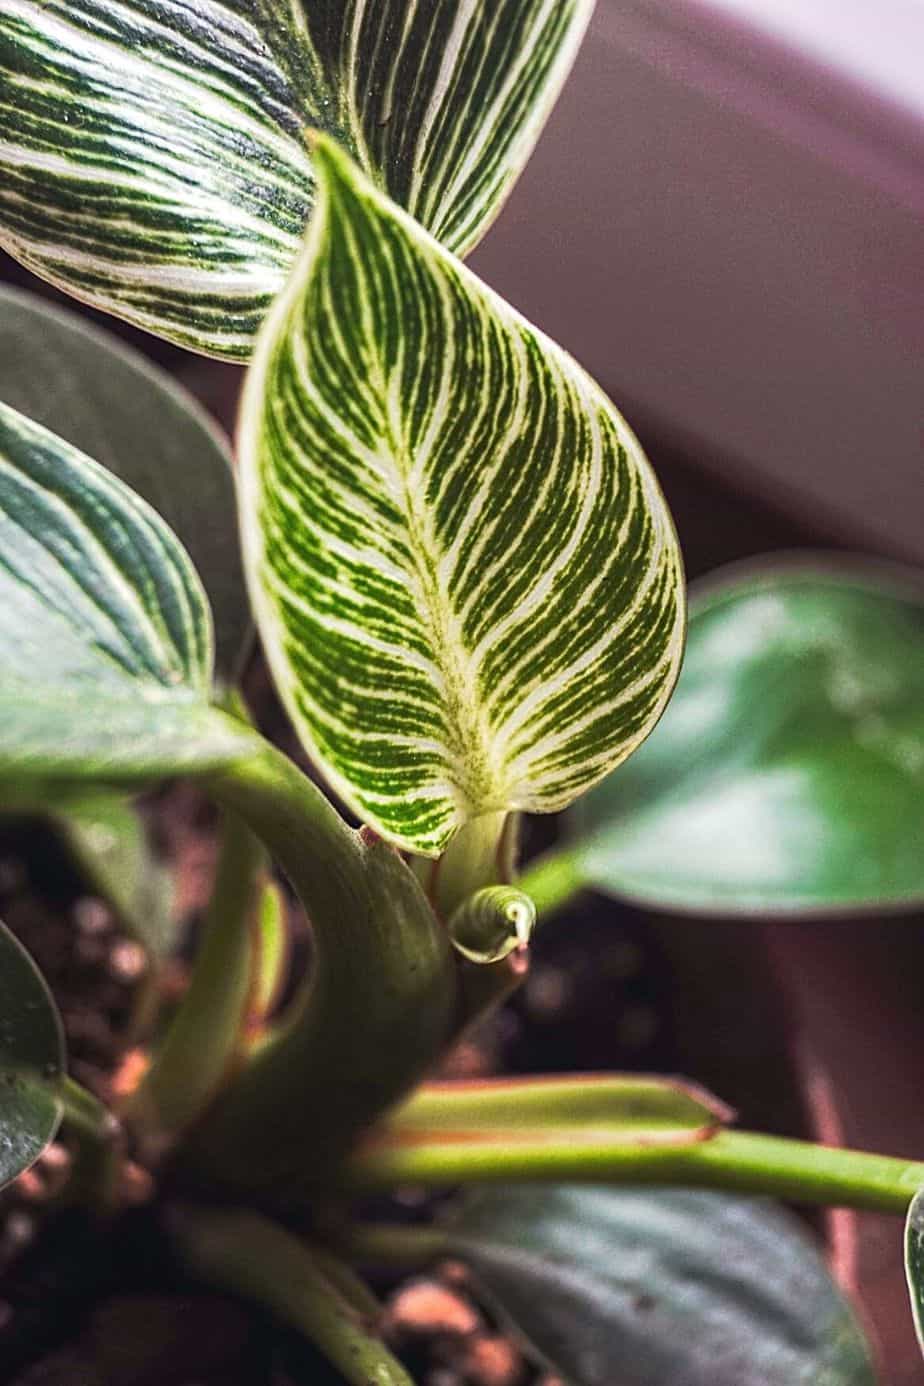
My Philodendron birkin is one of my favorite plants in my study.
The White Wave (as it is fondly called) looks stunning with the dark green leaves and the white and light yellow variegation.
I wanted more beauties, and when I mentioned this to my mom, she suggested I propagate the Philodendron birkin instead of running to my nearest nursery.
I haven’t propagated plants before, so Mom said I should try the ‘stem cuttings in water method, which is newbie-friendly.
If you want to propagate your Philodendron birkin and want a surefire (and easy) way, here’s how to propagate the Philodendron birkin in water.
How to Propagate Philodendron birkin in Water
To propagate Philodendron birkin sanitize the scissors or shears you’ll use with rubbing alcohol. Then, make a diagonal cut on the stem 1 inch below the node. Add the stem cutting to a glass of room-temperature water. Once the roots are 1-2 inches long (2.5-5cm), repot your Philodendron birkin.
[toc]
A Step-by-Step Guide About How to Propagate Philodendron birkin in Water
A guide for propagating a plant like the Philodendron birkin is a must-have, especially if this is your first time doing something like this.
I was lucky; I had my mom next to me to show me the ropes.
So think of this step-by-step guide as your “mom” showing you the way. Find the full Philodendron birkin growing guide here.
Step 1: Set up Your Propagation Station
Setting up a propagation station when propagating the Philodendron birkin (or any other plant) is necessary.
It keeps the mess contained in one area, making cleaning up a breeze.
The whole area, your tools, and the plant also stay sterile, which reduces the chance of disease or bacteria spreading and affecting another plant (especially if you are propagating more than one plant at a time).
To set up the propagation station, you also need to get all the tools ready that you’ll use to propagate the Philodendron birkin in water.
Here’s what you need:
- A healthy, mature Philodendron birkin plant
- Scissors or pruning shears
- Rubbing alcohol (or 70% isopropyl alcohol)
- Water
- Well-draining potting soil mix
- A glass
- A pot
Once your propagation station is set up and ready, head to the next step below.
Step 2: Sanitize the Scissors or Shears
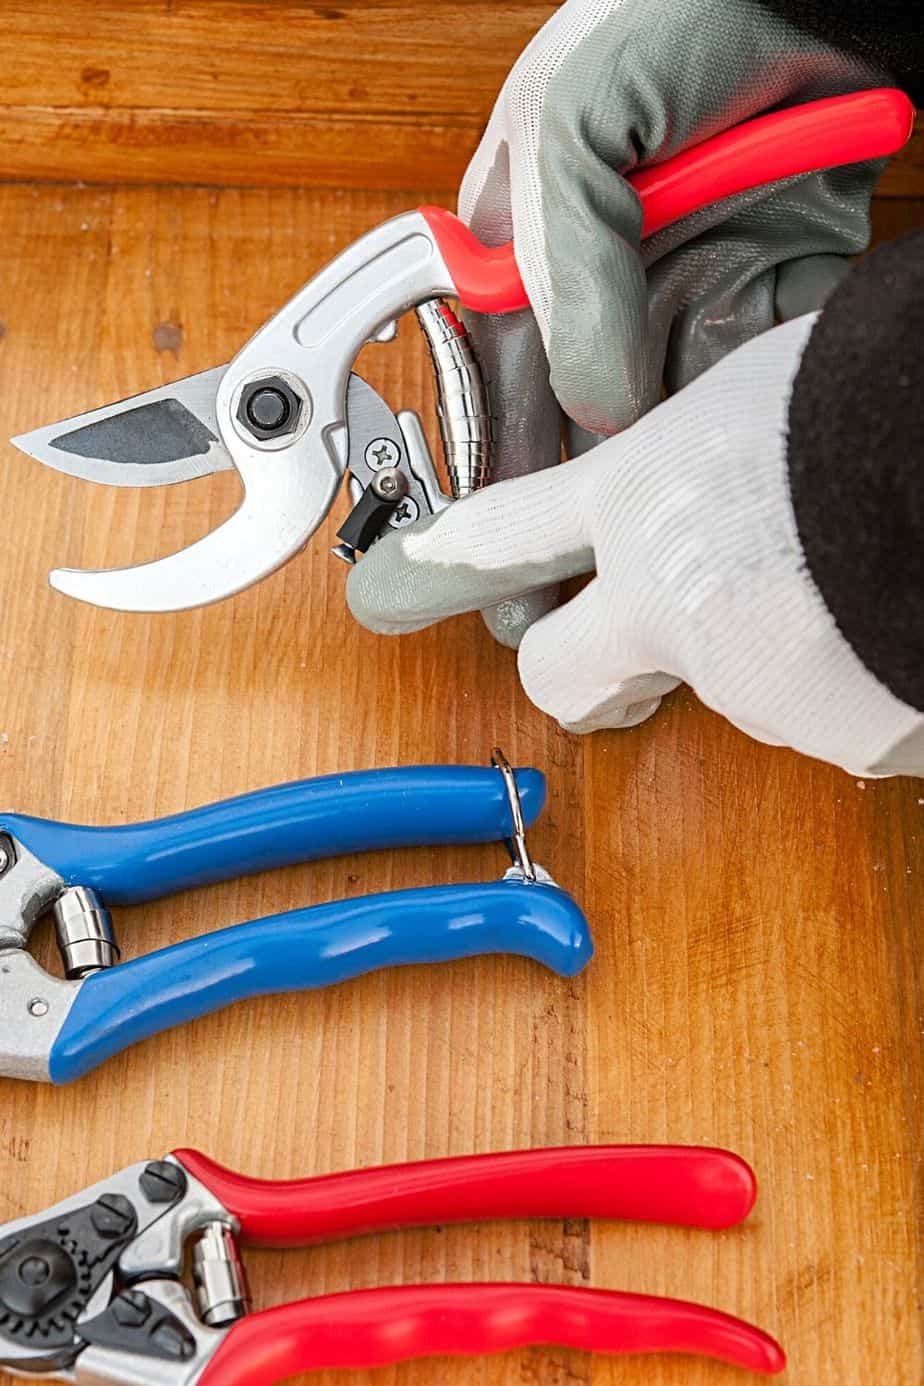

Sanitizing the scissors blades or pruning shears with rubbing alcohol ensures the blades are clean and no bacteria can be transmitted to the new Philodendron birkin.
Step 3: Choose a Stem
Locate a healthy stem cutting on the Philodendron birkin because a healthy stem increases your chances of propagation success.
The stem cutting should also have at least one node, a stem joint or junction where most of the new growth comes from.

The node is located where the leaf’s stem (petiole) meets the main stem.
It’s possible to see roots protruding from the node. Choosing a node that has aerial roots means your Philodendron birkin is mature and that the growing process will be faster than if there are no aerial roots.
Step 4: Cut the Stem
Once a healthy Philodendron birkin stem has been identified, make the cut.

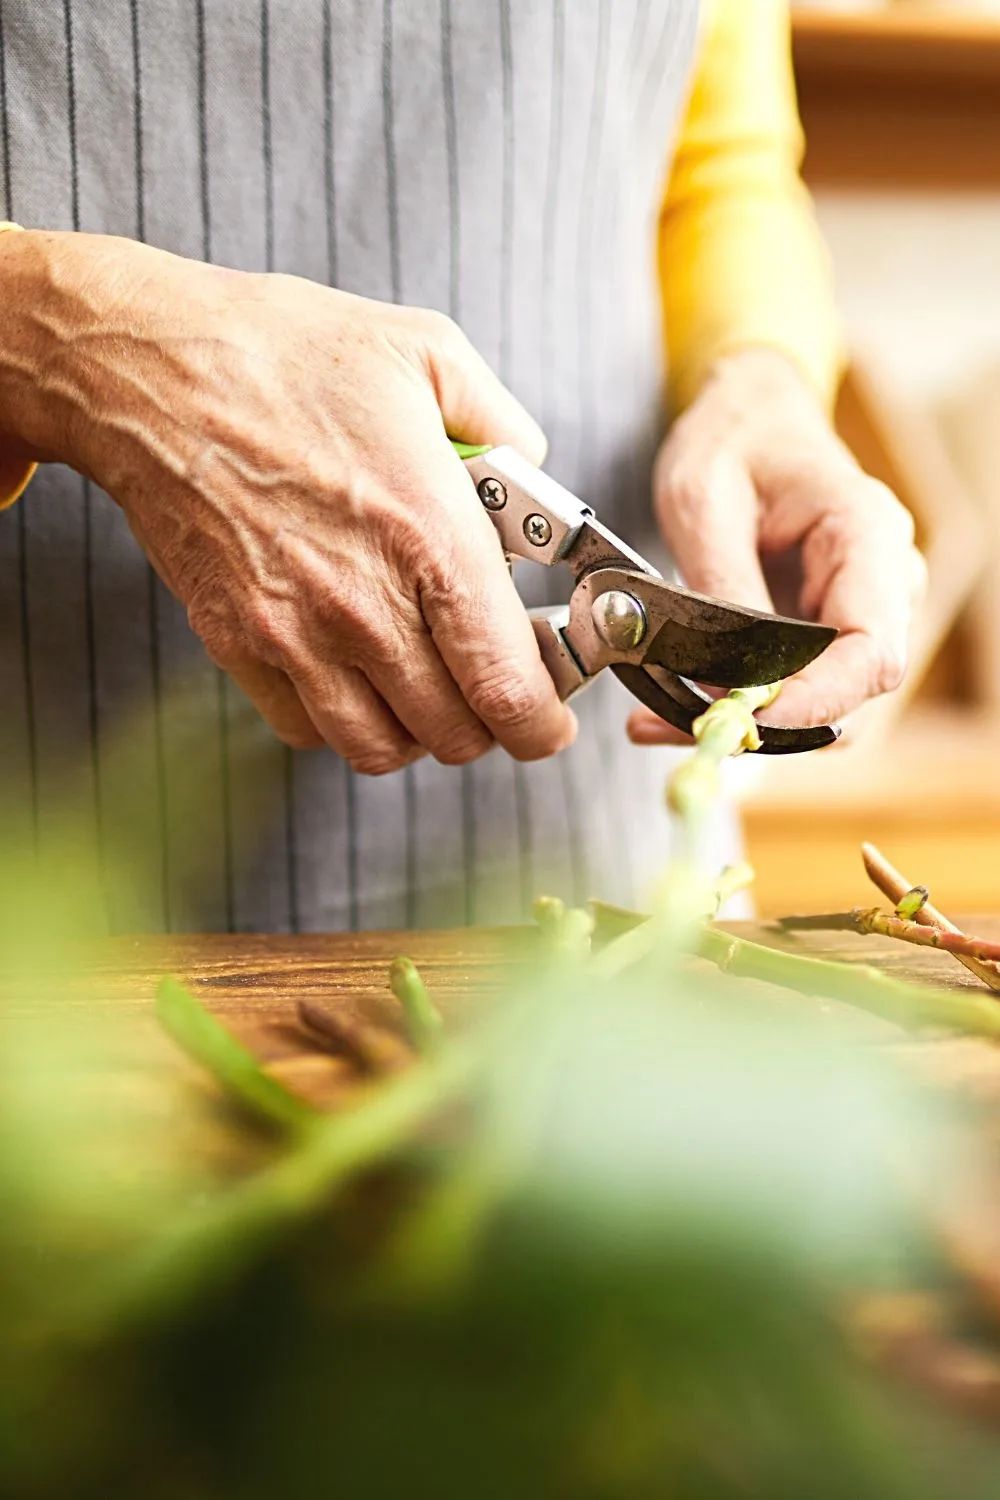
Cut the stem diagonally (1 inch below the stem’s node) to increase the cutting surface area. More stem space means there’s more space for root growth.
Step 5: Remove the Leaves
Since we are placing the stem cutting in water, we want to remove the leaves on the stem you just cut from the mother Philodendron birkin plant.
Leaves that touch the water will rot.
So carefully remove the Philodendron birkin leaves on the lower half of your stem cutting. No leaves should touch the water.
Step 6: Fill the Glass With Water
Get the glass and fill it halfway with room-temperature water. Hot or cold water will burn or shock the cutting, causing it to die.
Purified or filtered water or collected rainwater is the best water to use.
Water straight from the tap is too high in chlorine and fluoride.
But if you only have access to tap water, then fill the glass 24 hours before you start propagating so the chemicals can evaporate.
Step 7: Place the Stem Cutting in Water
Now it’s time to place the cutting in the water-filled glass.
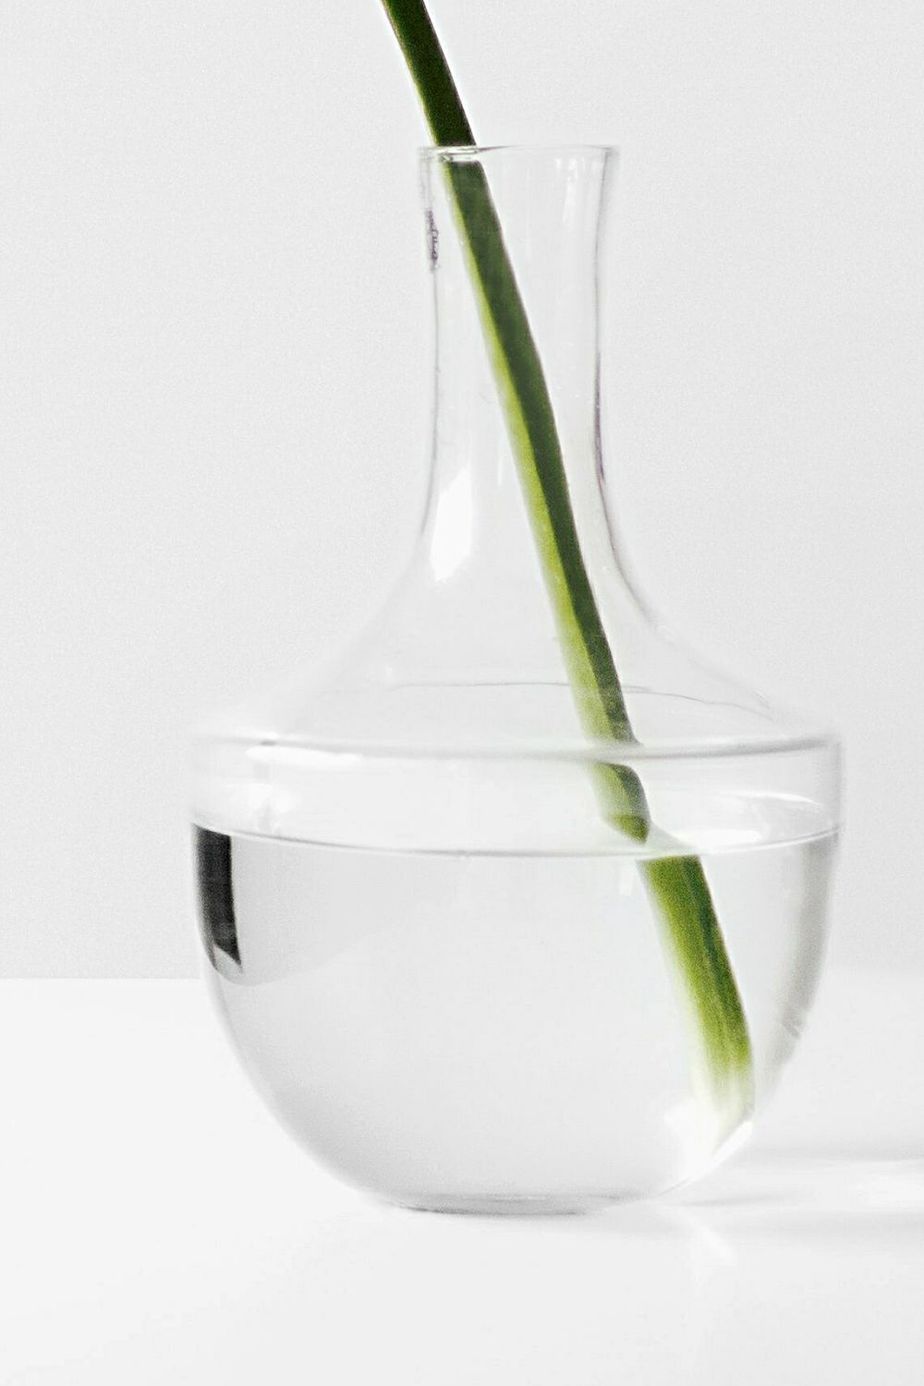

The nodes of the stem should be submerged in the water.
Step 8: Place the Glass in Bright and Indirect Light
The next step is to move the glass with water and the stem cutting to an area with plenty of bright and indirect sunlight.
Step 9: Add a Rooting Hormone
This step is optional; applying a rooting hormone to the cutting will ensure it grows faster.
Step 10: Keep the Water Fresh
Keeping the water fresh ensures it doesn’t get grimy and stagnate.


Plus, fresh water ensures the Philodendron birkin doesn’t start to smell bad and no bacterial growth can adversely affect the new plant’s growth.
So change the water every few days.
Step 11: Root the Cutting
Over the next few weeks, you’ll see how the roots grow from the cutting you made.
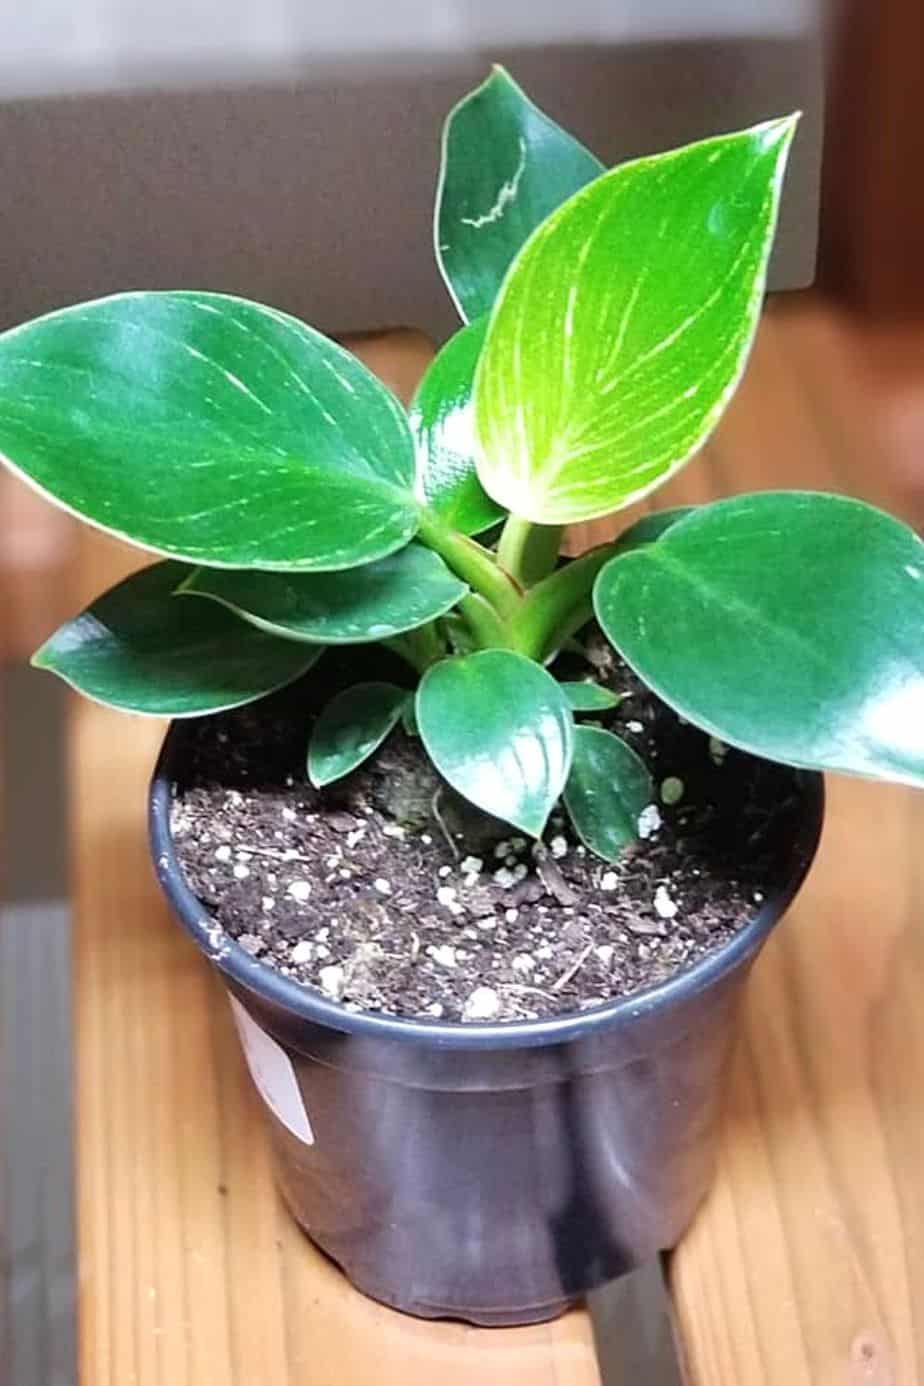
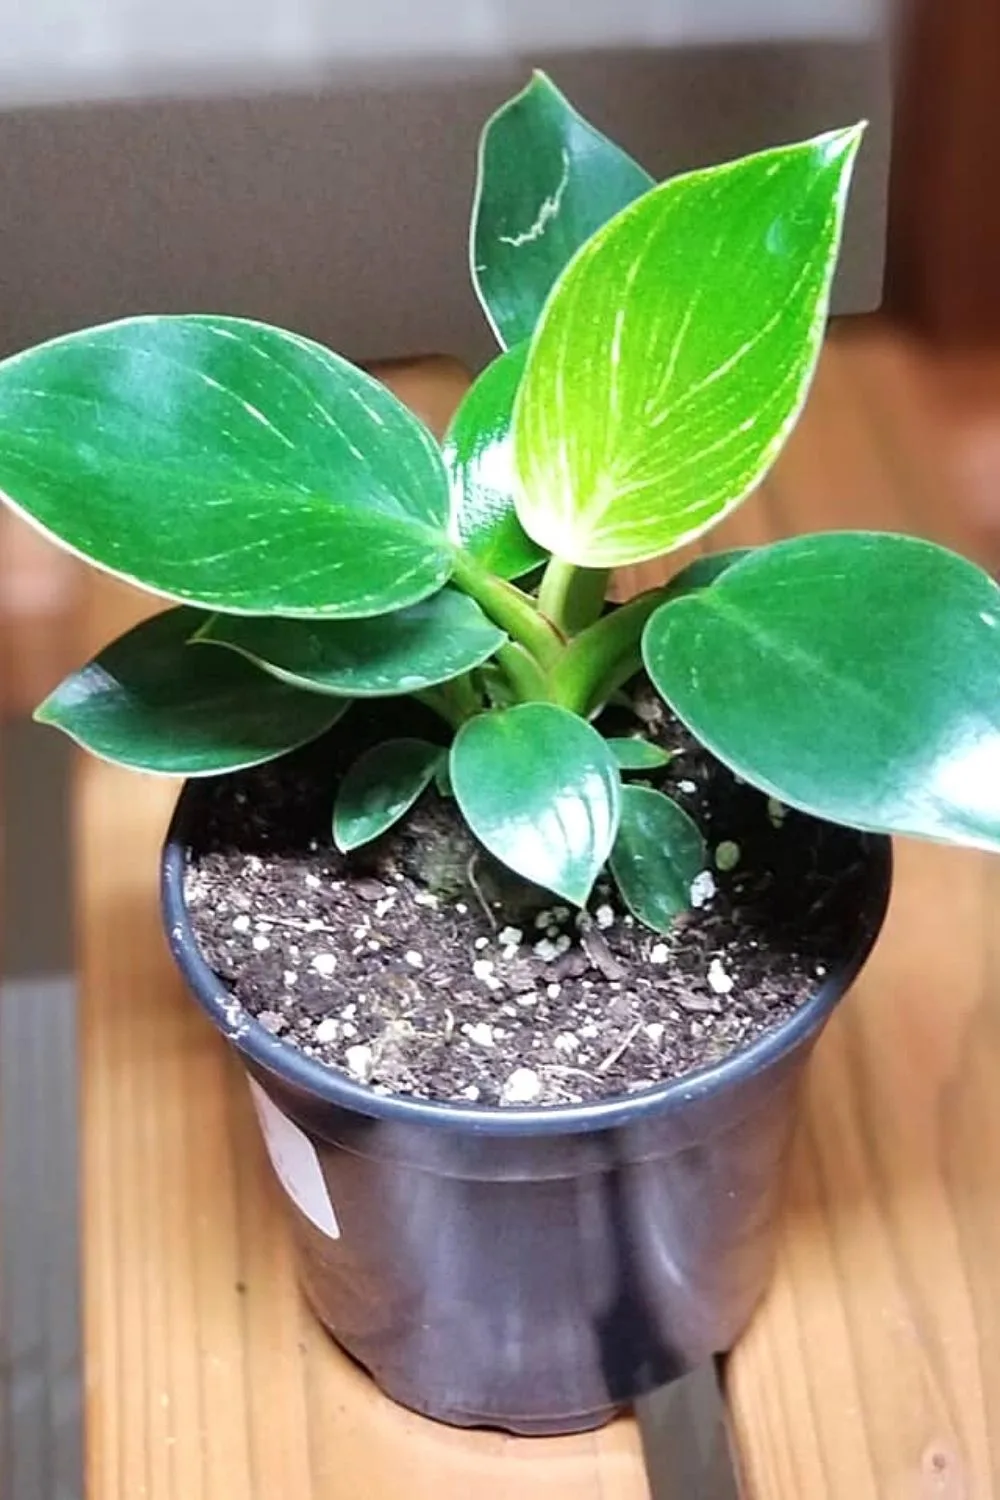
When the cutting’s roots are 1-2 inches long (2.5-5cm), repot the Philodendron birkin.
Prepare the well-draining pot with a well-draining soil mix (sphagnum moss, orchid bark, and 50% potting soil), peat-based soil, or a mix of potting soil, perlite, and peat moss or coconut coir).
Place the cutting into the aerated soil as gently as you can to avoid damaging the cutting’s new roots.
Step 12: Care for the New Philodendron birkin
The Philodendron birkin propagation is complete, and you need to properly care for the plant — just as you do for the mother Philodendron birkin.
Meet the plant’s requirements for light, temperature, water, and humidity; soon enough, your Philodendron birkin will thrive.
Read more about when to water Philodendron birkin.
Frequently Asked Questions About How to Propagate Philodendron birkin in Water
How long does it take for Philodendron birkin to root in water?
It generally takes as little as ten days or 3-4 weeks for a Philodendron birkin cutting to root in water.
How can you propagate a Philodendron birkin?
You can propagate a Philodendron birkin: stem cuttings in water, air layering, or by division. The easiest propagation methods are the division and stem-cutting methods. But if you are a pro-green thumb, try the rewarding but challenging air layering propagation method.
The Final Word About How to Propagate Philodendron birkin in Water
That’s it! An easy-to-follow 12-step guide to propagating your Philodendron birkin in water.
Now that you’ve created one new Philodendron birkin, are you ready to propagate again so you can keep growing your Philodendron birkin family of plants?
If you are looking for a more challenging propagation method, you can also try propagating the Philodendron birkin by air layering.


Daniel has been a plant enthusiast for over 20 years. He owns hundreds of houseplants and prepares for the chili growing seasons yearly with great anticipation. His favorite plants are plant species in the Araceae family, such as Monstera, Philodendron, and Anthurium. He also loves gardening and is growing hot peppers, tomatoes, and many more vegetables.