Propagating your plant is a great feeling, especially when it is an attractive plant like the Philodendron birkin.
With a sharp knife, some water, and the correct potting soil, you will soon be propagating your own Philodendron birkin.
How to propagate Philodendron birkin
Propagating Philodendron birkin can be done in three ways. The first is taking a stem cutting with a node of the plant and putting it in water so that roots develop, then planting it in soil and allowing it to grow. The second is to split a pup from the main plant and to plant that to grow on its own. The third way is air layering, which allows aerial roots to grow by splitting the stem and cultivating the roots from that incision.
You must decide what method to use when you want to propagate your Philodendron birkin.
Making a stem cutting is possibly the easiest and most common, but read on, and you can choose a different, more interesting form of propagating your Philodendron birkin.
[toc]
How to propagate Philodendron birkin – 3 Different Methods – Step by Step
1. Propagating from a stem cutting
According to Purdue University, when propagating any new plant from a cutting, you must work with a healthy, growing plant.
Step 1: Make a stem cutting
The only cutting off a Philodendron birkin you can use for propagation is a piece of the stem. Leaf cuttings are not viable and do not work for the propagation Philodendron birkin.
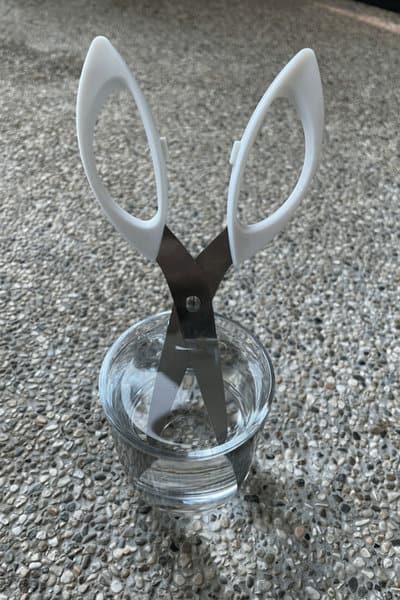
Use a sharp cutting tool or a knife to cut the piece.
Sterilize it in boiling water for about five minutes to avoid putting any germs onto the plant, which can affect both the original plant and the cutting.
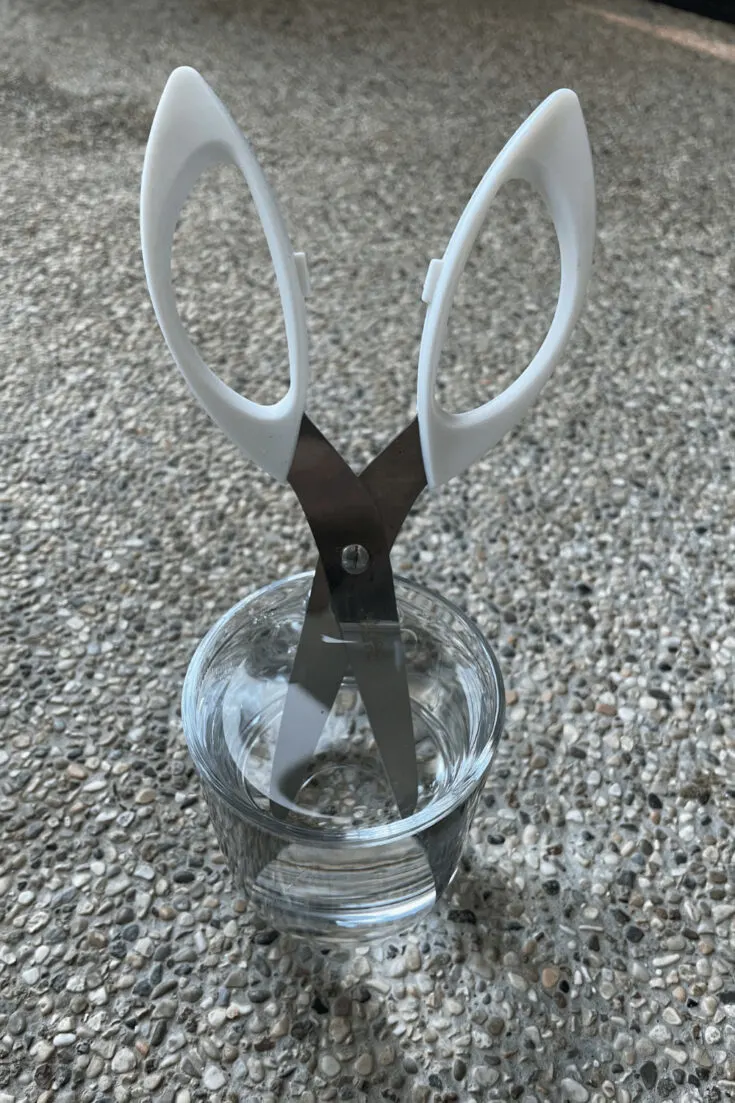
Alternative methods to sterilize a blade are rubbing alcohol or putting the blade in a flame for a few seconds while moving the blade back and forth.
To make a cutting, choose a stem section and mark about an inch (2.5 cm) below the growth node (out of which the leaf grows). Make another mark above a growth node bout 10 inches (25 cm) above the bottom mark.

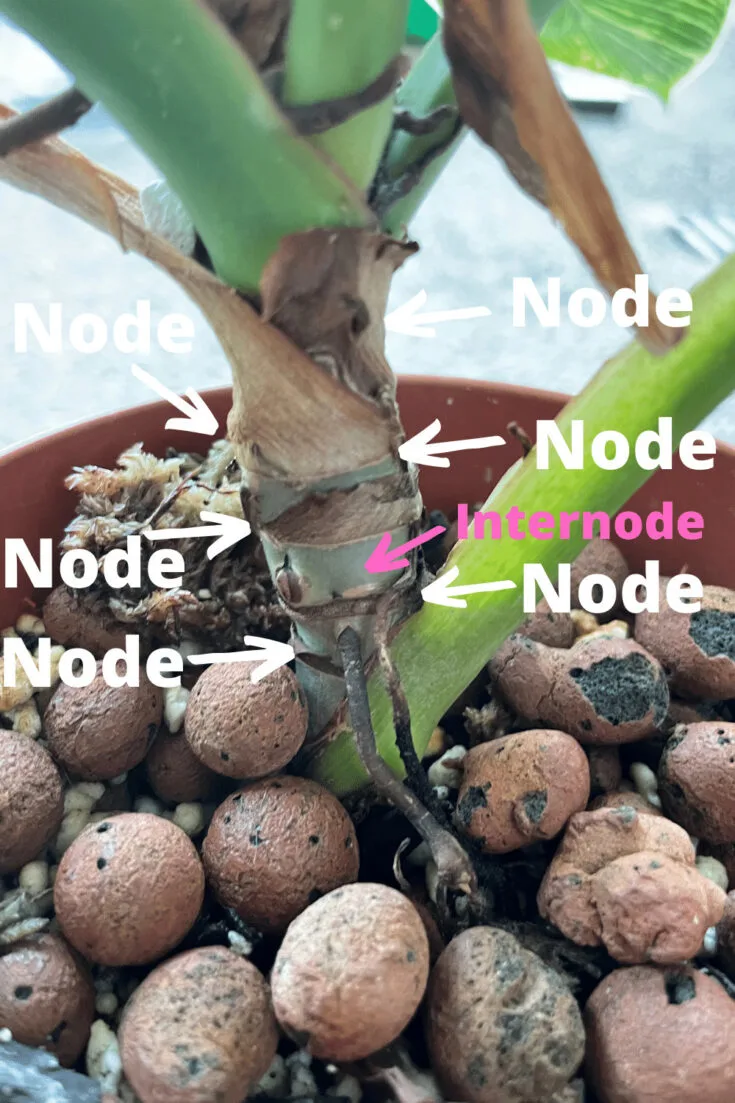
This only works if you are working with a mature Philodendron birkin. The nodes usually are very close together, and a less established Philodendron will not have that much stem to work with. But this is no problem as long as you have a node. The cutting can be just 1 inch or even less (2.5cm).
On the other hand, the larger the stem and the more nodes you have, the higher the chance of success. If one node is node activating, another will do.
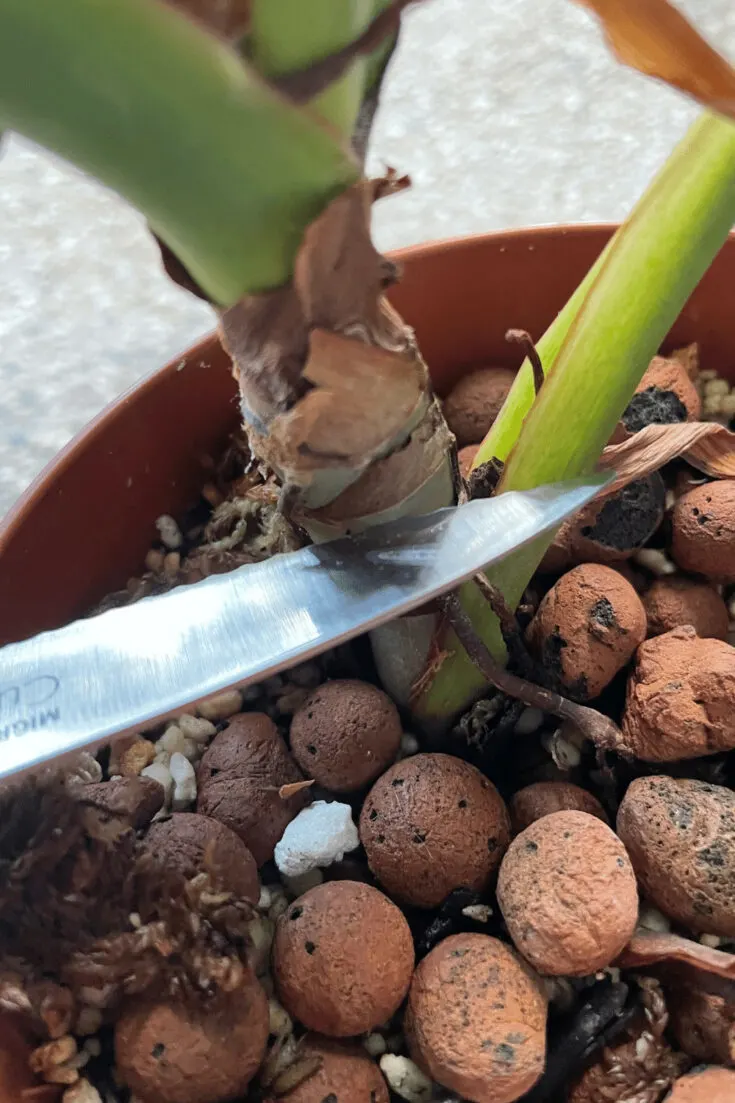
Cut the stem at the two marks. Make sure it is a clean incision. Cut diagonally to increase the surface area of the cutting.
This way, you will get two cuttings—the tip cutting and a stem cutting of Philodendron birkin.
You can propagate Philodendron birkin with a tip cutting, but the stem cutting will also work.
If you only want one cutting, you can just cut the tip section below a node. A node is necessary for propagating Philodendron birkin. Without a node, the cutting will not turn into a new plant.
Leaves on the stem are optional. If the cutting has a leaf or two, it will develop quickly into a new plant. But you can also propagate a stem cutting without a leaf.

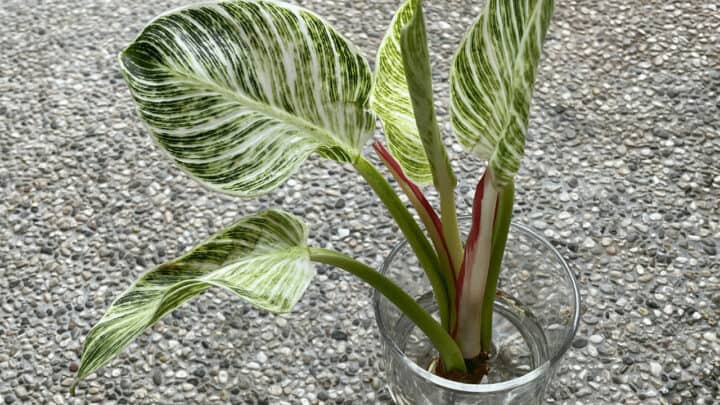
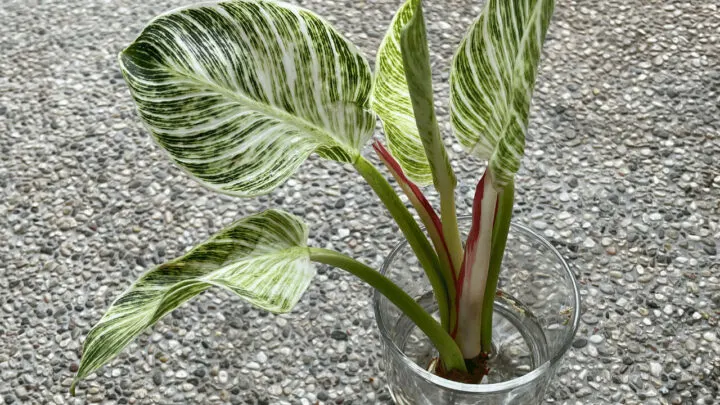
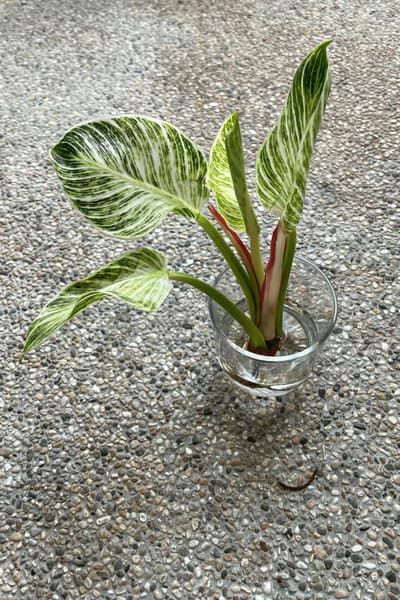
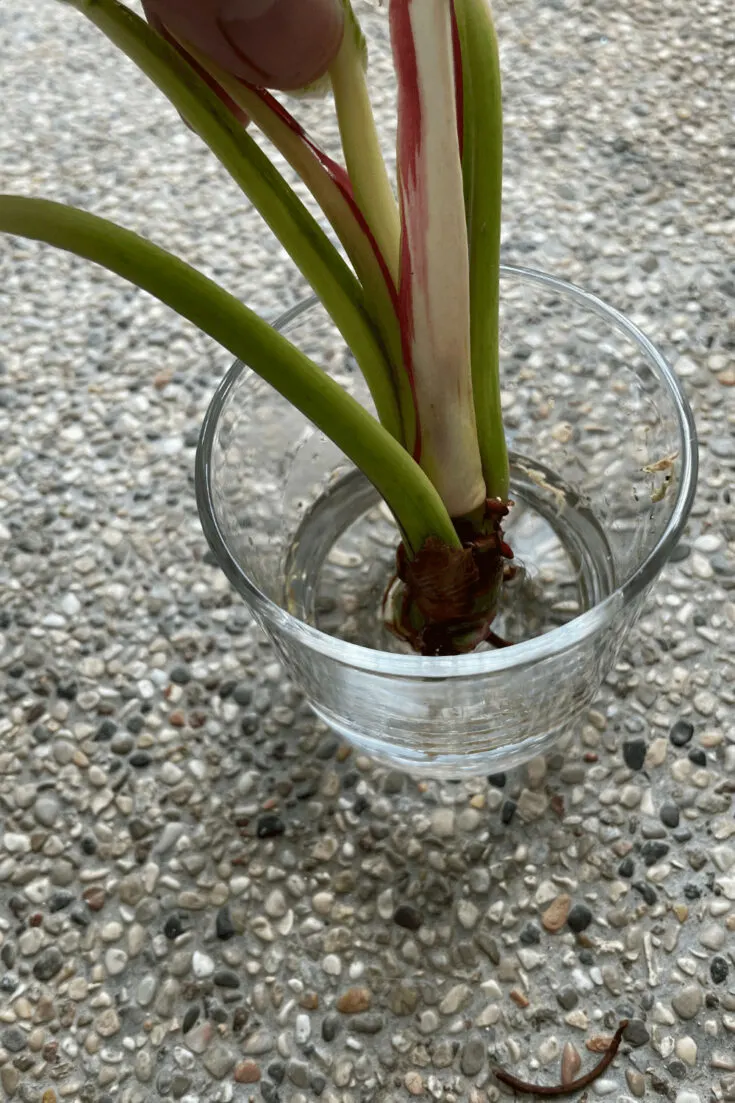
Step 2: Put the Philodendron birkin cutting in water
Take off the lower leaves of the cutting, making sure that the growth node is clear. Put the cutting into clean water in a vase or container. You may need to suspend it by supporting it on a wire mesh cover over its jar.
Ensure that none of the leaves are touching the water. If a leaf is in or touching the water, it will rot.

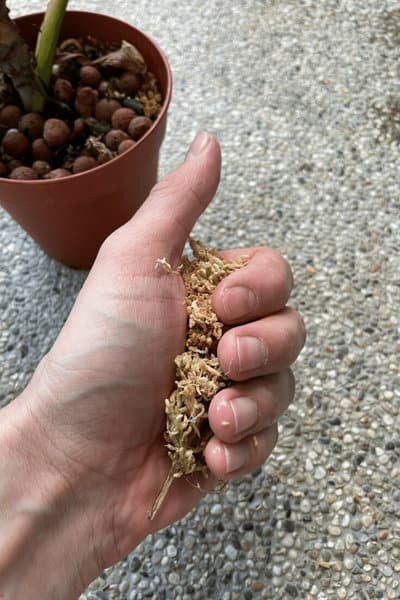
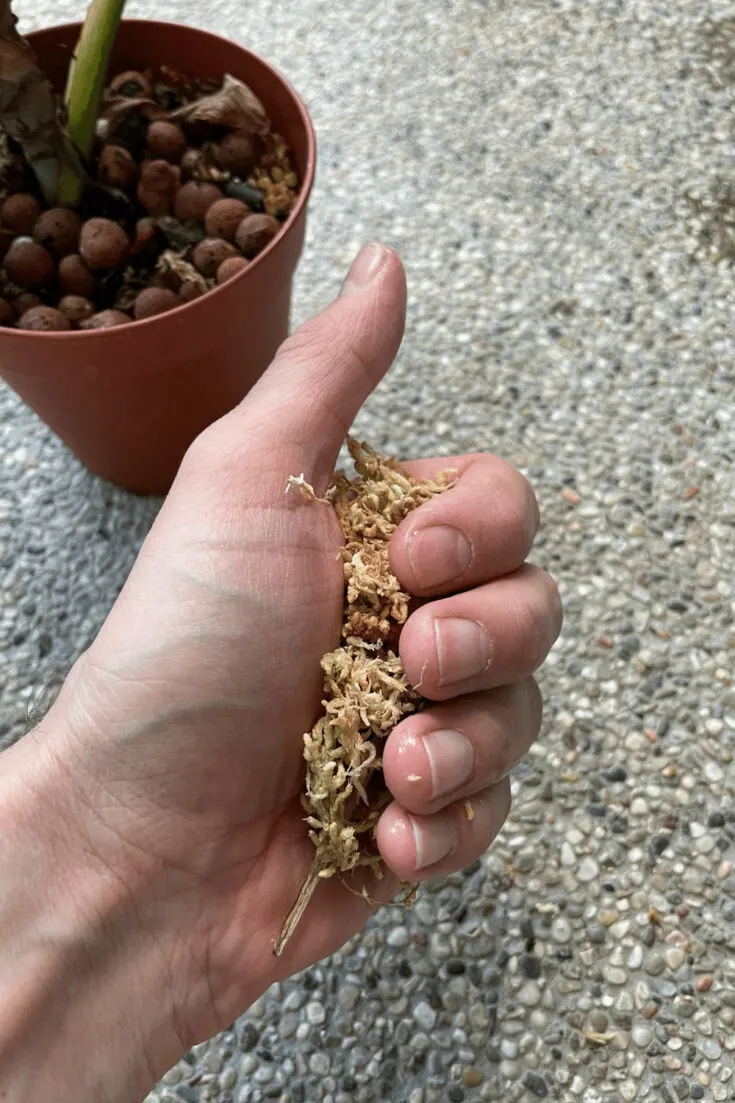
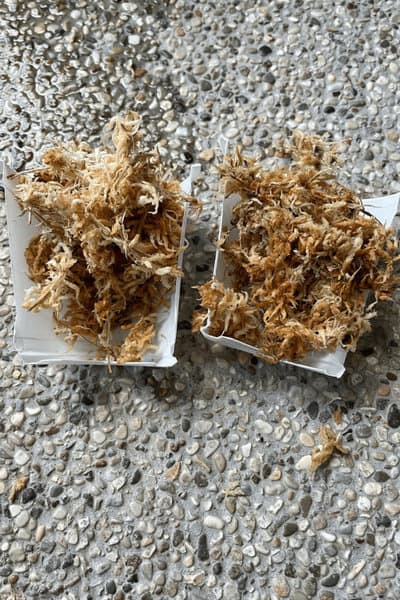
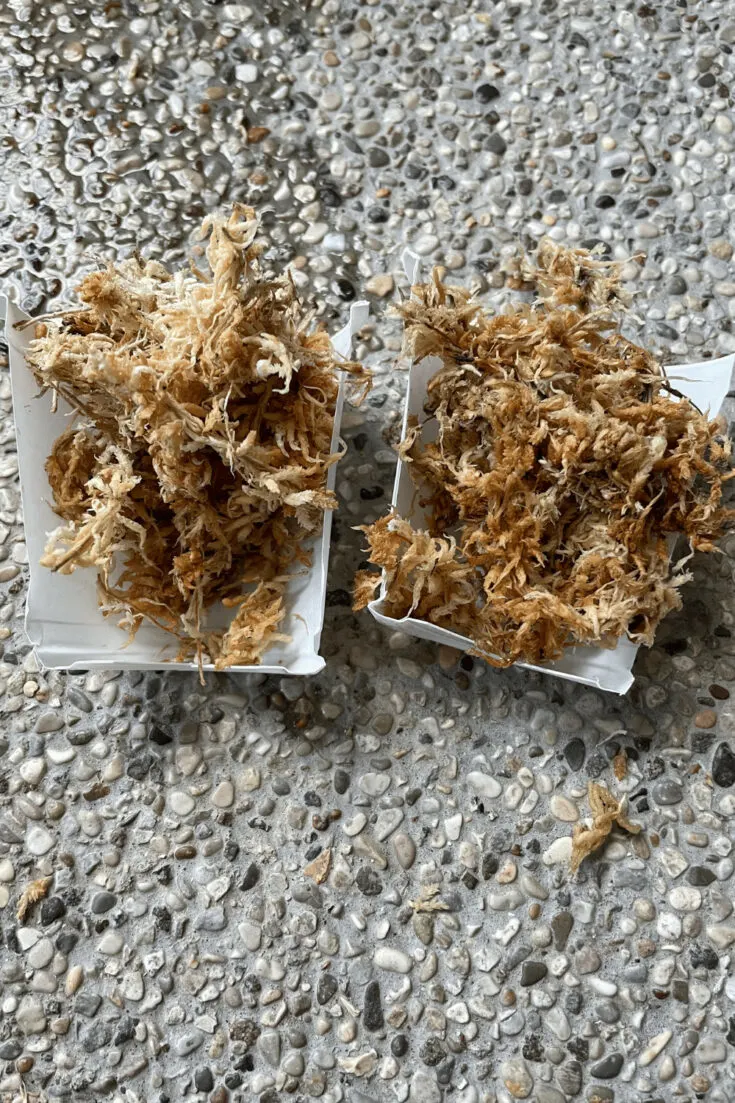
Alternatively, you could use Sphagnum moss or even soil as a medium for the Philodendron birkin cutting at this step. Sphagnum moss works great if you put dry moss into the water and let it soak. Then you must take it in your fist and press the Sphagnum moss hard. This way, it will be moist but not soaking wet.
You can also put your cutting directly into the soil. This method, however, is not recommended for the beginner as you cannot see the cutting, and you will be left in the dark regarding what happens in the soil.
After 2-3 weeks, you should start pulling the cutting gently. If there is any resistance, you indicate that roots are starting to form.
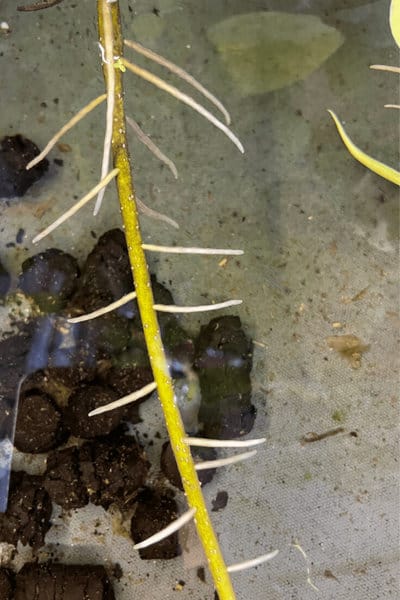
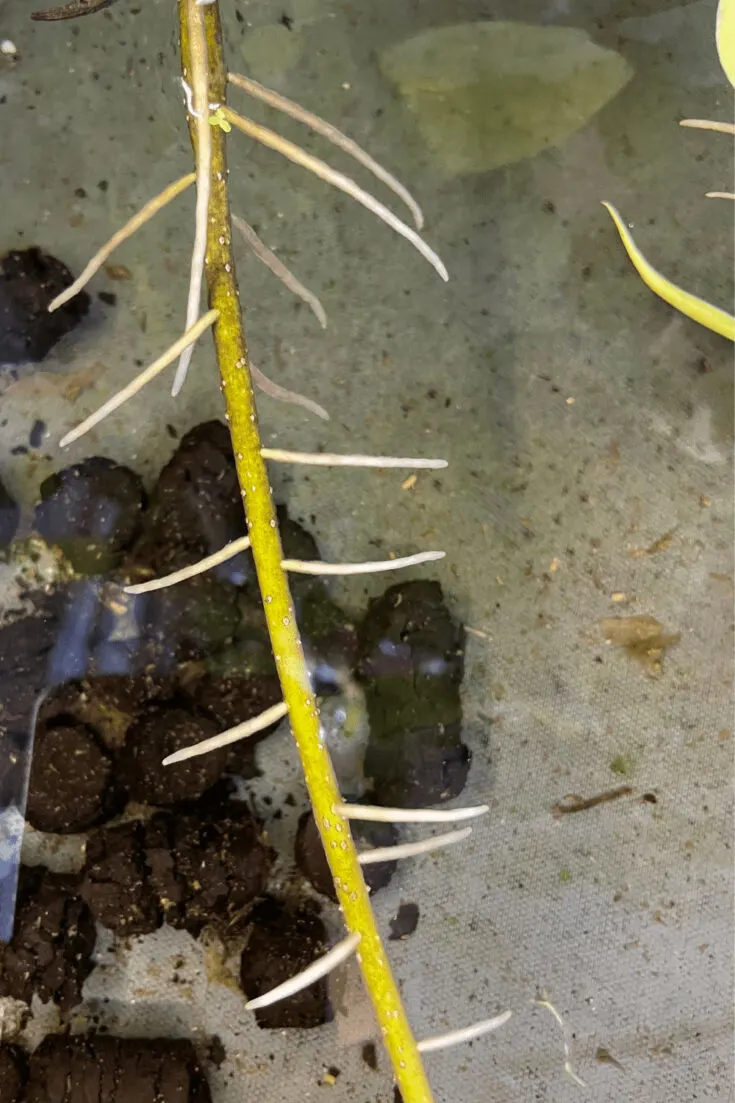
Step 3: Allow roots to develop
Leave the cutting in the water until the roots begin to grow. This may take 2-4 weeks. During this time, ensure the water remains clear by replacing it at least every 2-5 days.

Step 4: Plant the plant into a pot with potting soil
Once the cutting has developed roots at least 2-4 inches long (5-10cm), you can put the cutting into the soil. This is usually when the main roots get smaller roots coming out of the sides of the main roots.
Prepare the pot or bed into which the Philodendron birkin will be planted. Choose a small pot suitable for cutting and fill it with aroid soil using perlite, peat moss, charcoal, orchid bark, and some potting soil.
Take the cutting or leaf out of the water and gently shake off the excess water. Make a hollow about 4 inches (10cm) deep in the soil and 2 inches (5 cm) wide. Put the cutting gently into the hole and cover it well.
Don’t tamp down the soil; make sure the plant stands firmly. Water the new Philodendron birkin after 24 hours. I do not recommend watering immediately, as any damage to the roots can turn into root rot when wet. This way, any damage has at least 24 hours to callous over.
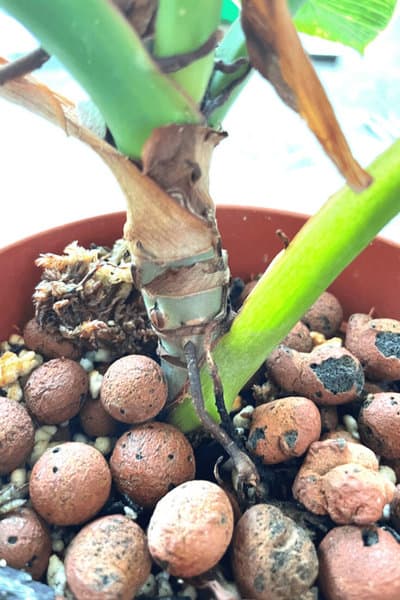
2. Propagation by dividing the plant
You can only divide a Philodendron birkin to propagate it if the plant is healthy and growing and has a side shoot or pup developing.
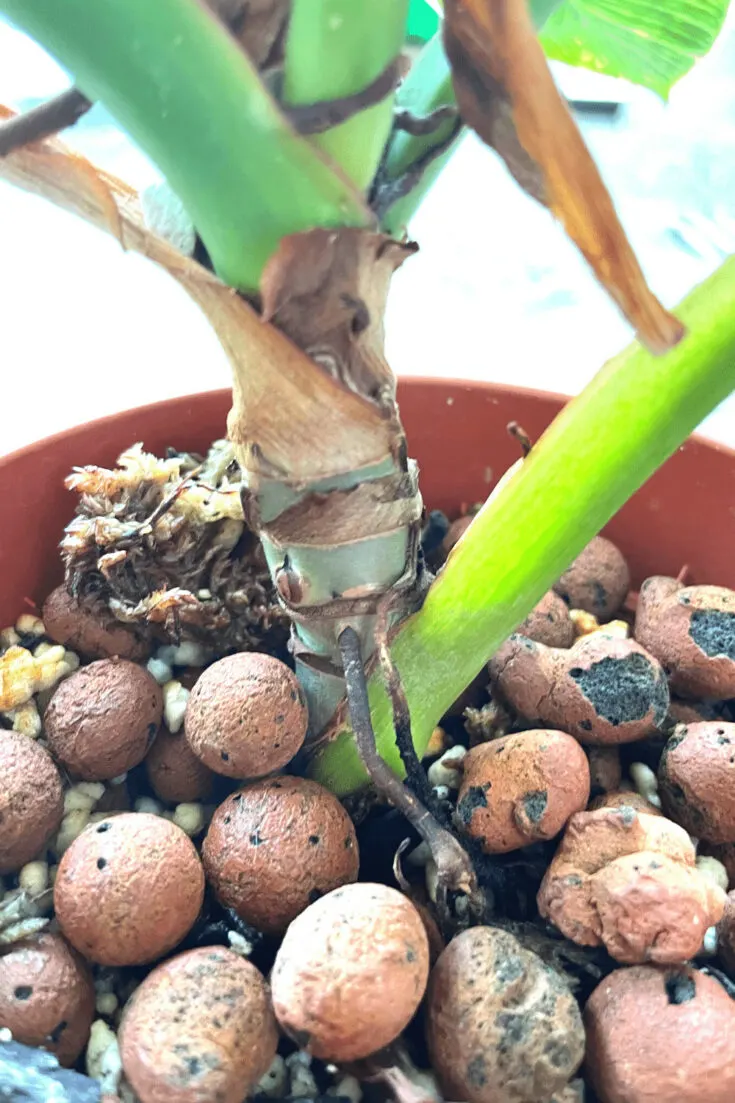
Step 1: Look out for a pup
Watch your Philodendron birkin and wait until it sends out a smaller plant or pup. You should wait until the new section is quite established before dividing it.
Step 2: Remove the plant from the soil
Dig gently around the plant’s roots, with a fork and your hands. Carefully remove the plant from the soil, roots, and all. Use your fingers to run through the roots carefully, removing as much of the soil as possible.
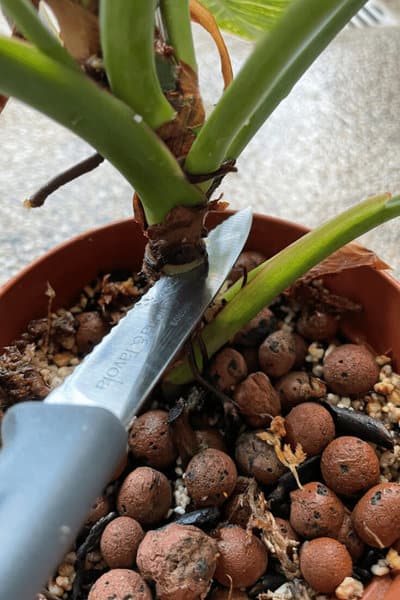
Step 3: Separate the pup
Find where the pup and mother Philodendron birkin plant are joined at the roots. Very gently, pull the two parts apart. Use a sharp, sterilized cutting tool or knife to cut gently between the two parts, carefully separating them.
Step 4: Plant the sections
Replant the mother Philodendron birkin in the original spot. Make sure the roots are covered with soil and that it stands firmly.
You can put the pups into the water until the roots have strengthened. You can also rather put it straight into the soil in a pot. Ensure that roots go deep enough and that the plant stands firmly. You must keep the pups damp for about three weeks until it is established.
3. Propagating using air layering
Using an air layering technique to propagate a Philodendron birkin means making an incision in the stem, so it is important to use an established plant with a substantial main stem.
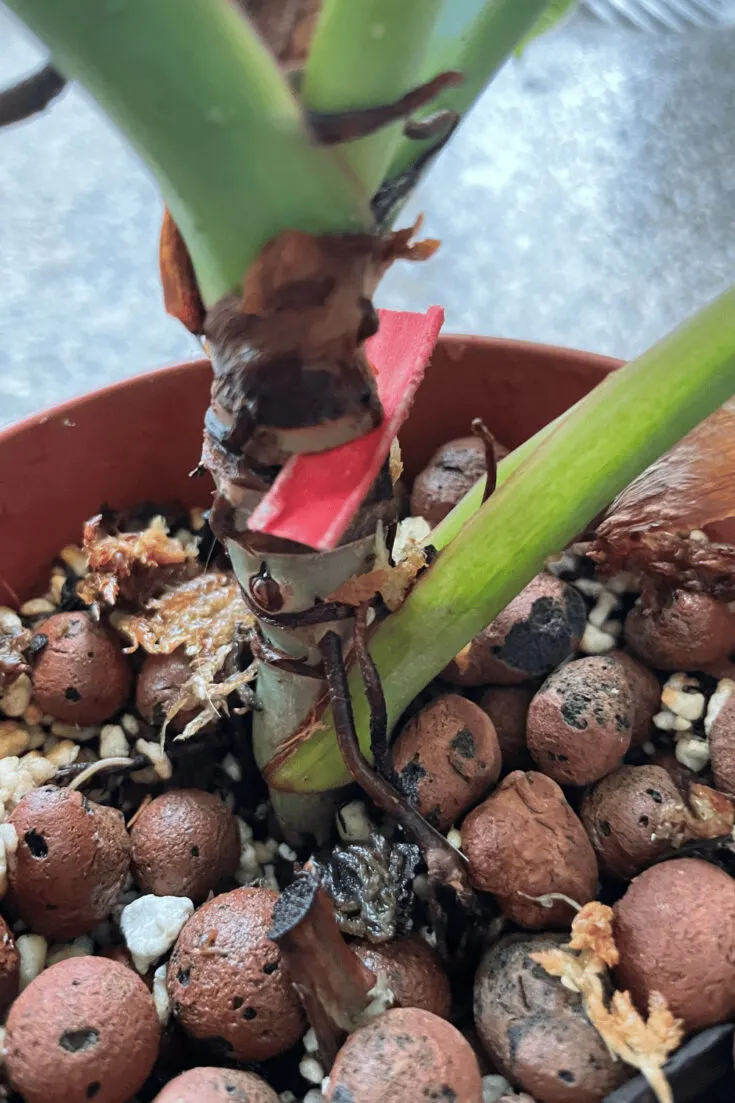
Step 1: Make an incision in the stem
With a knife, make an incision in the side of the stem. It should be about 1 inch (2.5 cm) long and reach nearly halfway through the stem.

Step 2: Keep the incision open
Use a very thin twig or even a toothpick, and put it into the incision to keep it open.

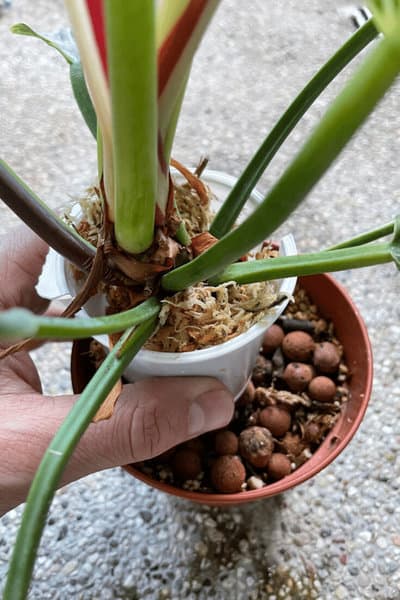
Pack damp pet moss or sphagnum moss around the stem over the incision. You can use a plastic cup to keep the peat moss in place.
Cut the cup in half along one side and cut a hole in the bottom that will fit snugly around the stem. Place the cup around the stem below the peat moss or Sphagnum Moss.
Leave the plant for 3-4 few weeks, until you see roots growing out of the peat moss. Remove the cup and moss and cut away the new plant. This can be planted into a pot. Make sure the roots are covered. Keep the soil damp for a couple of weeks.

Frequently Asked Questions
Is it easy to propagate a Philodendron birkin from a cutting?
Propagating a Philodendron birkin from a cutting is quite easy if you carefully follow all the steps. You will need to take the cutting from the correct place, keep it in water until the roots are long enough and then plant it out carefully.
Is propagating a Philodendron birkin the same as growing it from seed?
Growing a plant from seed means getting seeds, planting them in the ground, or keeping them in damp cotton until they germinate. The Philodendron birkin seeding must then be planted into a pot, and the plant will grow. Propagating a plant means creating a new plant from an existing adult plant.
Conclusion
Propagating a Philodendron birkin from a cutting, by division, or through air layering is very satisfying and means you will have a new plant relatively quickly. If you take the necessary time and follow all the steps for the method you choose, you can propagate the Philodendron birkin successfully.


Daniel has been a plant enthusiast for over 20 years. He owns hundreds of houseplants and prepares for the chili growing seasons yearly with great anticipation. His favorite plants are plant species in the Araceae family, such as Monstera, Philodendron, and Anthurium. He also loves gardening and is growing hot peppers, tomatoes, and many more vegetables.