
Hibiscus are known for their beautiful, vibrant, flowers. They are native to Hawaii and other subtropical regions, and their delicate overlaying petals and iconic trumpet-shaped blooms open in mid-to-late summer.
When they are healthy, their vertical growth produces a series of paper-like five-petalled flowers in colors ranging from white hibiscus to peach hibiscus, with some varieties even displaying vibrant combinations of several colors.
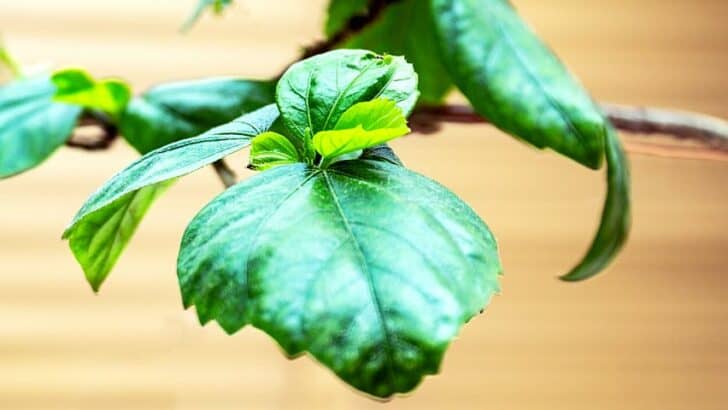
Because their beauty is such an important part of what inspires people to grow hibiscus from seed, it can be deeply disappointing for growers when growths and bumps start to appear on their leaves and detract from their splendor.
To know how to get rid of bumps on hibiscus leaves, you first need to know what those bumps are.
Bumps on Hibiscus Leaves
The bumps on hibiscus leaves might be caused by erineum mites, black spot fungus, or hollyhock rust. Erineum mites are the most common reason, causing gnarled and hard, greenish wart-like lumps. They’re largely cosmetic and can be treated by pruning the affected leaves and applying miticide.


This handy guide will help you identify what the bumps on the leaves of your hibiscus tree are.
It will then discuss the treatments for the relevant hibiscus pests and diseases to help you bring your flowering beauties back to full health.
1. Hibiscus Leaf Mite (a.k.a erineum mite, Aceria hibisci) on Hibiscus Leaves


Level of Severity
The damage caused by hibiscus erineum mites is unsightly, but it is largely a cosmetic issue and if it is managed properly, it does not pose a serious threat to plant health.


Identification
The galls are round and puckered and are usually light green to yellowish brown. They resemble warts and often appear in gnarled, bumpy clusters.


The galls may also lead to your hibiscus plant leaves curling upwards.
When the mites feed on the new growth, the leaves produce the knobby galls to protect the damage from the wounds from spreading.
The mites then lay eggs inside the bumps. These eggs soon become larvae.
The growths then harden and eventually split open, allowing the larvae to emerge as nymphs and spread to other areas of the plant.
If your hibiscus leaves develop green, hard, knobby growths that are between 0.2 and 0.8 cm in diameter in the early spring, then you are probably dealing with an erineum mite infestation.
It may also be helpful to know that Aceria hibisci are especially drawn to Chinese red hibiscus.


If you can’t seem to get rid of the mites, you might consider opting for a mite-resistant variety of hibiscus, such as the Apricot, Pink, or Apple Blossom cultivars.
Treatment
Prune hibiscus branches with leaves displaying galls.


Discard them by placing them in sealed bags in the regular waste disposal, burning them, or burying them.
If you do not, the mites will live on and may eventually find their way out of the compost onto other nearby hibiscus plants.
If your pruning doesn’t lead to a change in the appearance of your hibiscus the following year, apply a miticide to the leaves of your hibiscus plant several times per week during the late spring and early summer.
2. Black Spot Fungus on Hibiscus Leaves
Level of Severity
Fortunately, black spot fungus is an almost exclusively cosmetic issue. Unless the spots become so widespread that they make it impossible for the plant to photosynthesize, the fungus poses no real threat to your hibiscus plants.


That said, you should still follow the treatment instructions below to try to nurse your affected plants back to full health.
Identification
Black spot fungus appears on the surface of hibiscus leaves when they become infected by spores and are subjected to wet and cold conditions.
The black spots that appear when a tree has been infected are slightly raised round bumps.
Over time, these bumps can become crusty and start to resemble moles.
Treatment
Unfortunately, you cannot remove or treat the black spots once they appear on hibiscus leaves.
The best thing you can do is prevent further spread of the fungal infestation by clearing fallen leaves from the ground and disposing of them by placing them in a sealed trash bag in the regular waste disposal.
Alternatively, you can compost diseased plant leaves by making sure your compost reaches the appropriate temperature to kill the spores.
Composting in home gardens is always a good idea, but if you compost fungus-infected leaves, your compost will need to reach a minimum temperature of 140 degrees and be maintained at this level for two weeks.


You can also snip affected leaves off your hibiscus plant and dispose of them in accordance with the regulations of general waste systems in your local area.
3. Hollyhock Rust on Hibiscus Leaves
Level of Severity
The level of damage caused by hollyhock rust falls somewhere between low and medium.
It is ugly, and if it is allowed to spread unchecked it will infect the entire hibiscus plant, severely limiting its capacity to photosynthesize. This can lead to leaf drop.
Identification
Hollyhock rust is easy to identify because, as the name suggests, the raised spots it causes to spread on hibiscus leaves are the color of an orange rust.
If bumpy yellow growths start to appear on the underside of your hibiscus leaves while the tops of the leaves start to develop what looks like rust spots, then your plant has hollyhock rust.


Treatment
The thing to focus on when trying to get rid of hollyhock rust is that you do not crowd your hibiscus plants. Leave them enough room to breathe and to dry out after they’ve been watered or rained on.


Think of the leaves as laundry that you are trying to dry and make spacing decisions on this basis.
Conclusion
Hibiscus leaf mite, black spot fungus, and hollyhock rust are the 3 reasons that cause the formation of bumps on your hibiscus leaves.
Though these problems are largely cosmetic in nature, you need to address the underlying reasons promptly to avoid spreading the infestation further.
Prune infected leaves, dispose of them properly, and avoid crowding your hibiscus plants to avoid any of these problems in the future.


Daniel has been a plant enthusiast for over 20 years. He owns hundreds of houseplants and prepares for the chili growing seasons yearly with great anticipation. His favorite plants are plant species in the Araceae family, such as Monstera, Philodendron, and Anthurium. He also loves gardening and is growing hot peppers, tomatoes, and many more vegetables.