
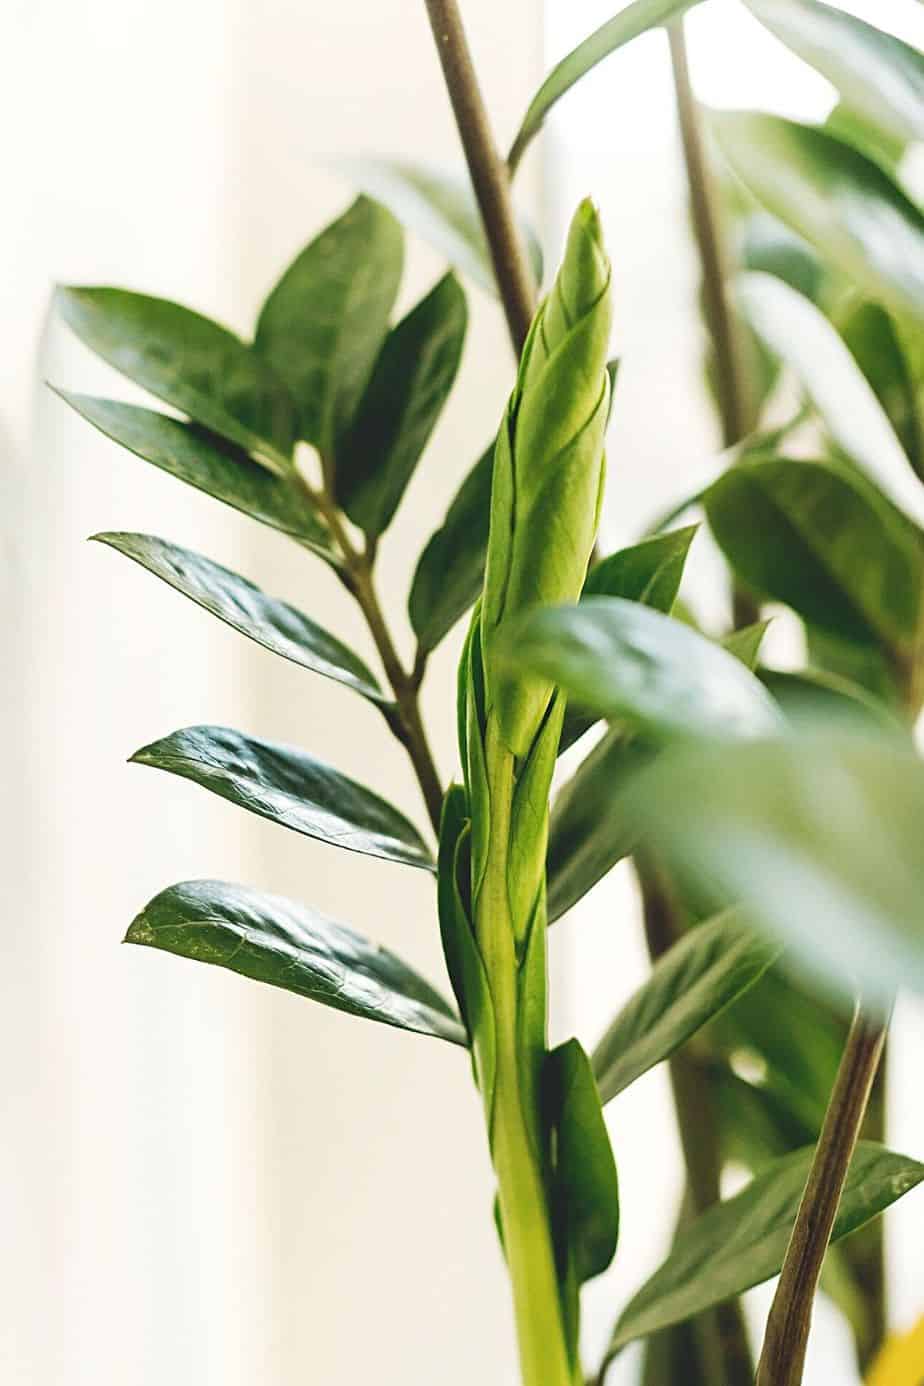
ZZ plants (Zamioculcas zamiifolia) are members of the aroid family according to the University of Florida and are one of the lowest maintenance house plants around.
They don’t require a great deal of care, light, or water so they’re ideal for someone who isn’t experienced in houseplants but still wants to add some greenery to their home.
However, like most houseplants, ZZ plants might need some repotting at some point in their lives.
This article will talk you through the ideal time to repot your plant, the signs to look out for, and the repotting techniques that will limit damage to it.
Table of Contents
When and How to Repot a ZZ Plant
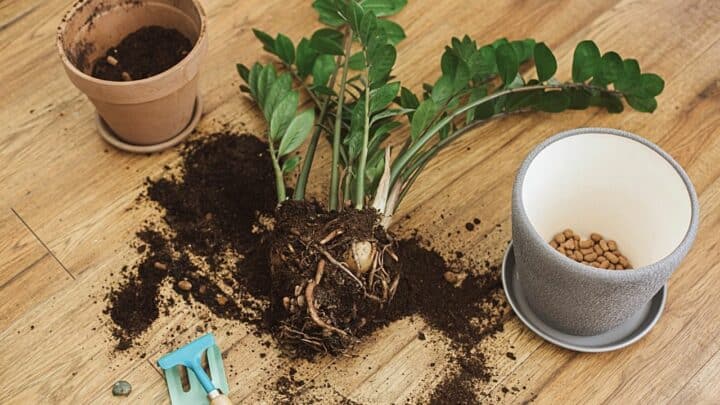
Springtime is the best season for repotting your ZZ plant. The typical signs of a plant needing to be repotted are roots breaking through the pot, stunted growth, and dull leaves. To repot, you’ll need a pot that’s 1-2 inches bigger, fresh soil, and a gentle touch.
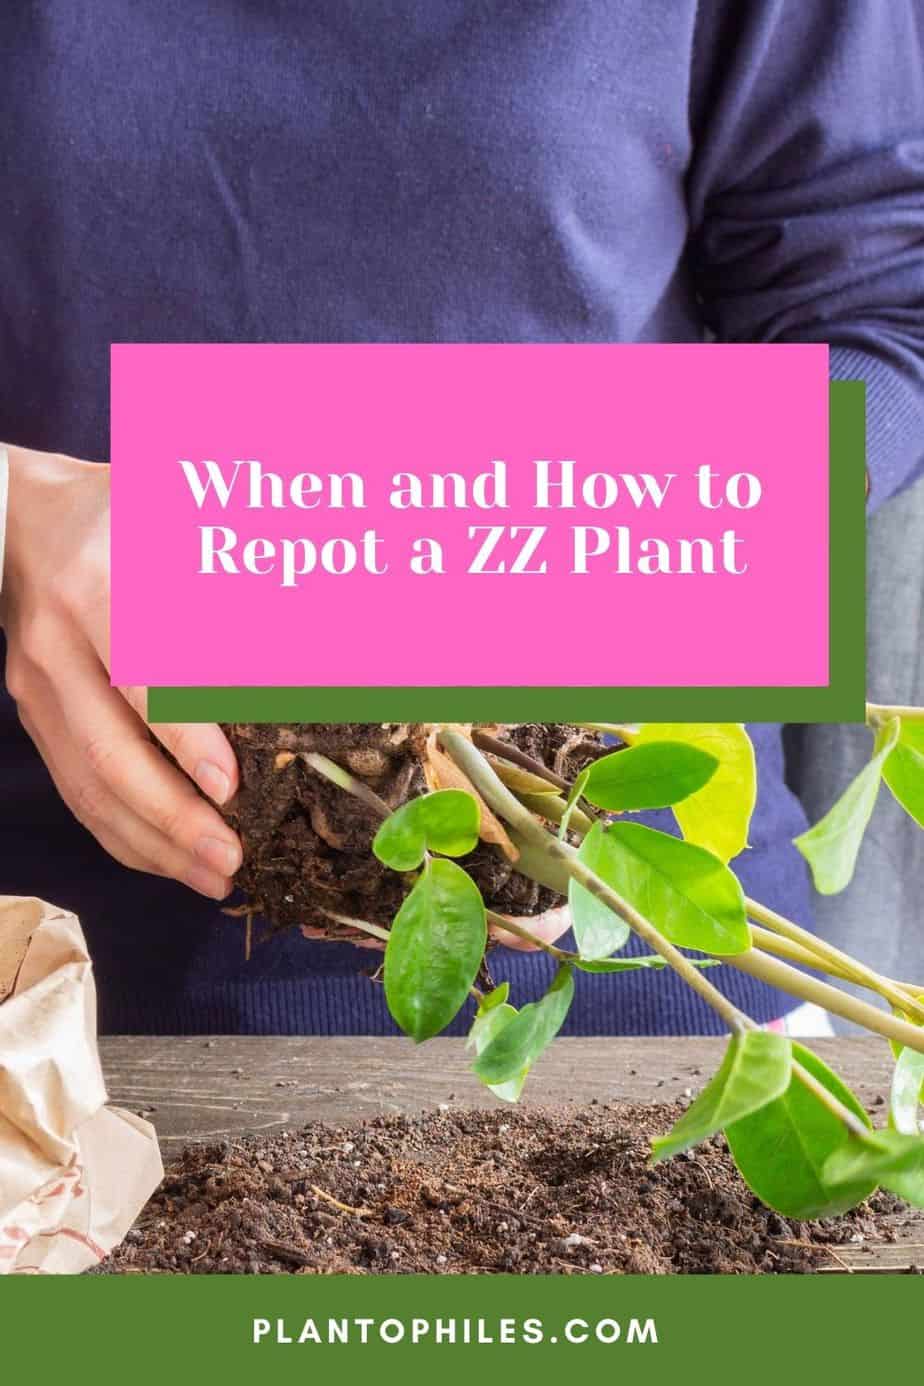

When and How to Repot a ZZ Plant
When Best to Repot a ZZ Plant
When is the best time to repot your ZZ plant?
The best time for repotting plants, including your ZZ plant, is during springtime or the early part of summer.

The best time to repot your ZZ Plants is during spring or the early part of summer
This is because the ZZ plants are considered slow-growing plants.


Repotting in these seasons gives the plant a chance to grow into its new pot before it becomes dormant in the colder months.
How Often Do ZZ Plants Need a New Pot
It is recommended that you give your ZZ plant a bigger pot every 2 years or so.
If such is the case, then only do this step if you want the plant to continue growing.
What Type of Pot is Best for ZZ Plants
As with all plants, a plastic pot with ample draining holes is ideal.
This is to stop the soil from becoming too moist and causing root rot which can be fatal to your plant.
If you want something more visually appealing than a brown plastic pot, find a decorative pot that the plastic pot fits snugly inside.
Just remember to pour any excess water out that collects in the bottom of that pot.
4 Signs that your ZZ Plant Needs Repotting
1. The Roots are Bursting through the Pot
This is the most obvious sign that your plant needs a new home.
The roots need to be happy and healthy in order for you to have a thriving plant.
If you notice that the roots are bursting through the sides of the plastic pot, it’s time to replace it.
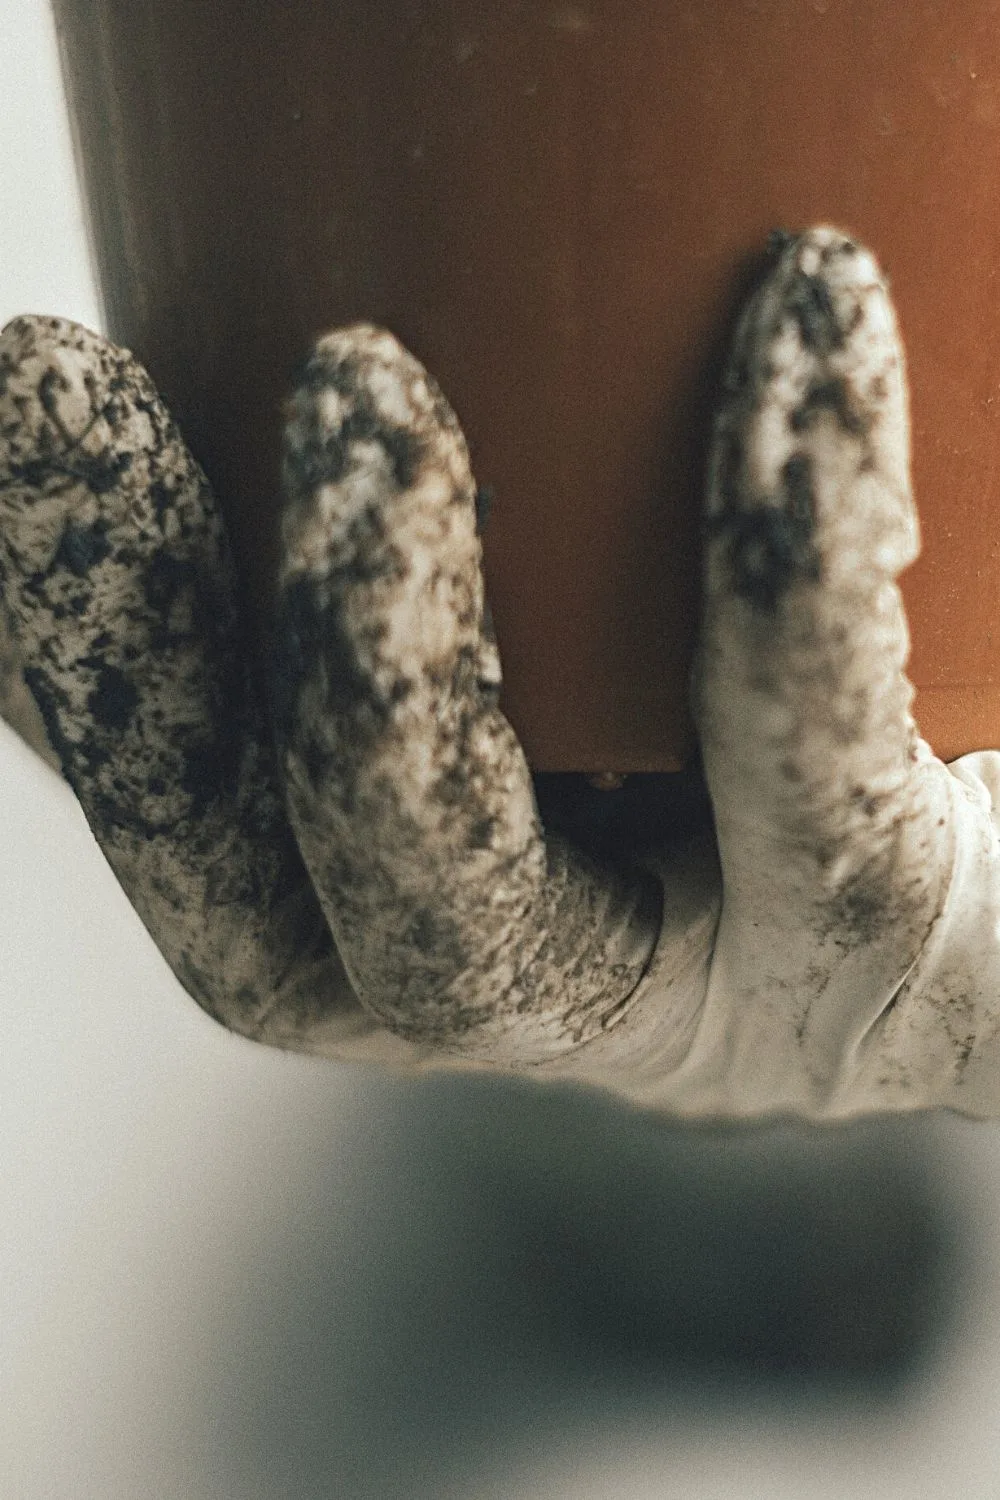
Check the underside of the ZZ plant’s pot to see if roots poke through the drainage holes
The size of the new pot depends on whether or not you want it to continue growing.
2. Its Leaves are Dull
ZZ plants have glossy green leaves that are a good sign of plant health.
In the right light, they almost look shiny and this is exactly the kind of look you want for your plant.
But if you notice your plant is starting to lose its shine for no obvious reason, it might be time to consider repotting.
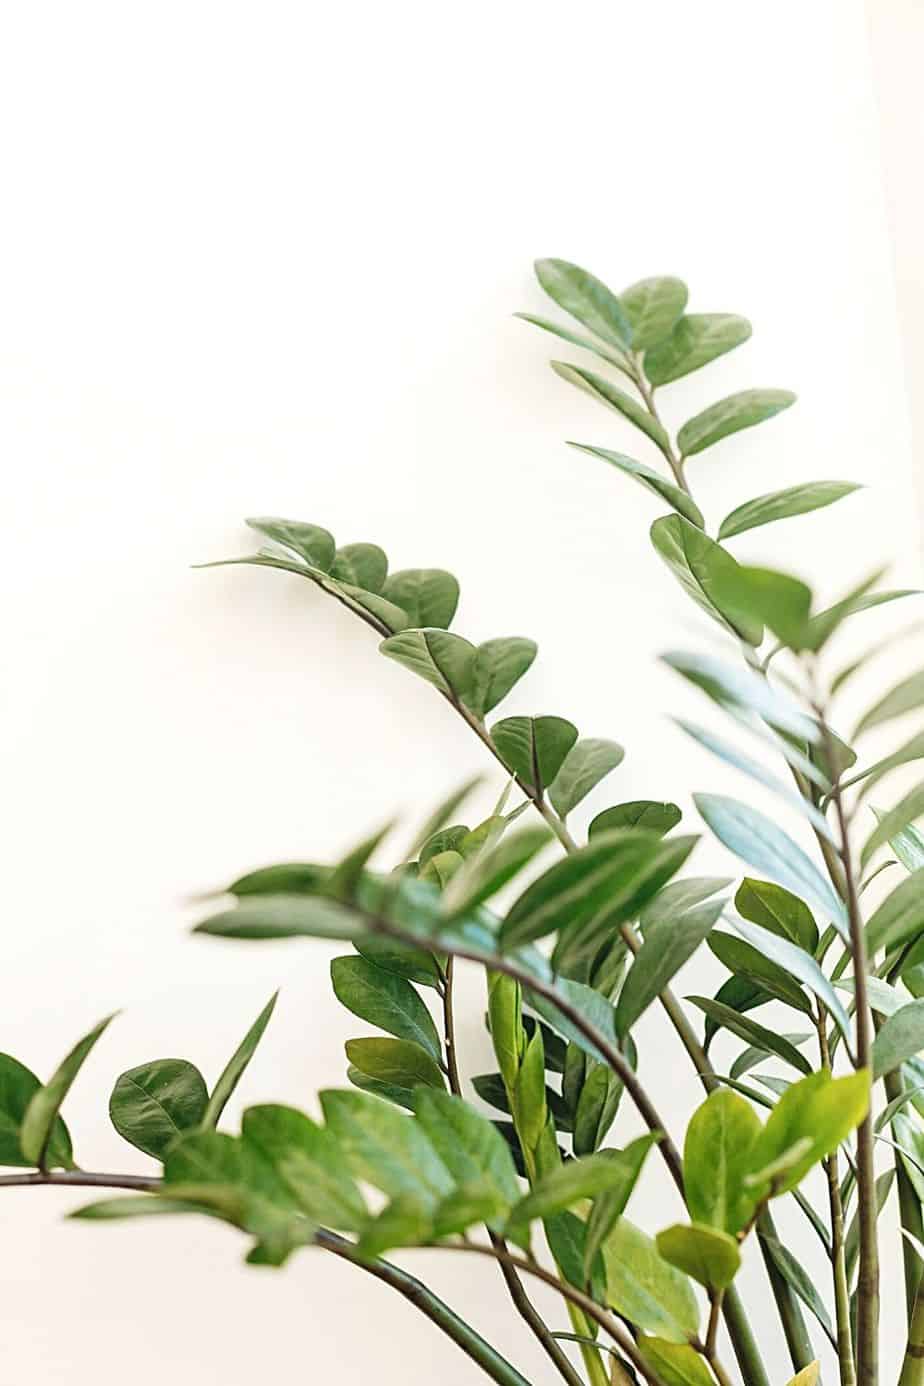
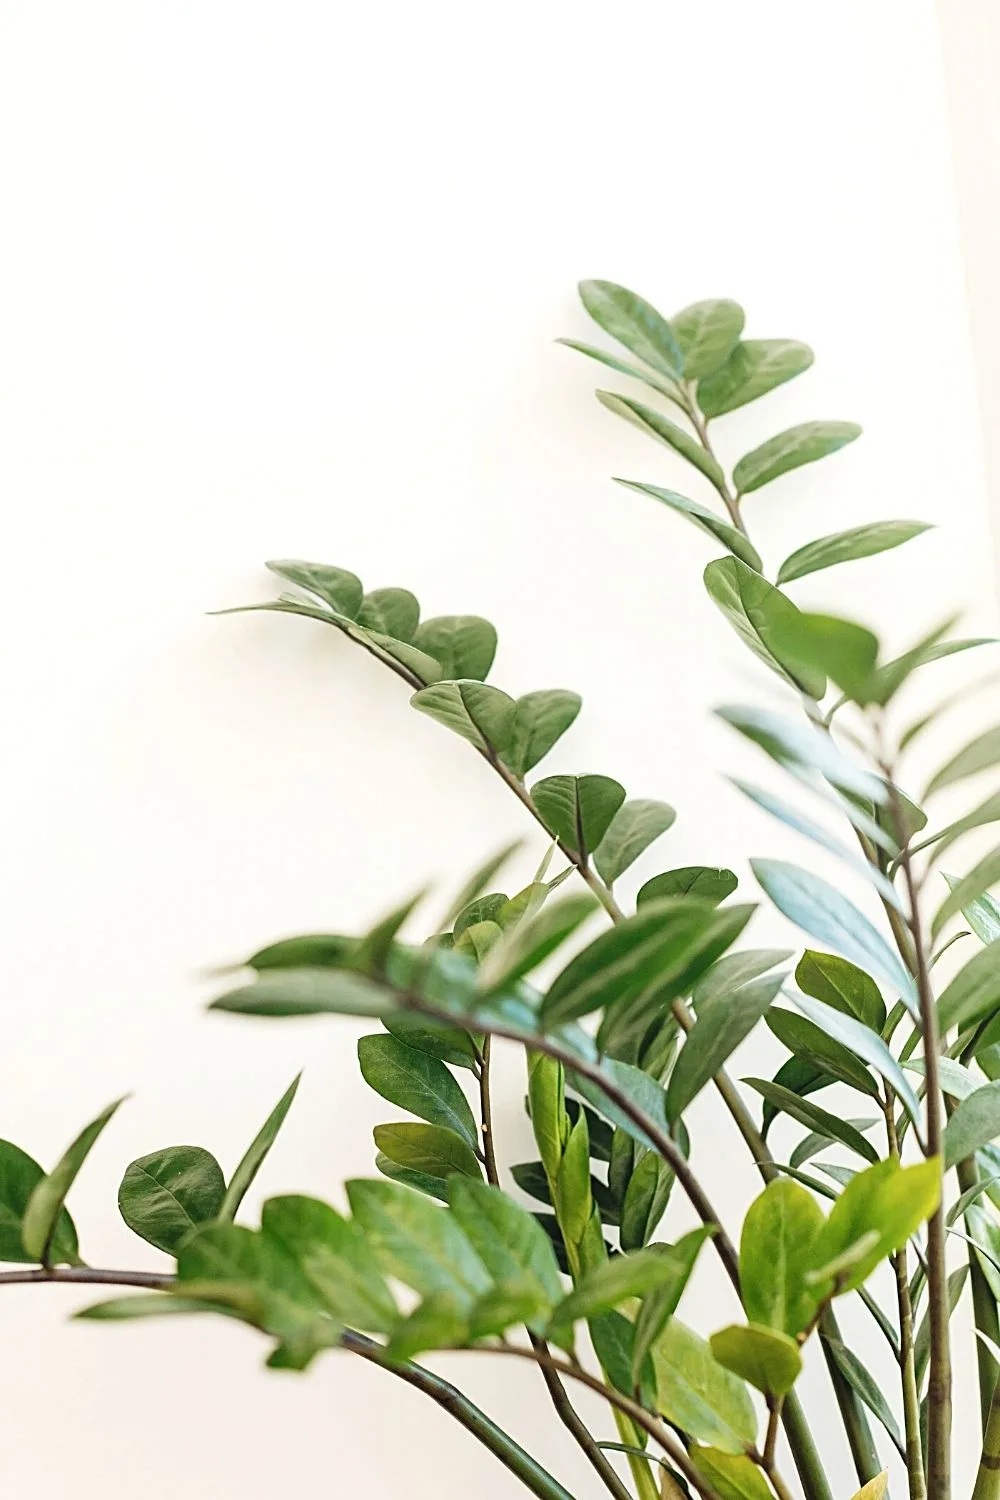
If a ZZ plant’s leaves become dull instead of glossy, then it’s time to repot it
3. The Roots are Visible through the Drainage Holes
Everything might look good from the surface but take a look underneath the pot.
If you can see any sign of roots poking out of its pot’s drainage holes, it’s time to get your ZZ plant a new pot.
If the roots are not fully immersed in soil, your plant won’t get the nutrients it needs and this will cause damage and could eventually kill it altogether.
4. The Soil Dries Out Quickly
ZZ plants don’t need watering often. But if you notice that the soil dries out quickly and doesn’t hold water, this is a sure sign that the roots under the surface aren’t happy.

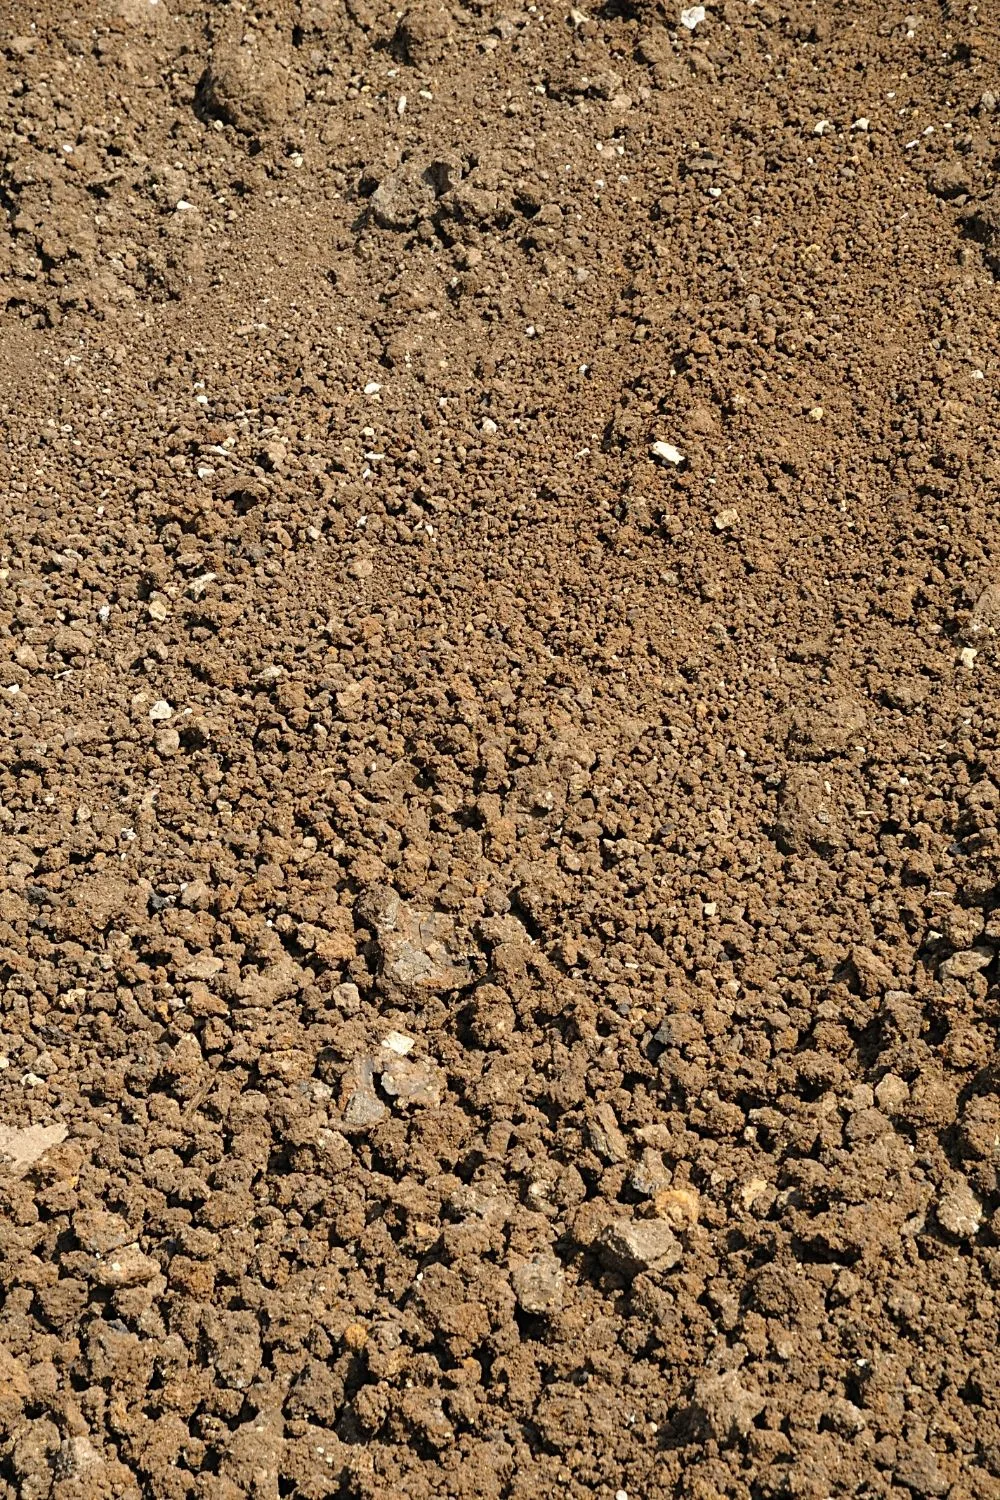
Another sign that your ZZ plant needs repotting is that its soil dries out quickly
This is happening because there are more roots than soil.
There’s not enough soil in the pot to hold the water so it’s draining out of the holes straight away, leading to plant dehydration.
The plant isn’t growing as it should.
While these plants don’t grow as fast as other houseplants, their growth can still be measured over the course of a few months.
Don’t just look out for the plant growing new stems or getting bigger.
If your plant isn’t producing any new leaves, this is a sure sign that something is making it unhappy and you’ll need to investigate further.
If your ZZ plant isn’t producing new leaves as it should, check to see what’s causing it to be unhappy
How to Repot a ZZ Plant
If you’ve read the above advice and you’re confident that your plant needs repotting, you might be unsure of the next steps.
Don’t worry, it can seem overwhelming but if you take it step by step, it’s a fairly simple process and you could even end up with some baby ZZ plants to gift to friends and family.
What items will I need?
- A plastic pot with good drainage holes that’s 1-2 inches bigger than the old pot
- Good quality potting soil
- A trowel
- A clean knife or pair of scissors to remove any damaged roots or leaves (these will also come in handy if you decide to separate the plant)
- Sheets to cover the floor as it can get messy
- Water
- Another pair of hands
A Step-by-step Guide in Repotting a ZZ Plant
1. Add potting soil to your ZZ plant’s new pot.
Gently squeeze the pot that is currently housing the ZZ plant. It will eventually become loose enough for you to pull it out of the pot.
If the old one isn’t damaged, keep it for future repotting of other plants!
2. Examine the roots and rhizomes of the plant.
If any look soft, squishy, or in any way damaged, use the knife or scissors to remove them.
Don’t take off too many at once though as this could send your plant into shock.
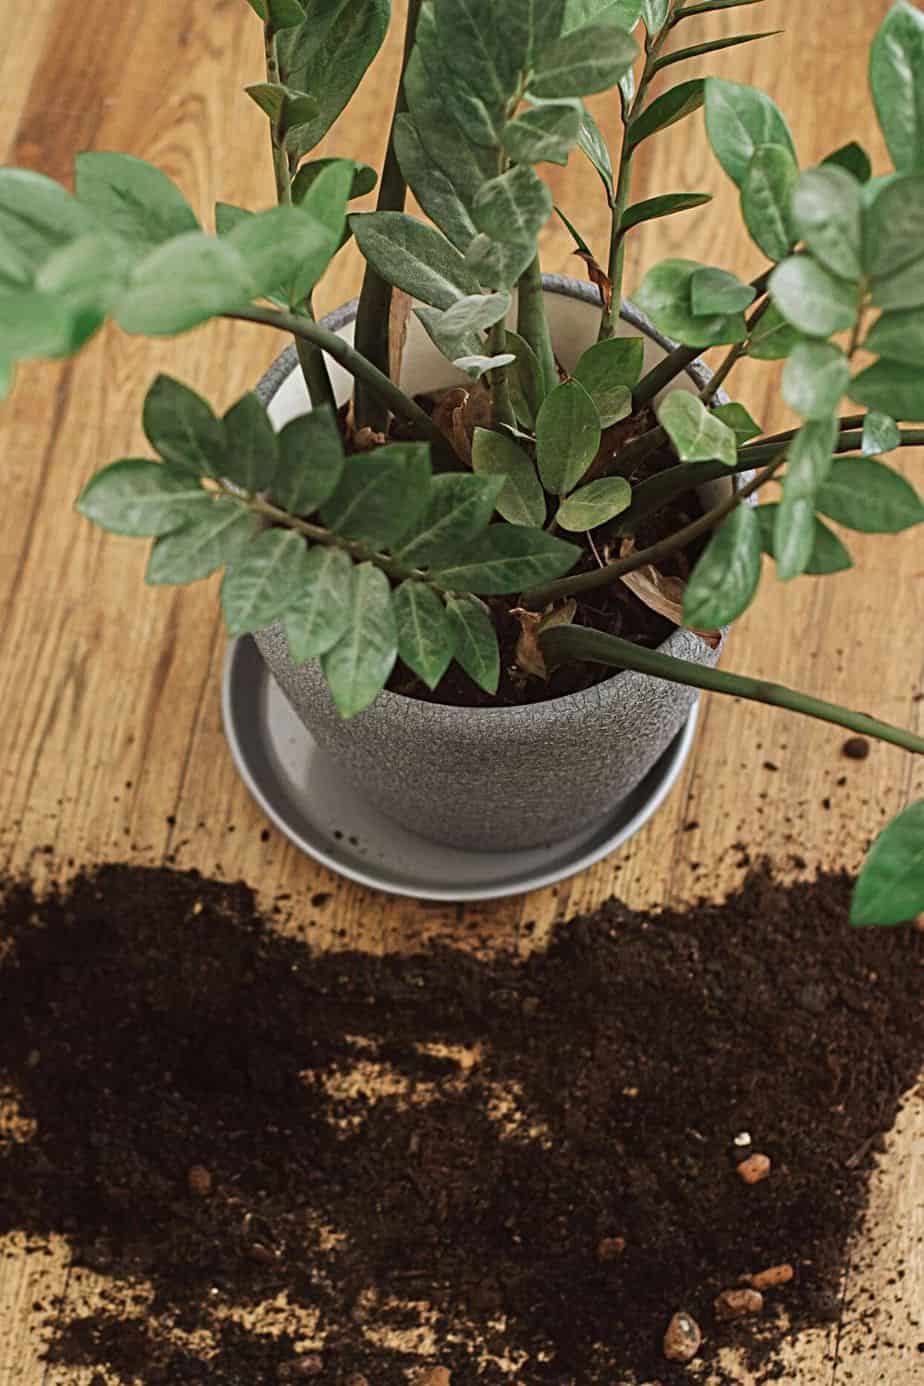
3. Position the ZZ plant in the pot’s middle part and carefully fill in the pot with soil.
Once the plant is stable enough, let go and gently pat the soil down around the edge of the pot.
If your plant is large, you’ll need that other pair of hands for this step.
4. Water around the pot’s edge until water appears in the pot’s drainage holes.
This step ensures that the roots all get equal watering.
Conclusion About When and How to Repot a ZZ Plant
The idea of repotting any plant can seem daunting and it’s probably a task that you keep putting off.
The sooner you do it though, the better it is for your plant.
Do your research, take your time and your ZZ will be happier in no time.


Daniel has been a plant enthusiast for over 20 years. He owns hundreds of houseplants and prepares for the chili growing seasons yearly with great anticipation. His favorite plants are plant species in the Araceae family, such as Monstera, Philodendron, and Anthurium. He also loves gardening and is growing hot peppers, tomatoes, and many more vegetables.