
You are planning to buy a bromeliad or want to know how to care for a bromeliad. My care guide will tell you what you want and need to know.
Bromeliad Care Takeaways
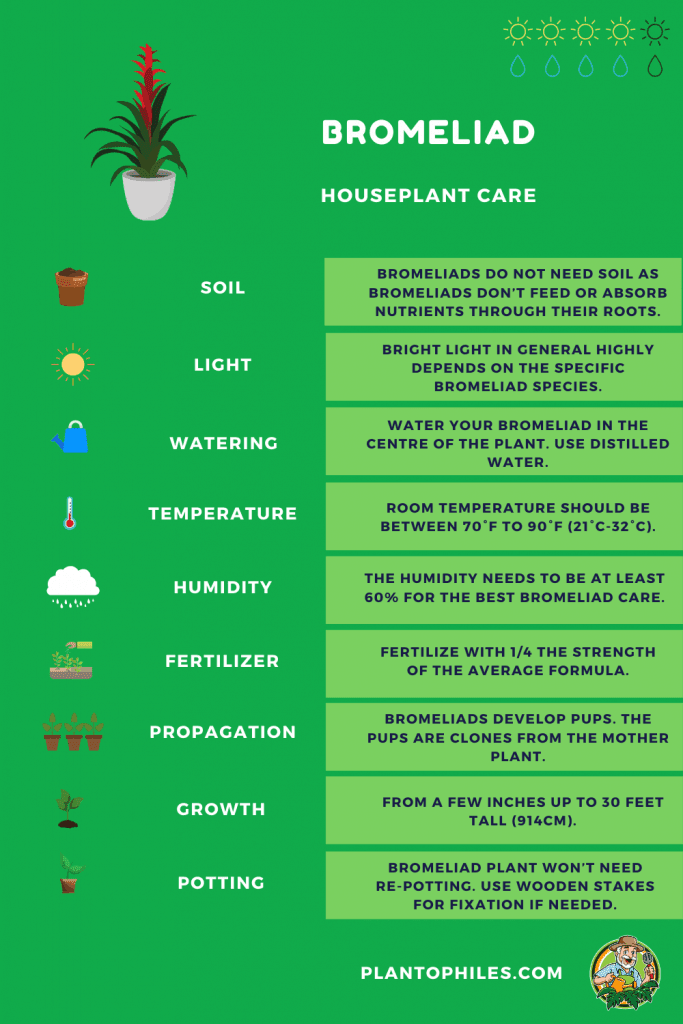
For optimal bromeliad growth, use well-draining soil rich in organic matter. Wateringevery 7-14 days. Use bright indirect light to full sunlight. Maintain a temperature between 60-80°F and a humidity level of 50-70%. Fertilize once a month and propagate through offsets or seeds.
| Species | Bromeliaceae |
|---|---|
| Synonyms | Pineapple family, Bromelioideae |
| Family | Bromeliaceae |
| Growth | Epiphytic, terrestrial |
| Height | 10.0ft / 3.0m |
| Width | 6.0ft / 1.8m |
| Soil | Well-draining soil mix with adequate organic matter |
| Watering | Fill up water every 7-14 days |
| Light | Bright indirect |
| Temperature | 60.0 – 80.0°F / 15.6 – 26.7°C |
| Humidity | 50.0 – 70.0% |
| Fertilizer | 1 times a month |
| Propogation | Offsets, seeds |
| Toxicity | Non-toxic to humans and animals such as cats and dogs |
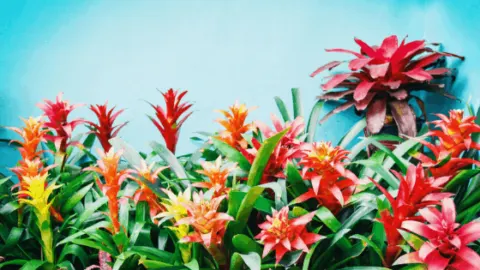
What are Bromeliads?
Bromeliad plants (from the Bromeliaceae family) originate from the Andean highlands of South America. They’re over 100 million years old!
Of course, they’ve evolved since then and are broken down into separate species. There are around 2,500 sub-types of the bromeliad.
These interesting plants can adapt to almost any environment they’re thrown into, and bromeliad care is full of surprises.

Bromeliad Care
Some sites on the internet describe bromeliad care as easy. I do not fully agree. It is easy to care for bromeliads and kill them if specific care best practices are disregarded.
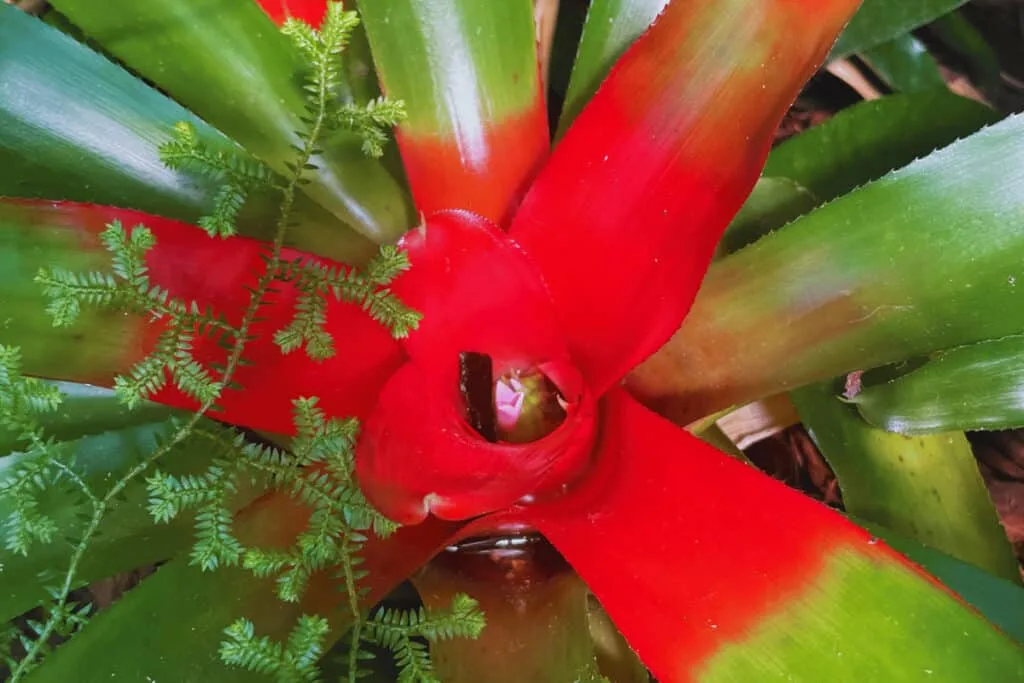
For example, bromeliads have tiny little hairs. The little hairs capture water so it can reflect sunlight. It’s protecting itself from the sun when it does this.
You don’t see that every day in a plant. We’ve been super impressed by these cool and colorful plants.
According to the University of Florida, they stand out because of their colorful leaves and flower spikes.
Do you need to know what soil to use for your bromeliad? Or the temperature it needs?
You’ve landed in the right place if you’re here to find information about caring for your bromeliad.
We’ve put everything we’ve learned about the bromeliad into one article. Keep reading!
Table of Contents

Bromeliad Plant Care Guide
Soil

Bromeliads need fat-draining potting soil or can be cared for soilless. Your soil needs to have a pH level between 5.0 and 6.0.


Determining the soil for your bromeliad is a little different from most other plants. This is because bromeliads don’t feed or absorb nutrients through their roots. Their roots are only there to give them support.
Because of this unique situation, you don’t need to use a plant pot if you don’t want one.
You can mount your bromeliad on a tree or a large rock. The roots will wrap themselves around the tree to give the plant support. This means you don’t have to have soil either.
But you’ll need a pot if you have your bromeliad plant indoors. You should use bromeliad-specific potting soil or fast-draining soil.
You can also make your fast-draining potting soil mix to save money. A great mix for a bromeliad plant includes:
- decomposed bark
- perlite
- sphagnum moss
Sand is another option. It’ll ensure all water goes right through instead of hanging out in the soil, ruining the roots.
Bromeliad plants are very susceptible to root rot or wet feet. So be careful not to soak the soil. Keep it as dry as possible. This is an important bromeliad care aspect to be aware of.
Have a look at our extensive soil mix article to get to know more about the right ingredients in potting soil.
Bromeliad Light Requirements
The light requirements for a bromeliad plant depend on the species. It can go from one extreme for one species to another extreme for another species.
You don’t need bright lights when your plant has flexible and spineless leaves. They need lower lights since these plants grow in shady areas.
The bromeliad plants with stiff leaves are like most plants. They need bright but indirect sunlight. You can place your bromeliad in either a north or east-facing window.
Yellowing leaves and stems are often a sign of too much light. The leaves can burn as well from sitting in direct sunlight.
And when they’re not getting enough light, they turn a darker green. This is because they have to compensate for the lack of light.
To do that, the plant creates more chlorophyll. The chlorophyll takes in the little light it can access and turns it into the energy the plant needs.
If you’re having issues finding the right balance of sunlight, a small grow light will be easy to adjust.
Depending on the light level, bromeliads might even change their color from one color to another. We have a bromeliad that turned from light green to pinkish once we increased the artificial light from a grow light.
My article about the different light levels and window directions will explain everything you need to know about light for houseplants.
Watering
Bromeliads don’t get nutrients or hydration through their roots. Watering your plant will be a bit different than watering other plants. You won’t water your bromeliad through the soil. Instead, find the center of your plant. This is “the cup” or “the tank.” Fill the center of this tank with water.
Never let the tank empty. Once it gets down pretty low, fill it back up with water.
You don’t want to leave the water in the tank for long because it will damage your bromeliad.
Drain the tank once a week. You can drain it into the soil if you have fast-draining soil and a pot with drainage holes.
If not, empty the water from the tank into a cup or bowl.
Avoid using tap water on your bromeliad plant. Tap water is full of chlorine and other chemicals that can harm it. Use distilled water instead!
In our case, we bought a device that can create distilled water from tap water within a couple of hours, as distilled water is not readily available where we live. However, supermarkets, hardware stores, or nearby pharmacies might sell distilled water.
An alternative would be to use rainwater or reverse osmosis water.
Check out my air plants watering tips as a comparison.
Temperature
During the day, they prefer to be in temperatures ranging from 70°F to 90°F (21°C-32°C). They like it hot since they originate from a hot climate.
At night, the temperature should be between 50°F to 70°F (10°C-21°C). Bromeliads don’t like temperatures below 50°F (10°C).
Bromeliad plants can withstand most temperatures, minus the extremes. This aspect is generally easy to fulfill as your room temperature will likely already be within the optimal temperature range.
Bromeliad Humidity
Bromeliads prefer high humidity between 50-75%.
Most bromeliad plants thrive off of high humid air. Since they grow on trees and rocks instead of in the earth, they get moisture from humid air.
If you can’t reach high humidity, you can always create the humidity yourself.
Fill a tray full of pebbles and then fill the tray with water. The water shouldn’t fill above the pebbles. Place your plant and pot on top of the pebbles.
You can also mist the plant throughout the day to create humidity.
Try to achieve at least 60% humidity for your bromeliad plant to thrive.
Fertilizer
Fertilize bromeliads once a month in spring and summer.
You don’t have to fertilize bromeliad plants often. They grow very slowly, and they take their nutrients about as fast.
You only need to fertilize your bromeliad during the growing season. Or the warmer months. Spread it around the base of your plant.
Avoid using full-strength fertilizer. It should be 1/4 the strength of the average formula.
Use organic fertilizer for your plant. Skip overusing fertilizers full of chemicals.
Read my nutrients and fertilizer guide for everything you need about fertilizing indoor plants.
Propagation
Propagate Bromeliads using pups. Because bromeliads propagate themselves.
Propagation for a bromeliad isn’t done from the usual stem cutting. Instead, these plants have “pups.”
The pups are clones of the mother plant or the original plant.
Bromeliad Propagation Steps
So, propagating a bromeliad plant is a good idea.
- You need a pup to get started. The pups start to grow when the plant is close to passing away. Pups pop up around the base of a bromeliad plant. Before you cut away, the pup needs to be about 1/3 of the size of the mother plant. Push back all leaves so you can see where the pup and stem of the plant connect. Then, place a sterile knife between the area of the pup and the stem. Bring the knife to a slant and cut away. Be careful you don’t cut into the body of the pup. And cut out at least two pups to get started. When possible, leave roots connected, but if the pups don’t have roots, it’s not a big deal.
- If the mother plant is still alive, when you cut out the pups, you must fill the holes in the soil they left behind. You can skip this step if you wait until the mother plant dies.
- You can place the pup in a pot of fast-draining soil when the pup has roots. The soil should be only slightly moist. You’ll place the pup straight up with about 1/4 of it under the soil.
- When your pup doesn’t have roots, you need to let it sit out until roots start to form. This can take weeks for some pups. It depends.
- Once the pup has formed roots, you will plant it in the pot and fast-draining soil you should have ready. Like before, stick about 1/4 of the pup into the soil, sticking straight up. You won’t see progress right away. It’s a long, long process. It can take years to get to full-grown status.
- After six months, you might (emphasis on might) need to re-pot your bromeliad plant. Once you’ve done that, you won’t need to re-pot it ever again.
Bromeliad Growth
The growth of a bromeliad plant depends on the species. They vary, and there are outside factors that go into their growth as well.
Some bromeliad plants only grow to be a few inches tall. Other bromeliads can grow up to 30 feet tall (9.14 meters).
The 30-foot tall plants are plants that have grown outside. They’ve had the space to grow so big.
But on average, an indoor bromeliad plant grows two to three feet tall (61-91cm).
Potting
In most cases, a bromeliad plant won’t need re-potting. Their roots don’t grow long at all. And they don’t live long either, no matter how good your Bromeliad care is.
But if you need to re-pot your plant, don’t get a pot bigger than six inches.
Sometimes, it’s hard for one of these plants to hold itself up after being re-potted. Wooden stakes will do the trick until the roots are stable.
Springtime is the best time to try to re-pot a bromeliad.
Bromeliad Life Cycle
Bromeliads have a life span of three to five years. Once they flower, they don’t have much time left alive and will wilt and die. However they produce oen to multiple pups that will contiune to grow in the place of the mother plant.
It is not possible to keep a bromeliad alive once it has bloomed. It might live on for several more months but will then wilt and die.
Bromeliad Plant Varieties
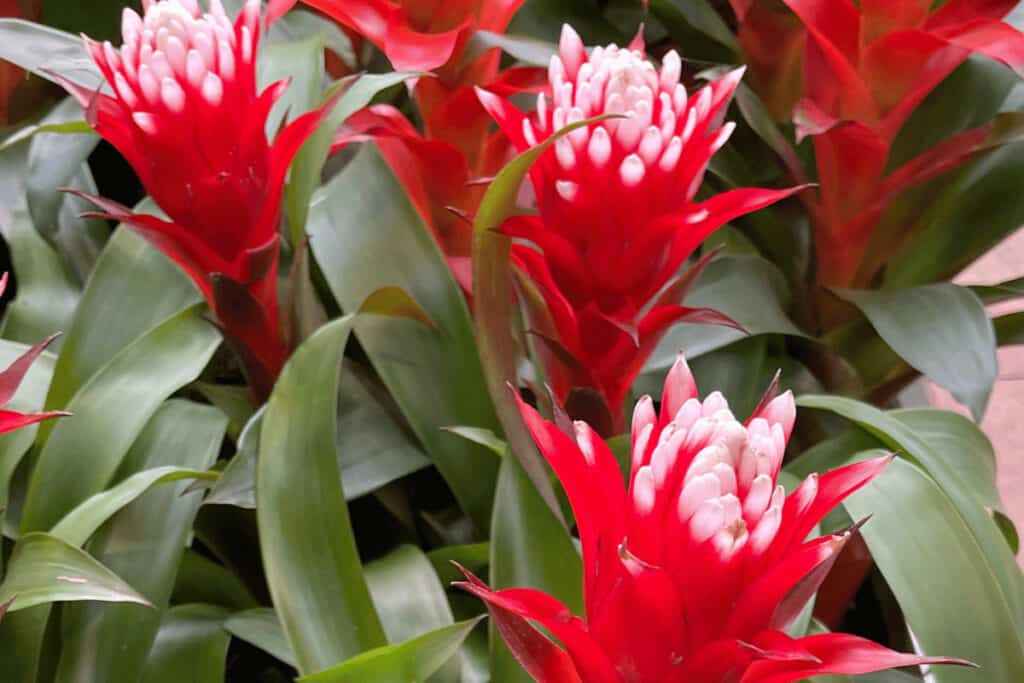
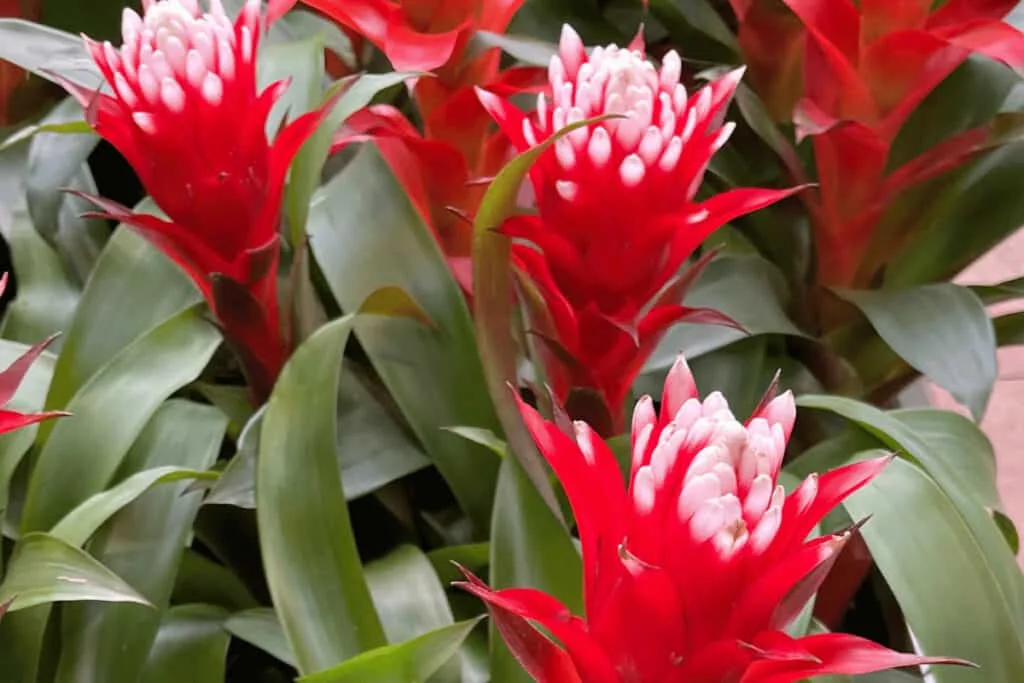
There are bromeliad plants that produce magnificent flowers and leaves.
Oh, and did we mention that pineapples are a member of the bromeliad family?
Bromeliaceae guzmania
This Guzmania bromeliad or Guzmania lingulata is perfect for any plant lover because its bloomes come in several bright colors. The bright colors include orange, purple, red, white, and yellow. They resemble the pineapple plant but in funky colors.
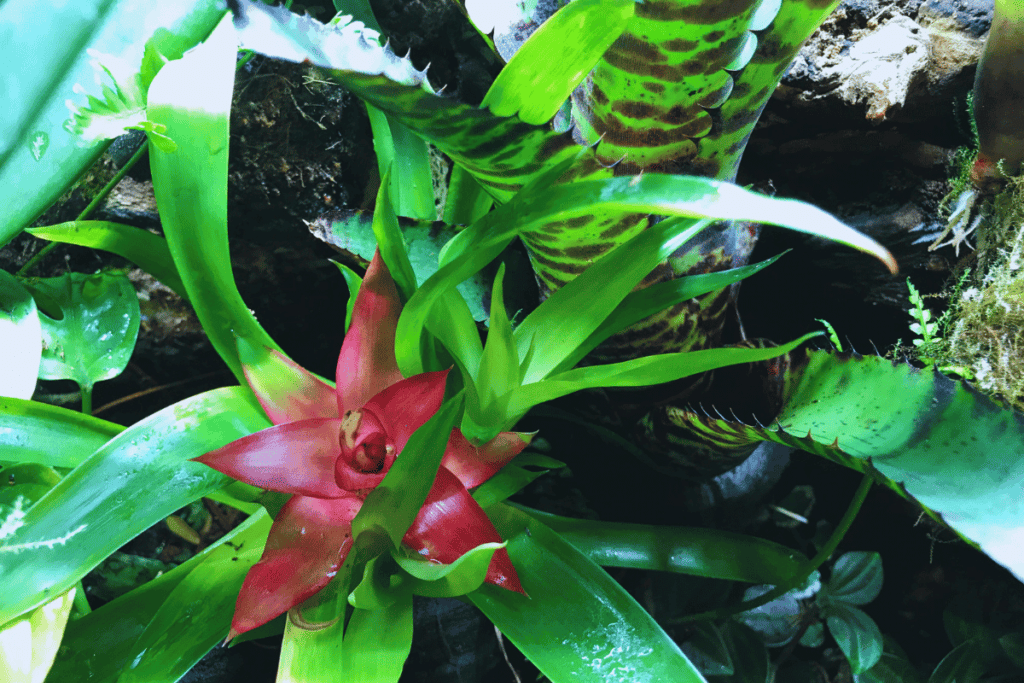
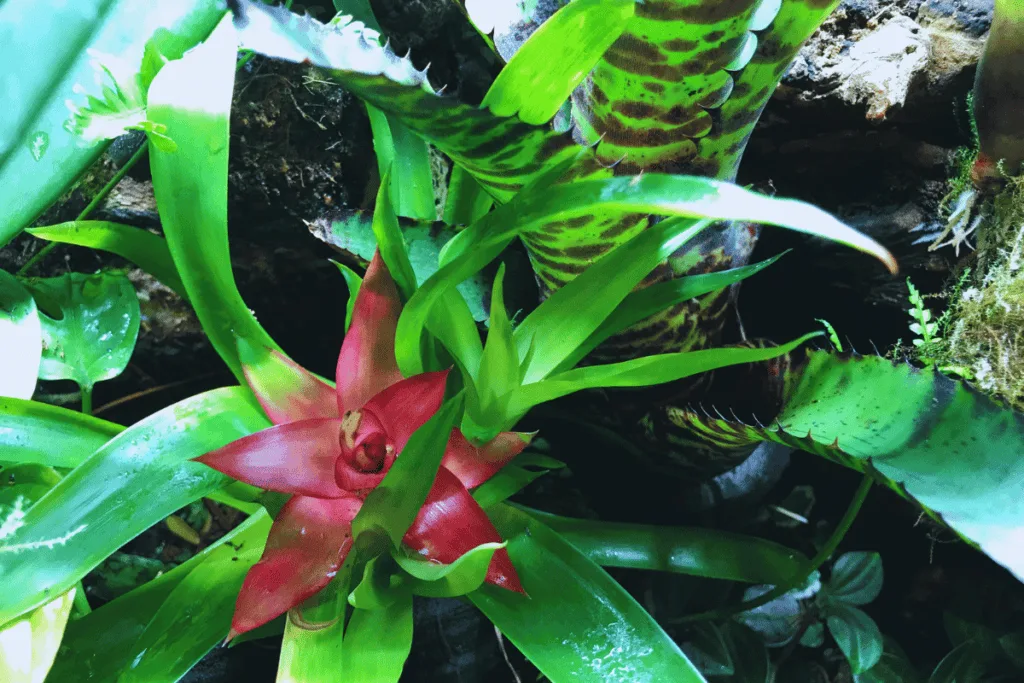
Bromeliaceae bromelia
Another pretty species of the bromeliad, this one is a popular indoor plant. It’s one of the bromeliad plants that always take high humidity.
Bromeliaceae aechmea
Bromeliad plants don’t live long after they bloom. They live long enough to grow, give you beauty, and then take it away. But this specific species lasts longer than others. It’s another popular bromeliad plant.
Bromeliaceae vriesea
You can choose between a flower or foliage option for this species. They’re easy to care for since they thrive on low light instead of bright light.
Bromeliaceae vriesea
Common Bromeliad Problems
For the most part, indoor bromeliad plants don’t attract pests known to destroy other plants. I can’t stress how huge it is and how it makes Bromeliad care much more desirable. However, a few bugs might sneak through to your plant when you don’t expect it. These are the most common ones.
Aphids
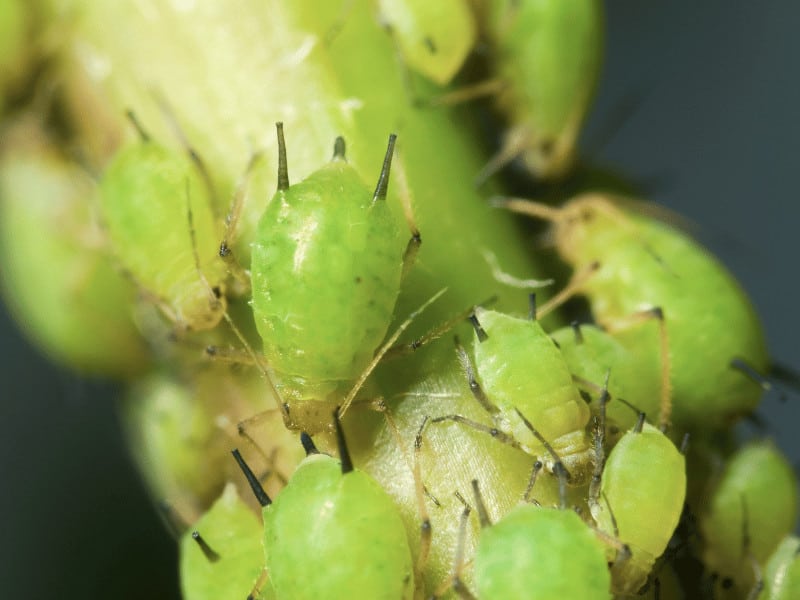
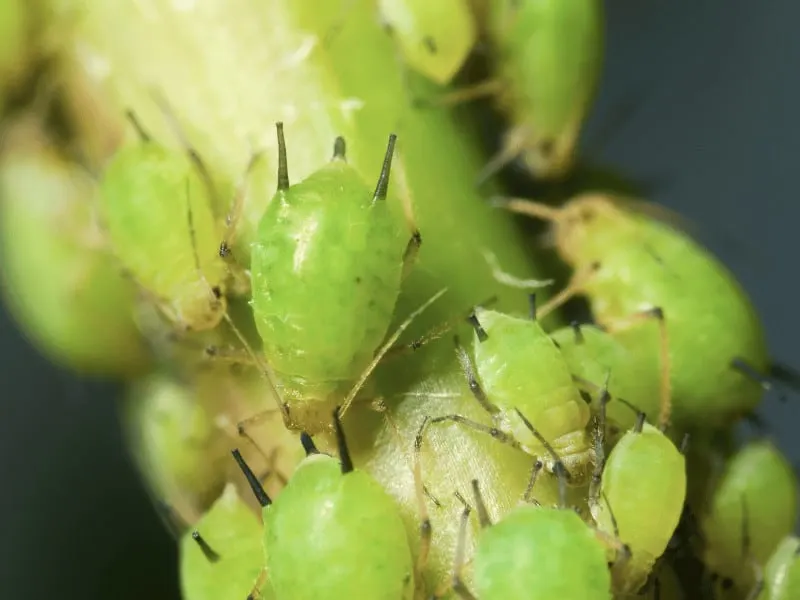
Aphids are a bug that loves all sorts of plants, including bromeliads.
They’re teeny tiny bugs that are difficult to see. They have soft bodies, and they’re either green or yellow. And these bugs steal all the nutrients from your plant.
Since they mate fast, you want to eliminate them when you discover them on your plant.
Otherwise, your bromeliad will end up infested with these gross pests. And the more aphids there are, the more aphids there are stealing nutrients.
Getting rid of aphids is easy. Wipe down your plant with either soapy water or insecticidal soap (and water).
Another pest you could come across is the ever-popular mealybug. These tiny, white, and waxy bugs hide under leaves.
Mealybugs


Mealybugs start their attack by eating the leaves of the plant. For mealybugs, try using 70% isopropyl alcohol and water. Like you would with soapy water, wipe your plant down.
You might have to repeat the process a few weeks later if your plant still has mealybugs hiding out.
Scale


And then there are scale bugs. They’re a little harder to eliminate than the other two pests.
Scale bugs don’t look like bugs when you first see them. They appear as little brown dots on the leaves of your bromeliad plant.
These suckers will devour every bit of your plant, from the roots to the top. With enough of them infesting your plant, your plant won’t survive.
Some of the adult scale bugs have a hard shield or hard armor that surrounds them. This means you have to remove the adults from the plant, and you can’t rely on only treatments.
You’ll remove these adults with a cotton swab dipped in isopropyl alcohol. Wipe down the areas with the adults, making sure there are no more left before you move on to the next step.
Now, use soapy water to wipe down your entire bromeliad plant. This should remove all the eggs.
Repeat the process in a week. This is in case you didn’t remove all the eggs the first time.
Tips for an Unhappy Bromeliad Plant
But there are a few problems you might come across when you have one of these fun plants in your home.
Your Bromeliad Plant’s Leaves are Turning Brown (or Black) on the Tips
When your bromeliad leaves turn brown, you wonder what you’re doing wrong.
It takes one innocent mistake to cause brown and scorched leaves. Your plant is getting too much direct sunlight or artificial light.
But don’t worry, it’s an easy fix.
When you’re using sunlight, all you have to do is move your bromeliad plant to an area without direct light.
If you use grow lights, you can move your plant to a better angle or adjust your lights.
Your Bromeliad Plant has Small Brown or Purple Spots
Brown or purple spots on a plant are from the fungal disease Helminthosporium leaf spot.
This icky fungus rears its’ nasty head when you over-water your plant.
When this disease progresses, the spots grow larger until they destroy the leaves. Eventually, it will cause your plant to wither away and die.
You have to water your plant less and ensure enough air circulation.
They seem like unimportant small details. But the disease will kill the plant if you continue to over-water and don’t provide circulation.
Using a sterile pair of pruning shears, cut off all the diseased areas on the plant.
Last, you might consider treating your plant with a fungicide to slow the fungus down. Make sure the fungicide you use doesn’t have copper sulfate in it.
Your Bromeliad Plant has Blisters Under the Leaves
You’re probably confused seeing blisters on the bottom of your bromeliad’s leaves. They not only look like blisters, but they’re actual blisters. This is not the most enjoyable Bromeliad care topic.
When dealing with liquid-filled blisters, you’re dealing with “rust disease.”
Soon, not only will your plant have blisters, but white or yellow spots will pop up on top of the leaves.
This unfortunate disease is from a fungal parasite spread from one plant to another.
Treating bromeliad plants for rust disease is difficult and won’t always save your plant. But you can sure try!
First, cut off all infected areas on your plant. Get rid of these infected areas right away and destroy them.
Separate your plants until you’re positive none are infected or infected anymore.
FAQ
Why is there a weird white and chalky residue in my bromeliad plant’s tank?
This white and chalky residue in your plant’s tank is from using tap water to water it. Avoid using tap water and start using distilled water instead.
Wipe the tank out with a wet cloth to get rid of the chalky residue.
How do I eliminate the hard water deposits on my bromeliad’s leaves and at its’ base?
Mix a gallon of distilled water with a tablespoon of white vinegar. Wet a sponge with this mix and dab at the water spots.
Let the vinegar mix sit for five minutes, and then wipe it off with a wet cloth.
Start using distilled water instead of tap water to water your plant.
What kind of grow light should I use for my indoor bromeliad plant?
Fluorescent light tubes are the best choice when using artificial lights for a plant.
Fluorescent lights offer a larger spectrum if you need to change things up for your plant. They also create less heat, so your plant won’t fry.
Is it safe to use a copper wire to mount my bromeliad plant?
No, you must always keep any bromeliad plant away from copper. Copper is toxic to bromeliads and will kill them.
Keep in mind that there are copper sulfate fungicides out there. You want to avoid these fungicides at all costs for obvious reasons.
Conclusion
Bromeliads do not need soil like other plants do, and their roots are merely here to attach, similar to air plants. How you water bromeliads differs from most other houseplants as you are filling the center (cup) of the plant.


Daniel has been a plant enthusiast for over 20 years. He owns hundreds of houseplants and prepares for the chili growing seasons yearly with great anticipation. His favorite plants are plant species in the Araceae family, such as Monstera, Philodendron, and Anthurium. He also loves gardening and is growing hot peppers, tomatoes, and many more vegetables.