
You have a plant, and you are suspecting root rot. In this article, I will talk about root rot, spotting it, and its treatment steps.
Rot in plants is nothing to take lightly. It spreads to healthy roots and rots the plant if not cared for. Your plant will die if you are not taking action.
But how can you treat your plant and its roots once the downward spiral has begun?
[toc]
Summary: How to Fix Root Rot Step-By-Step
| Root Rot Treatment Steps | Description |
|---|---|
| Step 1: Inspection and Removal | Take the plant out of the pot and inspect the roots for signs of rot. |
| Step 2: Cutting and Sterilization | Cut away rotting roots 1 inch above the rotting sections. Sterilize cutting tools before and after use. |
| Step 3: Root Rinsing | Rinse the roots under running tap water to remove any remaining soil and potential pathogens. |
| Step 4: Pot Disinfection | Disinfect the pot using a mix of rubbing alcohol and water. |
| Step 5: Repotting | Repot the plant using new, well-draining soil. Avoid watering immediately after repotting. |
| Step 6: Delayed Watering | Water the plant after 24 hours to allow roots to callous over. |
Root Rot Treatment
To cure root rot, take the plant out of the pot. Remove all the soil. Look for soft, mushy roots that look brown to black. When the roots are soft or falling apart, cut them off 1 inch above the rot (2.5cm). Wash all the remaining healthy roots under running tap water. Remove all the potting soil from the pot. Disinfect the pot using rubbing alcohol. Use new potting soil and plant your plant back into the pot.

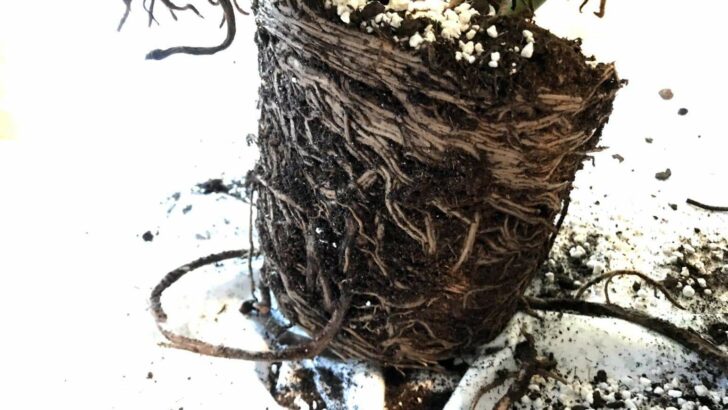
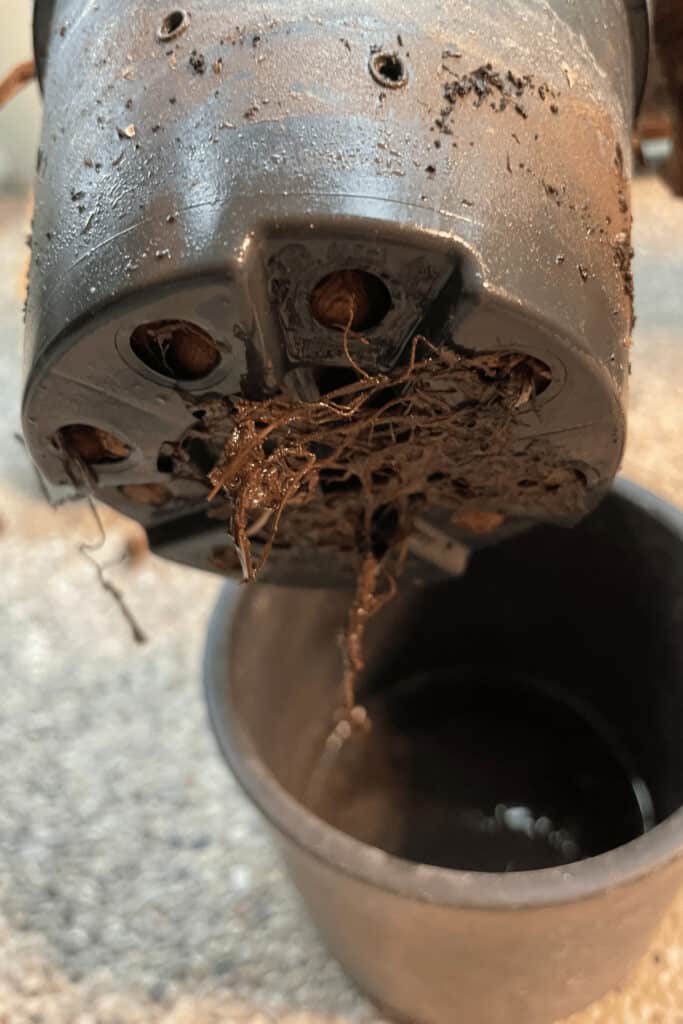
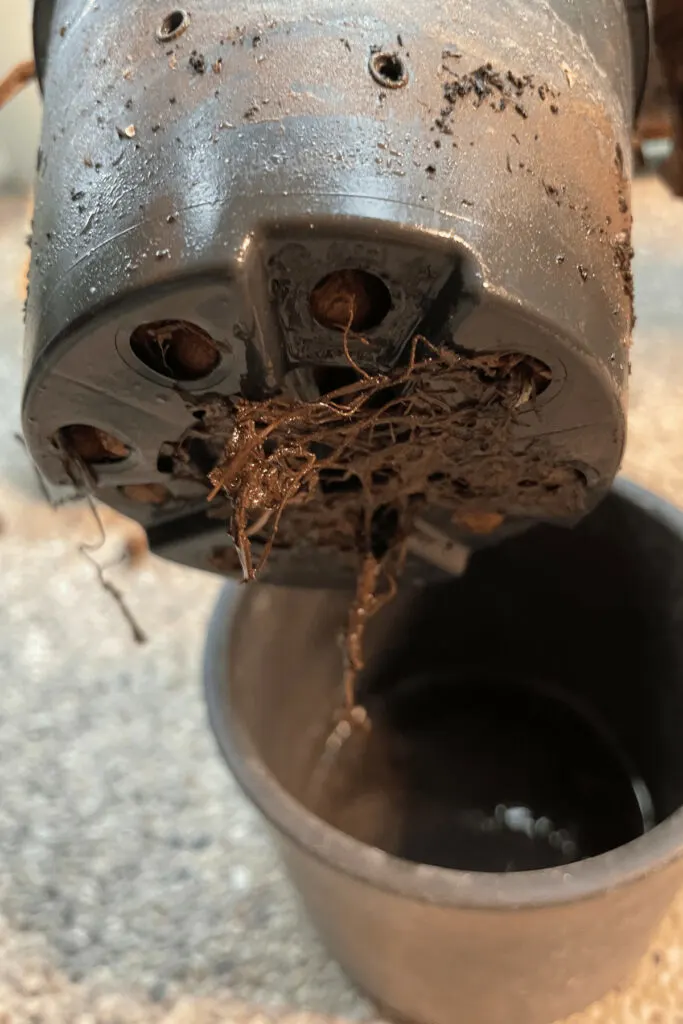
Step 1: Take the plant out of the pot
After you spot yellow and wilting leaves, it is time to take the plant out of the pot and inspect the roots. Root rot shows on the foliage. Remove all of the dirt and potting soil. Once the roots are bare, inspect them.
From personal experience, I know that removing all the soil can be a cumbersome process. Especially if you have an indoor plant with finicky roots, you can use a wooden chopstick or any other tool to remove the soil.
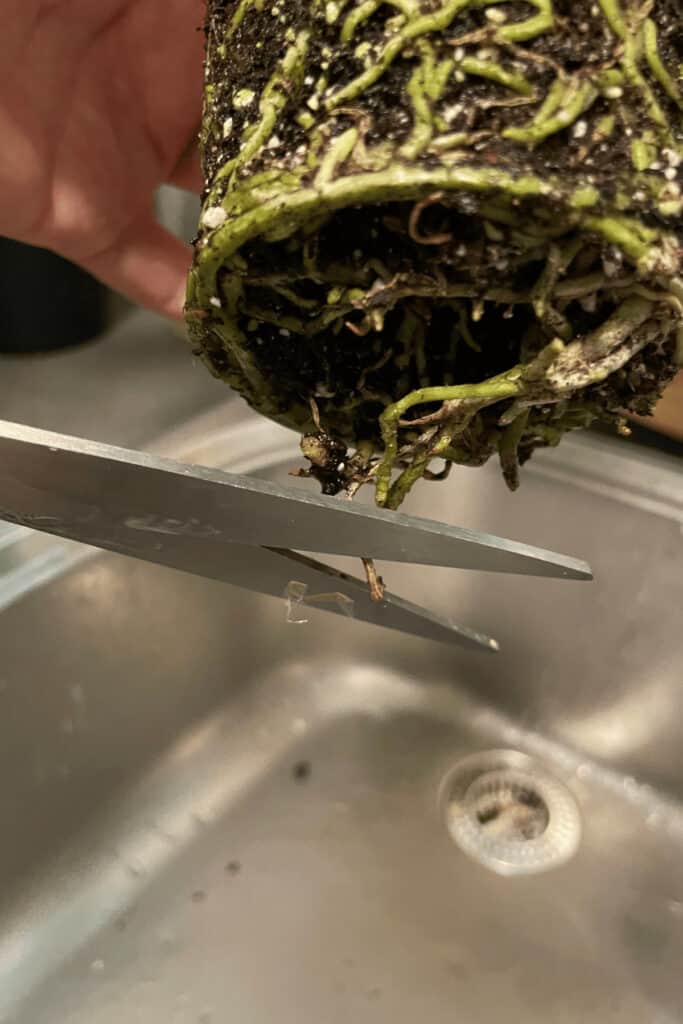
Step 2: Cut away rotting roots
Now that the roots lay bare cut away all the parts of the roots that are mushy and about to fall off. Healthy roots are white to light brown. Some roots are also red. Disease roots are dark brown to black and soft.
It is best practice to cut 1 inch (2.5 cm) above the rotting sections. You do not want to leave any areas that can rot further along the roots. To cut the roots, use sharp scissors or a knife.
Sterilize your scissors or knife before the cut. Use 1 part bleach and three parts water to disinfect. Disinfect the blades again after the process.

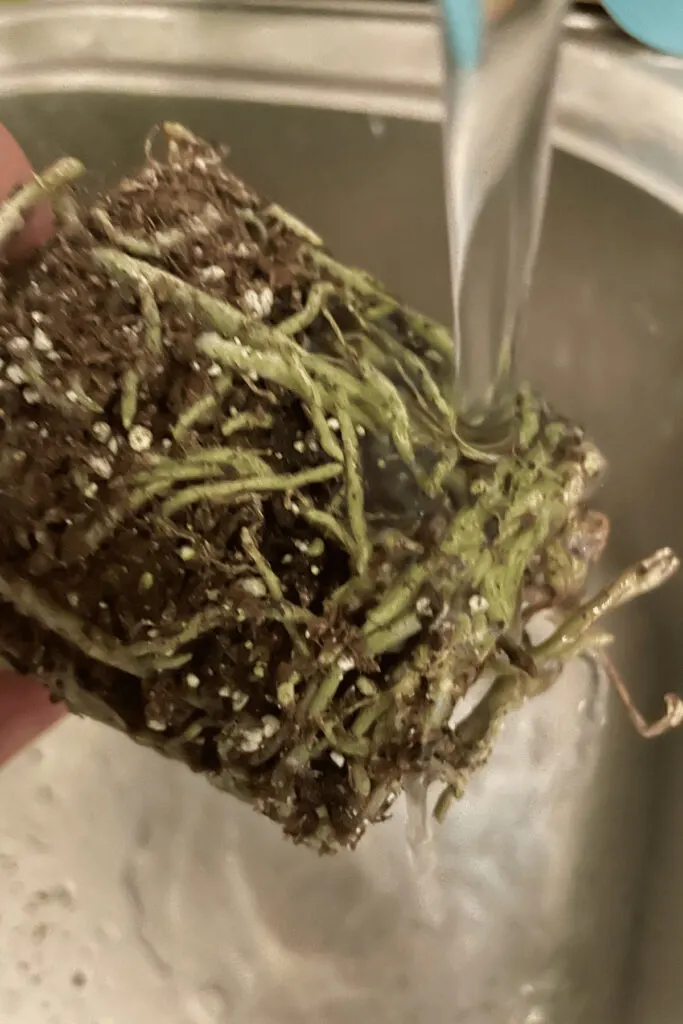
Step 3: Rinse the roots
Once you cut away all rotting areas of your plant and have disinfected your scissors, it is time to rinse your plant’s roots under running water. You want to ensure that everything that could rot your plant’s roots again is cleaned off. Hold your plant under a tap and use running tap water.
Clean off all the remaining soil on the roots. Ensure you use water that is neither too cold nor too hot. Hot and cold water can shock your plant. Laying a plant bear and working on the roots is already a big stress factor. You do not want to stress your plant further.

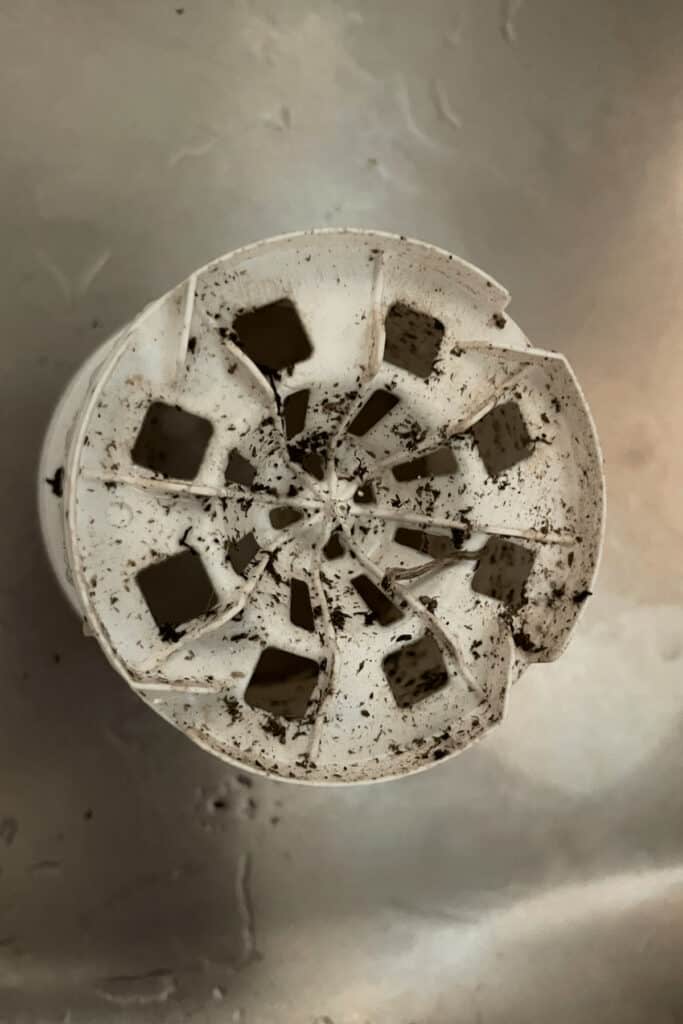
Step 4: Disinfect the pot
Now, you need to disinfect the pot that your plant was in. Bacteria can inhabit the inner walls of a pot. It is, therefore, essential to use a mix of rubbing alcohol and water to clean the old pot. You can switch to a new pot altogether if you don’t want to hold on to the previous one.
This is the step most people forget. Only treating the roots and the soil is not enough. The pot itself might also be infected.

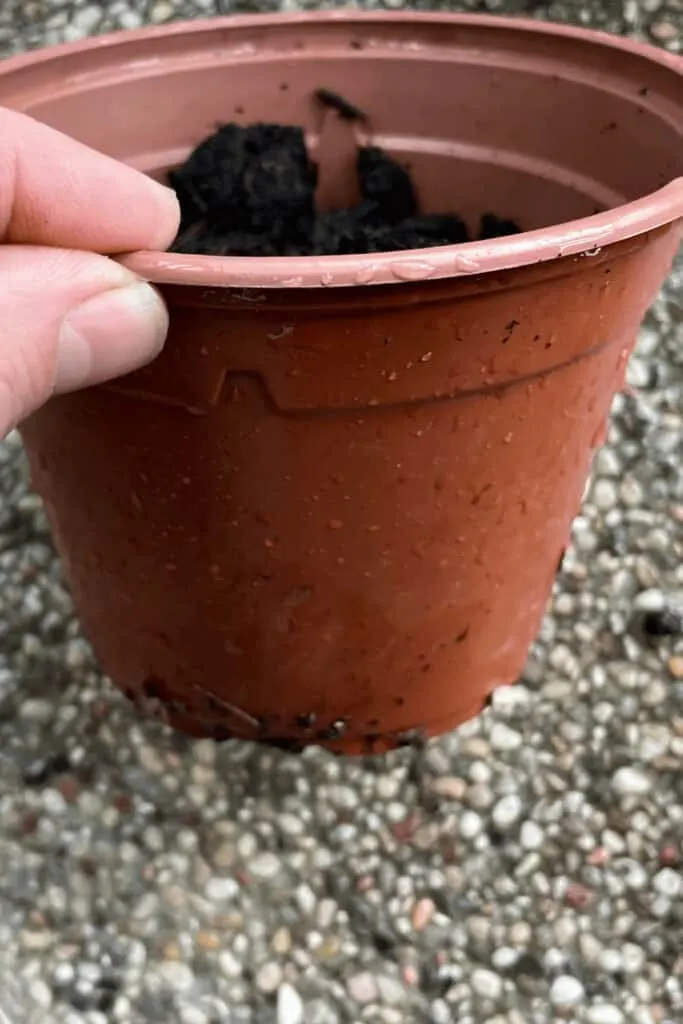
Step 5: Repot your plant
You can now replant your plant if your plant still has some healthy roots. Don’t use the same soil again. There might still be bacteria present in the soil. This would quickly rot the roots of your plant again.
Use a new potting medium and ensure it is well-draining. More often than not, soggy soil causes root rot. The main cause is insufficient airflow to your roots. This happens when the soil is too compact and wet for too long.

Step 6: Water your plant
Your plant is back in a pot with fresh soil and the remaining roots. Depending on how many roots you had to cut off, the plant might be weakened and the water and nutrient intake capabilities limited. Water accordingly.
Here is another important tip few indoor gardeners know. Do not water immediately after repotting. The reason is simple. Treating the roots and repotting could have damaged the roots in some parts. Your plant needs at least 24 hours so the roots can callous over.
Damaged roots can rot easily as the opening lays bare and interact with the soil and water. So after 24 hours, you can water your plant again. The time a plant needs to callous over depends on the size of the wound. This often correlates with the thickness of the roots or stems. Large stems or roots need more hours to callous over.
Common Root Rot Symptoms
The most common root rot symptoms are:
- Yellow leaves
- Wilting plants
- Soft mushy stems
- Soft roots
- Brown and black roots
- Bad smell
Root Rot Treatment Hydroponics

Root rot is a common issue in hydroponic systems. It is caused by insufficient drainage and soggy conditions. The roots and plants are deprived of oxygen. To cure root rot in a hydroponic system such as an ebb and flow setup or NFT system, remove all diseased plants and dead plant material.
Clean the plants by removing any diseases and rotting parts. For this, use disinfected blades and running water. All mushy parts have to be removed from the plants.
Shut off the hydroponics system and drain all the water. Clean the setup using hydrogen peroxide and rubbing alcohol diluted in water.
Refill the water and add in the nutrient solution. Adjust the pH level by using pH-down and pH-up methods. You can also add hydrogen peroxide to ensure no bacteria is present anymore. According to Bulk Peroxide, you can add 29% hydrogen peroxide to a gallon of water (3.8 L).
Routinely check for symptoms like discolored leaves and foul smells from the reservoir. These are indicators of root issues. An aerator stone in the hydroponics reservoir helps oxygenate the water and reduces the risk of root rot.
Root Rot Treatment for Trees
To treat root rot on large trees, use ammonium sulfate and soil sulfur in the early stages. This lowers the pH level and worsens the conditions for Phytophthora by improving soil conditions good for healthy fungi. In addition, some fungicides can be beneficial, although Phytophthora is not a true fungus. It is recommended to consult an arborist and do soil tests beforehand.
The disadvantage of trees is that they are often too large to take out of pots or grow in the soil. Therefore, treating the soil is the way to go. After adding the sulfur and sulfate to the soil, thoroughly rinse it with water and repeat it yearly.
You can remove smaller trees from the ground or pot and cut off the damaged roots after replanting the trees in well-draining soil in a different spot.
Root rot in older trees cannot be cured completely but diminished and slowed down. Severely damaged trees should be removed.
Mycelia, Honey fungus, and Phytophthora are the most common fungi infecting the roots of trees.
Root Rot Treatment for Tomatoes

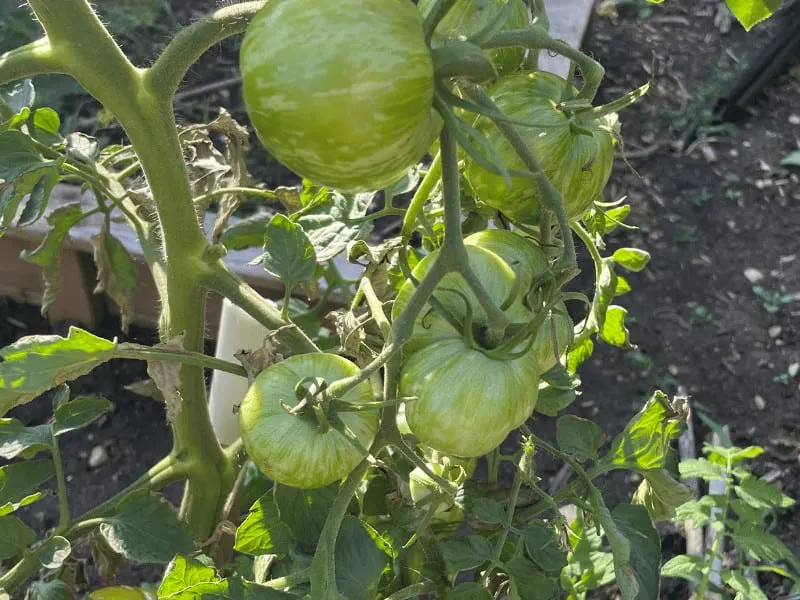
You can trim away damaged roots and heat treatment methods to treat rooting roots on tomato plants.
The best preventative methods to treat root rot in tomatoes are using well-draining soil, containers with drainage, and careful watering.
Yellow leaves, downward leaf curl, wilting, and brown stems are common signs of root rot on tomatoes. These conditions diminish the tomato yield. It can also kill your tomato plants if not treated quickly. Soil-born fungi that thrive in wet soil are the main reason.
Root Rot Treatment Monstera

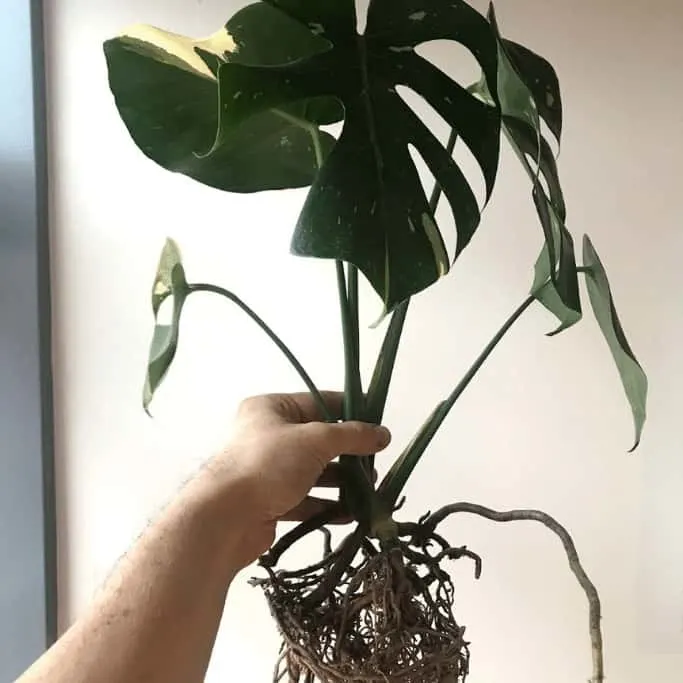
Monstera plants are easier to save from root rot compared to other plants. Monsteras have stronger roots and root systems compared to other plants. Cheese plants develop new roots willingly in water, sphagnum moss, and soil.
For example, a Monstera deliciosa or Monstera adansonii can survive without roots if at least one node is still present. Roots might regrow over time. But it can also be too late once too much of the plant has rotted. Once all roots are gone, your chances are slimming down.
One Monstera plant specifically prone to root rot is Monstera Thai Constellation. The Thai constellation is a Monstera variety derived from tissue culture in Thailand. Unfortunately, the mother plant used for tissue culturing already had Phytophthora (root rot). This is why most Thai Constellation plants are more prone to rot.


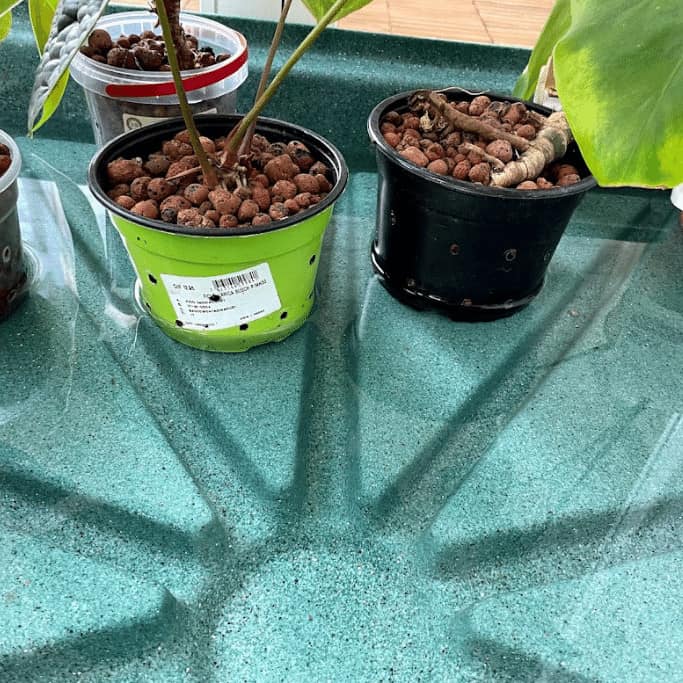
What is Well-Draining Soil?
Well-draining soil contains chunky material and forms air pockets in the soil. This way, airflow can get to the roots. The roots are oxygenated.
Proven potting medium ingredients to make soil arier are:
- Peat
- Perlite
- Pumice
- Charcoal
- Orchid bark
- Chunky coconut husk/hull

What are Drainage Holes?
Drainage holes are the holes at the bottom of pots. Choose a pot with drainage holes. This way, excess water has a place to go. Otherwise, it will accumulate in the pot. The result is soggy soil.
Drainage holes take out the guesswork of choosing the right amount of water. If you have a pot without draining holes, you must water exactly right. For this, you need to consider the indoor conditions (temperature and humidity), the weather, the size of the plant, the root system, and the pot and potting medium.
FAQ
Is root rot dangerous?
For plants, root rot is deadly if not spotted. For humans, not so much. But disinfecting the scissors and knives you were working with and washing your hands with soap and disinfecting them is crucial to avoid spreading root rot to other plants.
What are the symptoms of root rot?
Yellowing leaves and stunted growth can be symptoms of root rot. Rotting smell can also be a telltale. If you can easily access roots, you will see a brown and sometimes white color that indicates root rot. Be aware that white roots are often healthy, though, depending on the plant. Once you have access to the roots, touch them. Mushy roots that almost fall off are most likely rotting. For more information, you can read our article about root rot symptoms.
Can you save a plant with root rot?
You can save a plant from root rot in most cases. The earlier you detect root rot, the better. Once you spot it, follow the steps indicated in the above article. As you have to cut away everything that is rotting just above the rot, it depends on how much of the plant and root remains.
How fast does root rot evolve?
Root rot spreads quickly. 7 to 10 days are enough to kill a whole plant. The fungi enter the plant through feeder roots and spread quickly.
Does hydrogen peroxide kill root rot?
Yes, it does kill the microbes /fungus causing root rot.
Final Remarks
Root rot is serious and can be fatal for your plant. The earlier you detect it, the better the chances you can save it. It is important to be informed about root rot, know the symptoms and causes of rotting roots, and know how to treat rot correctly.


Daniel has been a plant enthusiast for over 20 years. He owns hundreds of houseplants and prepares for the chili growing seasons yearly with great anticipation. His favorite plants are plant species in the Araceae family, such as Monstera, Philodendron, and Anthurium. He also loves gardening and is growing hot peppers, tomatoes, and many more vegetables.