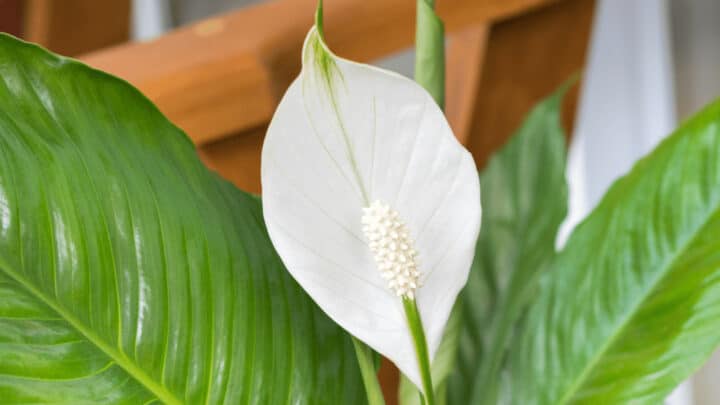

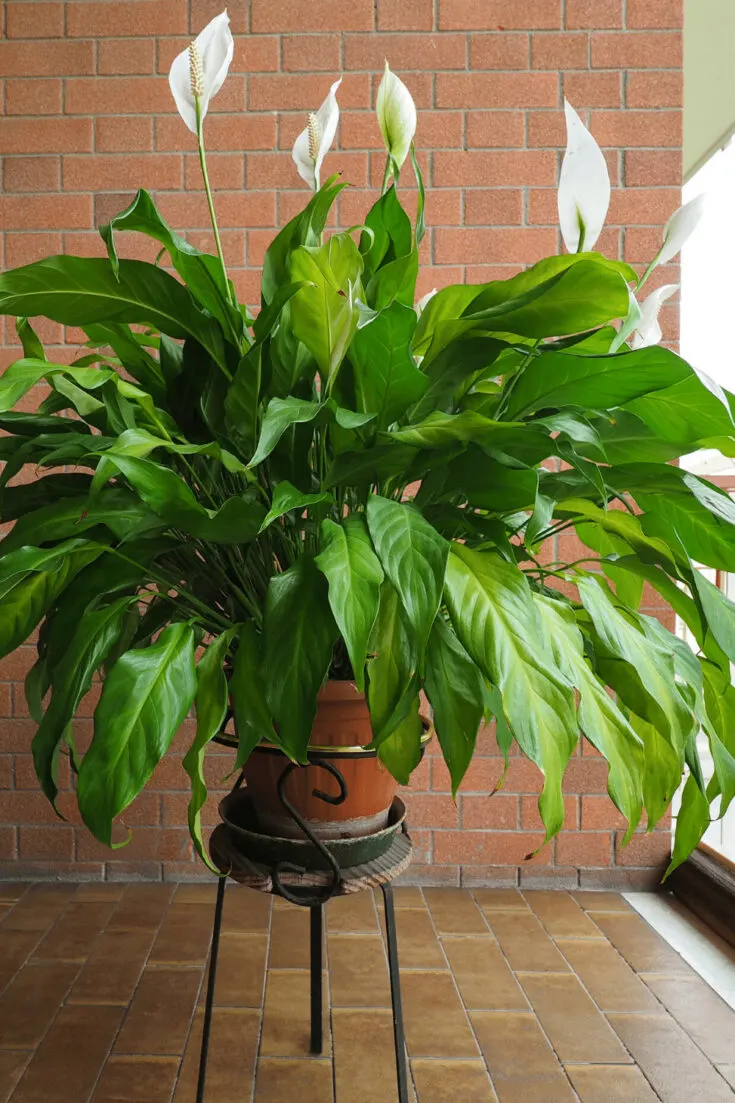
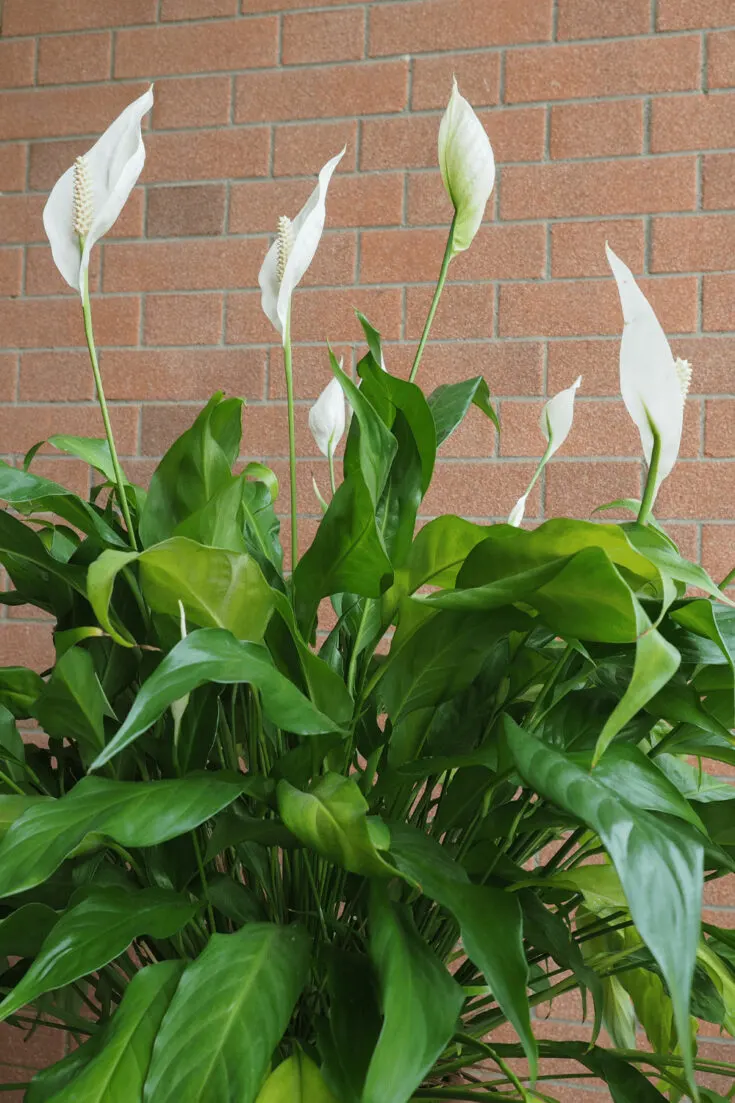
How to Divide a Peace Lily? The peace lily or Spathiphyllum grows quickly. When it outgrows its existing pot, it is time to repot or propagate it by dividing it into multiple plants.
I also once put some divided parts directly into a vase with water. The propagated plants grew well. So you can either pot them up into soil or water.
Repot Peace Lilies when they are not flowering. Here are the steps to divide it.
Table of Contents
How to Divide a Peace Lily?
Divide a peace lily by tipping it from its current pot into your hand. Gently remove the potting soil around the roots by lightly tapping it. With sharp, sterile pruning shears, cut a crown section with rhizomes with roots attached from the rest of the plant. Repeat this process if needed. Re-pot each small plant in a pot with damp, fresh potting soil.
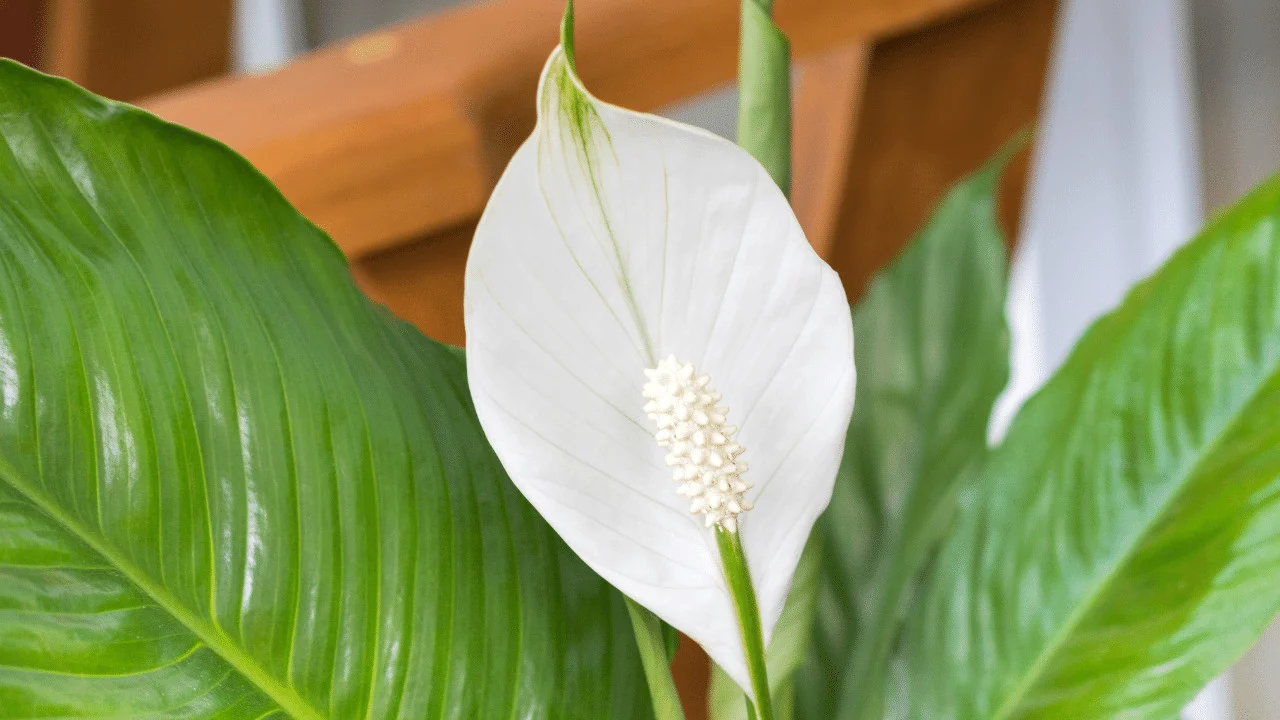
Peace Lily Division
Once you have grown a thriving peace lily, you can divide the plant to obtain a second one, providing your home with exquisite white flowers against the foliage of dark green.
If you started your peace lily in a large-sized pot, it might take a few years to re-pot it.

Re-potting the flower provides the perfect opportunity to divide it. This lets you have more plants for the price of just one.
This method requires a sterilized agent such as rubbing alcohol, pruning shears, a sharp knife, three containers, or flowerpots.
You will also need potting soil with significant peat moss, a drop cloth or newspaper, and water.
So, once everything is ready, follow the steps below to divide your peace lilies.

Step 1 Look For Crowns
Examine your peace lily for health and crowns. The flowering plant must be healthy and have existing crowns. These two factors indicate that your plant matured enough to propagate.
Step 2 Lift The Plant Out Of The Pot
Lift the plant out of its pot or lean it on its side and slide the plant out of the pot.
If you notice that the roots grew around or through the slots at the bottom of the planter, you need to remove them gently. Carefully loosen the roots from the bottom of the pot.


The plant should lift out now.
If not, tap the pot and rock it gently or use a fork to lift the soil package around the plant’s roots.
Step 3 Remove The Soil
Tap the potting soil surrounding the roots to get rid of it. This reveals the roots of the plant and lets you find the proper dividing points.
Step 4 Disinfect Pruning Shears
Pour rubbing alcohol into a shallow tray. Dip the pruning shears into the tray, immersing both sides.
Open and close the shears alternately to sterilize the entire blade set.
Step 5 Check For Roots
Check the rhizomes for roots to make sure that the rhizome you plan to cut has healthy roots attached to it.
Step 6 Cut The Rhizomes
Holding the peace lily by the crown section, cut the rhizomes into two or three sections using the shears.
Step 7 Remove Diseased Parts
The Peace Lilies aren’t ready yet to enter a new pot.
Double-check each plant’s roots and foliage, closely examining the rhizomes for damage and disease.
Remove loose, damaged, or diseased parts of the flower.
Step 8 Remove Unhealthy Roots
Examine the roots of each of the plants and remove any brown-tipped roots. Get rid of whatever is unhealthy.
Step 9 Remove Brown Leaves
Remove all brown-tipped leaves.
Step 10 Prepare Pots With Potting Holes
Prepare a four-inch pot with drain holes and a tray with fresh potting soil beneath it. You will need potting soil with plenty of peat in it.
Step 11 Plant The Plants
Plant the flower with the rhizome division beneath the potting soil.
Step 12 Water The Plants
Lightly water each plant so the potting soil moistens. The lilies won’t grow in dry soil. Always use room-temperature water.
Step 13 Chose A Sunny Spot With Indirect Light
Place the lilies in indirect sunlight, which will remain warm but not overheat.
Step 14 Fertilize Your Peace Lilies After 2 Months
Two months after you re-pot your plants, fertilize the Peace Lilies. After that, provide them with fertilizer once per month. Care for the divided plants as you would for a full-grown Peace Lily.

Frequently Asked Questions
What time of year do peace lilies bloom?
When you plant them outdoors, these lilies bloom in the springtime. When you plant them indoors, they may bloom throughout the year.
How often does it take for peace lily to outgrow its pot?
Typically, a peace lily will outgrow its pot in three to five years. When planted outdoors, they will grow most actively in spring and summer. Indoors though, these plants can grow out of their flowerpot in a much shorter time.
How can you grow your peace lily more quickly?
If you feed your peace lilies with high-quality fertilizer, you’re guaranteed that they’ll fare well. Feed your peace lily once monthly or every six weeks to keep it in good condition and make it reach its full growth potential.
How can you make peace lilies grow faster?
Fertilizing your plants will help you grow them more quickly. Fertilize your peace lily with a houseplant fertilizer balanced every four to six weeks.
What is the best time of year to divide a peace lily?
These plants do best when you divide them during good weather. Avoid propagating during extreme heat or cold so you do not damage the plant. You can easily divide your existing peace lily to produce more plants. This method can provide you with two or three plants from a single lily plant.
Takeaways
Peace Lilies are fast-growing plants that can be propagated by division.


Daniel has been a plant enthusiast for over 20 years. He owns hundreds of houseplants and prepares for the chili growing seasons yearly with great anticipation. His favorite plants are plant species in the Araceae family, such as Monstera, Philodendron, and Anthurium. He also loves gardening and is growing hot peppers, tomatoes, and many more vegetables.