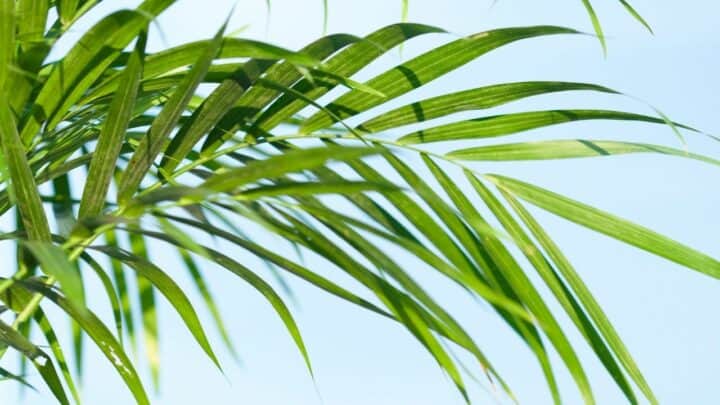
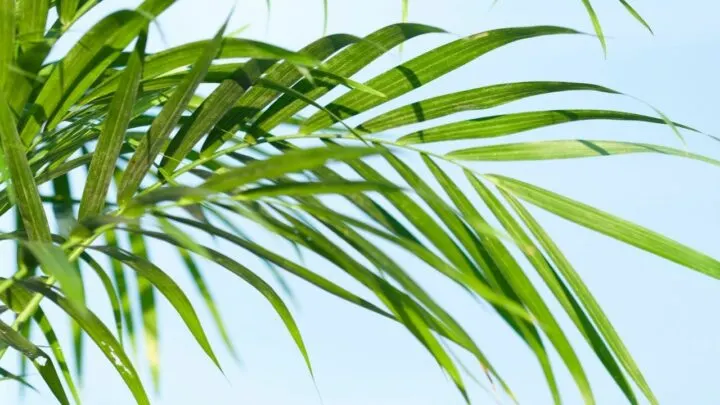
With its green, vibrant leaves and upward arching growth habit, the Majesty Palm adds a fresh, tropical look to any corner of the house.
This beautiful plant has preferences similar to those of its fellow palm plants; bright, dappled sunlight, frequent watering, and monthly irrigation.
Although it requires relatively more care than average houseplants, the results are worth every effort when fully grown.
But, what if you want to place this beautiful tropical plant indoors? How will you go about the repotting process?
Don’t fret, as we’ll learn the steps, as well as the tricks and tips in this process below.
Table of Contents
How to Repot a Majesty Palm?
Unlike other palm varieties, Majesty Palms have a moderate to fast growth rate. Repotting becomes necessary every six months during the spring or summer seasons if you wish for the plant to reach its full potential in terms of growth and spread. The repotting process is fairly easy. It requires a slightly larger pot, a suitable soil mix, some water, and a bigger growing space.
Why Repotting is Necessary
Like all living beings, as most plants develop, they need a greater nutrient supply and a larger growing area.
While the former promotes overall health and stronger immunity, extra space allows for the plant, specifically its leaves to spread more easily and produce most of its food on its own through photosynthesis.
Usually, when the Majesty Palm plant is in its initial stages, small containers are sufficient to accommodate the plant and its roots.
However, as the plant matures, its leaves, roots, and vines become more extensive and need a greater area to grow further.
For all these natural processes to occur smoothly and unperturbed, repotting a Majesty Palm plant bi-annually is necessary.


The Ideal Guide to Repotting a Majesty Palm
No matter the size, Majesty Palm plant’s repotting process is not much trouble. With the following tips, you will have repotted your beautiful plant in less than an hour.
You will need:
- Approximately 2-inch larger pot
- Bleach or plant alcohol
- Clean cloth
- Palm-formula potting soil
- Spray bottle
- Scissors
- Hand gloves
Ideally, repot your Majesty Palm plant during the prime growing seasons of early summer and spring. During this time, the plant is more likely to grow normally, without much help, and the probability of catching an infection decreases considerably.
How to Prepare the Majesty Plant for Repotting
While you may just go right ahead and repot your Majesty Palm plant without prior preparation, doing a few things to prepare its system is highly recommended.
Hydrate the Plant
Start with watering the Majesty Palm plant two days before you plan to repot it. This will thoroughly prime the root ball and loosen the plant’s soil.
Keep on adding water until the liquid drains freely from the pot’s base.
Water the Majesty Palm again one day before the repotting process. This ensures further hydration of the roots and softening of the soil mix.
Please take care not to completely soak the plant with water as this can lead to further problems.
After each watering session, make sure that all excess water has drained through the pot’s bottom.
Prepare the New Container
Due to its considerably large size, the Majesty Palm needs a slightly bigger pot than the previous one when being repotted; 2 inches to be exact.
The pot must have at least one large or multiple small drainage holes at the bottom for water to leave through.
Once you have selected a nice pot for your plant, wash it with hot, soapy water. Rinse the pot thoroughly in hot water so that most pathogenic bacteria are eliminated. Next, allow it to air dry.
Clean the Essential Tools
One of the primary bacterial sources is infected tools. After each use, please disinfect your tools and clean the plant pots thoroughly before planting them.
Once your pot is rinsed and air-dried, sanitize it with plant alcohol or 10 percent bleach solution. The latter is recommended only if the pot has previously been used for another plant.
If you opt for bleach, mix nine parts of water with one part bleach in a spray bottle. Now mist the inside of the pot until all its surfaces seem to have been sprayed.
Wash off the bleach with some hot water again. Let the wet pot sit for about five minutes, and then wipe off the extra moisture with a clean cloth or tissue.
Getting in There
After preparing your new pot, it is time to put on the hand gloves and get down to business. Take your magnificent Majesty Palm plant and tilt its current pot towards you.
Gently grip the fronds’ base and lift the plant from its pot. During this time, ensure that your feet are steadily balancing the pot.
Gradually pull the root ball free of the container. If it looks like the root ball’s stuck, carefully roll the pot repetitively to loosen the roots.
Inspect the Plant
Before moving any plant from one container or spot to another, always check for any signs of disease. These signs include excessive browning or yellowing of leaves, deranged vines, and damaged or weeping roots.
If your Majesty Palm seems to be in good condition, you can immediately repot it. However, if some roots seem abnormal, simply trim them off with a pair of clean scissors.
After the roots are nice and arranged, continue to crumble off one inch of the outer soil from around the roots.
For better ventilation, tease apart the plant’s root ball with your fingers carefully.
Replanting
Fill the pot’s bottom with a Palm-formula soil mix or any suitable potting mix to about one inch.
Ideally, the soil should be light, airy, and contain abundant organic matter. Moreover, please use soil that has good drainage and has plenty of essential minerals.
Next, hold the Majesty Palm in its new pot with the root ball resting over the top-soil layer. Once stable, add more soil all around the root ball until the plant can stand independently, without support.
Please tamp down the soil to get rid of any air pockets before adding more soil. Keep on putting the soil until the root ball is entirely surrounded; however, please avoid covering the root ball’s top with soil.
Final Touches
Last but not least, water your Majesty Palm’s pot until you see water trickling from its base. To ensure optimal hydration, water the plant twice in a span of two to three hours.
If the root ball settles significantly or washes away, do not fret. Add more soil until it is back right in the center again.
Place your newly planted Majesty Palm in a sunny spot with dappled sunlight.
Frequently Asked Questions about How to Repot Majesty Palm
How do I know I have repotted my Majesty Palm correctly?
If your Majesty Palm seems to be growing at its normal rate and shows no signs of distress or disease, especially during the first 10-14 days, it has most probably been potted correctly.
Should I cut off yellow fronds of my Majesty Palm?
If you see any yellow fronds during repotting, you may cut them off carefully as it improves the overall look of the plant and gives way for healthier fronds to grow.


Daniel has been a plant enthusiast for over 20 years. He owns hundreds of houseplants and prepares for the chili growing seasons yearly with great anticipation. His favorite plants are plant species in the Araceae family, such as Monstera, Philodendron, and Anthurium. He also loves gardening and is growing hot peppers, tomatoes, and many more vegetables.