Overwatering orchids causes root and crown rot and eventually leads to the death of the plant, which is something we gardeners might not want to happen.
In this article, I will explain how I normally handle overwatering to prevent the death of my plant.
How to Save an Overwatered Orchid
To save an overwatered orchid, begin by inspecting and trimming rotten roots using sterilized tools. Repot in fresh potting material and water sparingly for a few weeks to let the plant adapt and regrow roots. This crucial intervention can save your orchid from irreversible damage.
The following are steps to save an overwatered orchid:
1. Determine If the Orchid Is Overwatered
The first step to save an overwatered orchid is to check the roots. I usually use signs in the roots, leaves, buds, and flowers to check for overwatering.
This is because of many factors, such as nutrients and diseases, which could be causing problems for the orchid. Solving a problem that is not there may kill your precious orchid.
2. Removing the Orchid from the Pot
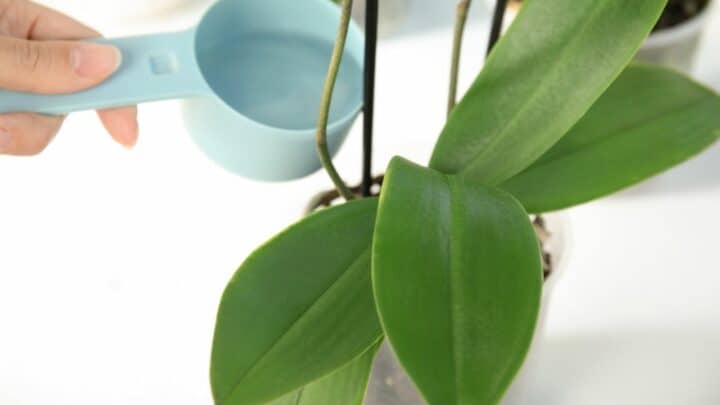
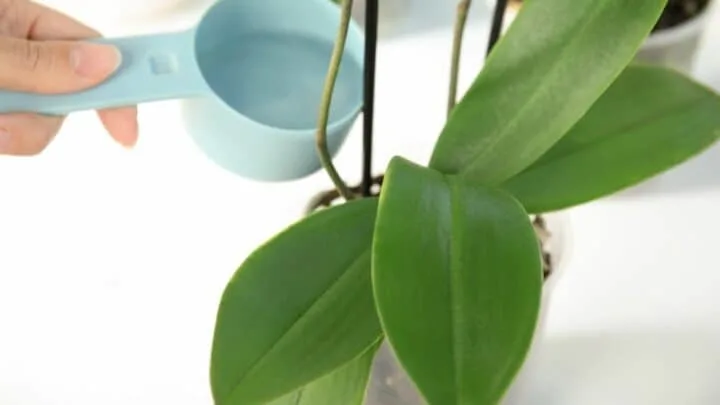
Before taking the orchid out of its pot, I water it with excess water and wait for 30 minutes. This increases the ease of loosening up the roots of my orchid.
I then gently and carefully pull out the orchid from its pot.
There are usually a few roots that might have become stuck to the pot, which need additional wiggling.
As I move the orchid, I reduce damage to the roots to the bare minimum. This increases the chances that my orchid will take on the new pot and medium.
Patience is required for this step. As I pull the orchid from the pot, I prefer to hold it as close to its base as possible instead of holding all leaves together, which may damage the leaves.
For those tough and stubborn rooting medium pieces still stuck to my orchid, I soak the roots in warm water for 15-20 minutes.
Warm water (90 – 110 ֯ degrees Fahrenheit or 32 – 43 degrees Celsius) is good as it increases the flexibility of the orchid roots.
Little or no water must get into the crown of the orchid to prevent crown rot. If water goes in, I use dry tissue paper to suck out the water.
3. Trim Off Rotten Roots
I trim off most of the rotten roots using sterilized scissors or a razor knife. It’s important not to damage the healthy roots, especially since they will be few.
I ensure I hold the base of the orchid to avoid damaging the leaves.
4. Apply Rooting Hormone
To assist in forming new roots, I drench the plant in a liquid rooting hormone such as Dip ‘n Grow. This helps the orchid recover the lost roots before the plant becomes maltreated.
The rooting hormone also boosts the growth of the leaves. I also let the rooting hormone dry on the leaves for around two hours.
5. Repotting the Orchid
I then finally repot the orchid in the pre-watered medium. It is also good practice not to water the orchid for a day to stimulate water uptake.
If possible, I place the orchid in a shaded area to reduce evapotranspiration as new roots are formed by the orchid.
How to Know If the Orchid Is Overwatered
The best way to identify overwatering is to observe the characteristics of the orchid.
A healthy orchid should have green foliage (or the color of the leaves of the type of orchid) and bloom as expected.
The roots are strong and appear healthy; they’re fleshy with green tips, firm, and white.
In addition, the potting medium and roots should be moist and not wet. When overwatering happens, the orchid roots become soggy and start to rot.
Overwatered orchids also have few healthy roots and many mushy brown dead roots. Roots cannot tolerate excessive water, especially since they need adequate air circulation.
The potting medium may also be soggy and have a terrible odor.
When overwatered, the orchid leaves become yellowed or darkened, and some might even dry out. The underside of some foliage may also begin rotting.
The orchid will also start looking like a sick plant. It develops a weakly stem, and the plant generally looks like it is dying.
The buds will start falling off before they turn into beautiful flowers.
How to Properly Water Orchids
Different orchid types have different watering needs. They require moisture and periodic dryness.
During dormancy periods, orchids are not actively photosynthesizing, and they do not grow as fast as they grow during summer. They thus require less water during dormancy.
If the orchid type has thin and soft leaves, it means that the plant will need more water. Complex and succulent orchid types or pseudobulbs require less water.
Plants will automatically show that they need water. It’s essential also to have periods of drying out in between watering schedules.
Some orchid types also prefer dryness rather than sogginess. I usually ensure that I apply sufficient water to the plant and let it drain freely through holes in the container.
Effects of Overwatering
The following are some of the effects of overwatering:
- Salts build up in the potting media and could cause root burn
- Causes Flower buds yellowing and falling off before blooming
- Flowers not blooming s expected
- Flower petals falling off before being spent
- Leaves drooping
- Change in leaf color
- Roots rot
Frequently Asked Questions About How To Save An Overwatered Orchid
Is root rot purely caused by overwatering?
Root rot could be a sign of excess nutrients. Some pests and diseases also cause root rot.
Are there alternative solutions to prevent overwatering?
Modern solutions have automatic watering pumps with which you can set schedules for watering. The pumps have sensors that maintain the specific moisture content of the medium.
Conclusion
The best time to water orchids is during morning hours or mid-day.
Increased watering frequency doesn’t make up for nutrients or speed up growth.


Daniel has been a plant enthusiast for over 20 years. He owns hundreds of houseplants and prepares for the chili growing seasons yearly with great anticipation. His favorite plants are plant species in the Araceae family, such as Monstera, Philodendron, and Anthurium. He also loves gardening and is growing hot peppers, tomatoes, and many more vegetables.