
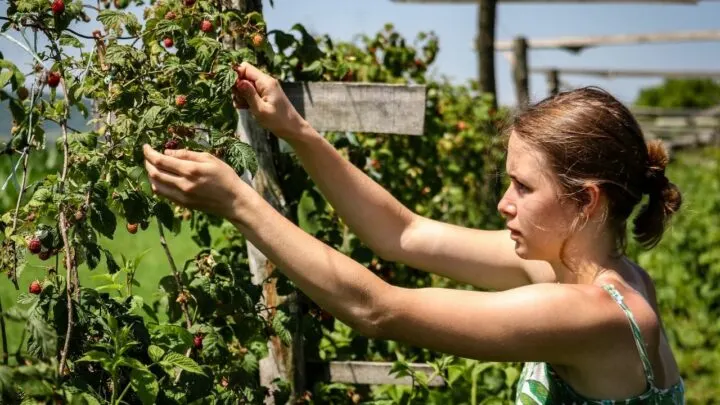
There are few things as good as the sweet taste of fresh raspberries right from your garden.
When I moved to a homestead, planting raspberries was at the top of my list of plants to cultivate.
I prepared the soil, planted the brambles, and waited patiently for my raspberries to appear. When they did, I was so disappointed.
The raspberries were few, oddly placed, and difficult to harvest.
At the gardening center, the helpful manager shared that I needed to build a trellis for my raspberries to help boost production and make them easier to harvest.
Here’s how to create a practical trellis for raspberries.
How to Build a Trellis for Raspberries
To start building a trellis for raspberries, use several wooden or metal stakes, end guard posts, and metal wire or twine to tension the distance between 2 stakes. Add several more rows of wire to create a climbing surface, and the brambles will begin to grow up along the wire and cover the trellis.


How to Build a Trellis for Raspberries
7 Steps to Build an Easy Trellis for Raspberries
I was fortunate that the local garden center had not only the best advice on how to build a trellis, but they also had all the supplies I needed, so getting all set was a breeze.
Step One: Supplies
First, you will need to make sure you have all the supplies you need to erect the trellis for your raspberry brambles.
These are the supplies you will need:
- Metal or wooden stakes (two per two to four feet of bramble bed)
- Metal tensile wire or cable or twine
- Two end guard posts
- Pliers
- Safety goggles
- Safety gloves
- Raspberry bramble bushes
- Mulching and wood chips to prepare the soil
- Fertilizer appropriate to brambles
- Garden spade
- Concrete mix (optional)
Step Two: Preparing the Garden Bed
Before you start staking in the posts, you need to prepare the garden bed for the brambles (if you are starting from scratch).
To do this, be sure to till the soil 8-12 inches deep, removing any grass or weed roots you find.
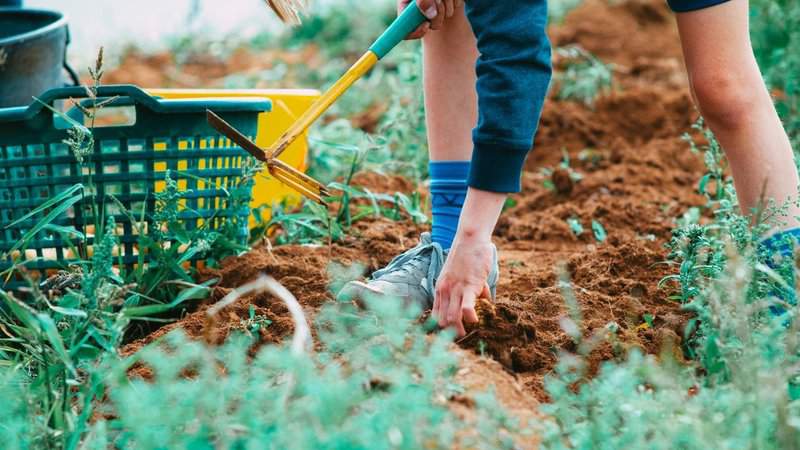

Till the soil to prepare the garden bed for the raspberry brambles
Fertilize the soil, being sure to lift and air the soil and reduce compaction.
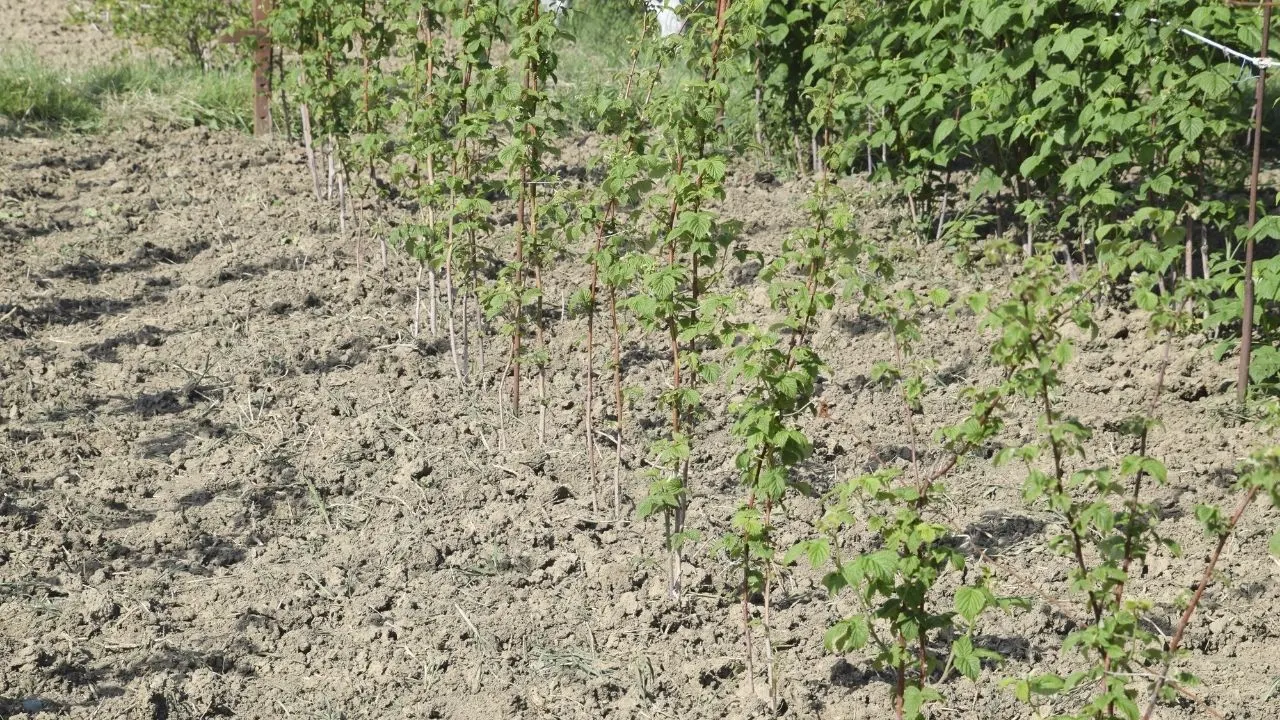
Once you have created a suitable environment for the raspberry brambles to thrive, plant the raspberry plants about 2-4 feet apart.
Be sure to plant the end plants about two feet away from the edge of the patch.
You want the raspberry plants to grow correctly and not end up wasting their growth energy on fighting against compacted soil at the end of the bed.
Step Three: Staking the Posts
You can now stake the end posts. If you choose to secure the posts by adding a layer of concrete in the end holes, you can first install the end posts before planting the brambles.
Use a two-pound hammer to hammer the metal posts into the soil, or use a pole twist or spade end to twist the poles into place.
Provide a stake every 2-4 feet of garden bed. Ensure the stakes are planted in sets of two.
The distance between each set of stakes should be around two feet, no more.
Ensure the end posts are fully secure by either using an anchor post or concreting the posts into the soil.
Use a tensioned wire or cable to tie the end posts to the end anchor posts.
It is best to use a connection point about a third of away from the ground for support and to prevent the end stakes from twisting from the ground.
Step Four: Tension the Wire
Start on one end of the raspberry trellis. Twist the wire or cable through a hole at the top of the metal post, or use a high-strength cup hook to secure the cable to the post (for wooden posts).
Secure the wire so it can take some weight when you tension it to the opposite end of the trellis.
Tension the wire for the raspberry trellis
Thread the wire or cable through the posts that align with this end post.
Remember that you will want to have two separate post lines when done to help the raspberry brambles climb and bear their fruit to the outside of the trellis.
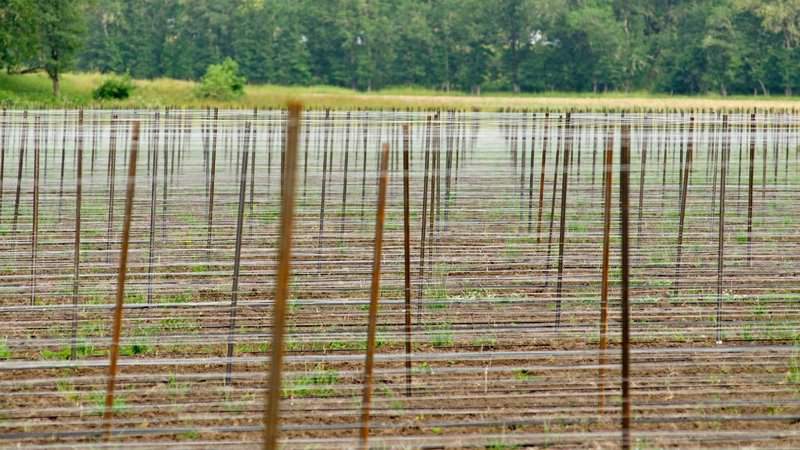
Step Five: Add Additional Wire Layers
Having tensioned the top line and secured it to the anchor posts, your trellis is now securely standing on its own.
Next, you will add layers of wire threaded through the wooden or metal posts that make up the length of the trellis.
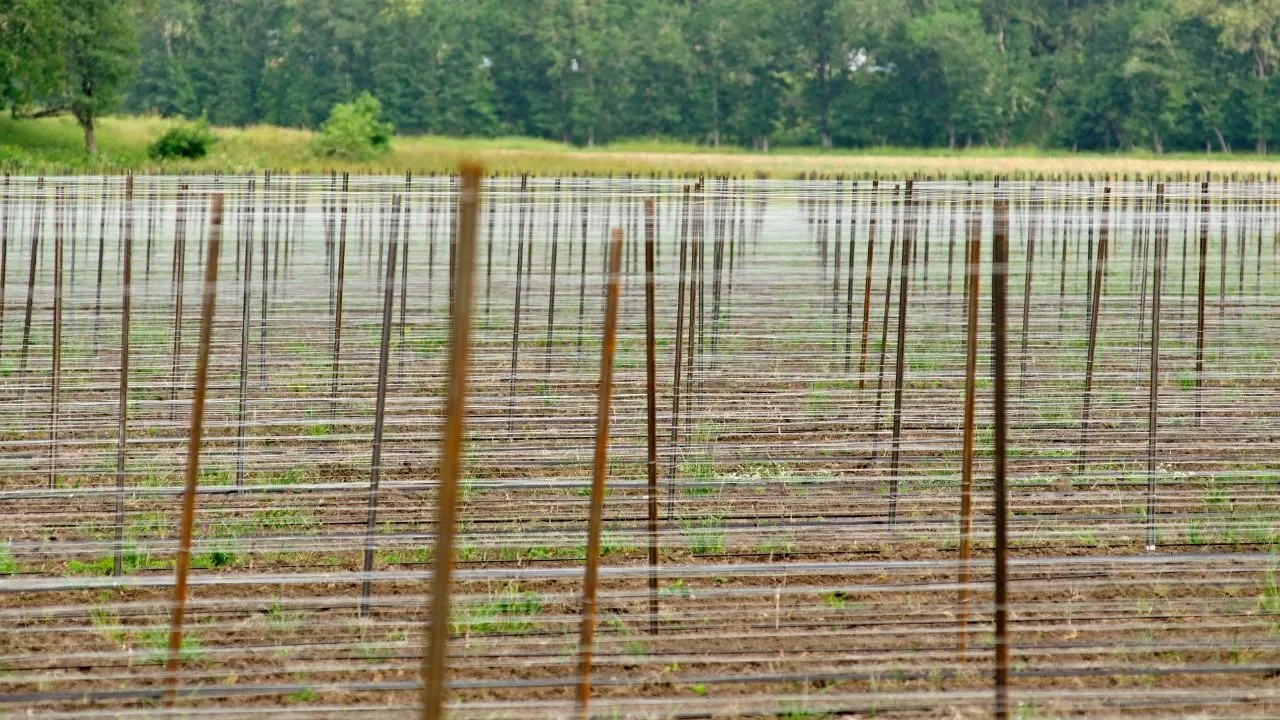
Step Six: Tension the Support Wires
Be sure to tension the support wires as the weight of a fully creeped bramble bush is substantial and you don’t want the raspberry brambles to bring the trellis down.
Step Seven: Guiding the Bramble Creepers
Finally, as the brambles of the first raspberry bushes start to appear, use a thin florist’s wire to guide the creepers to climb against the guiding wires.

Guide the raspberry creepers to climb against the guiding wires using florist’s wire
Be sure to keep the brambles from bushes on the left side of the trellis creeping up the wires of the left side trellis posts. Do the same for the right side trellis posts.
Be patient. It will take some time to guide the brambles up along the guide wires.
Simply tie them in place, then wait a week or two, adjust the creeper positions, and ensure you water the bramble bushes correctly to achieve healthy growth.
Once the brambles have creeped all along the height of the trellis, you can trim the tips off the brambles to encourage them to thicken and grow outward, or you can simply keep looping the tip of the vines through the left side trellis wires in a zig-zag manner.
Remember you want to have a bramble bush on the left side and another on the right to prevent the plant growing across both sides of the trellis.
This will ensure your brambles bear rich raspberries on the outside where you can easily harvest them.
Frequently Asked Questions About How to Build a Trellis for Raspberries
How tall should a raspberry trellis be?
A raspberry trellis should be six inches tall, with about one and a half an inch or more anchored in the soil.
Should you trellis raspberries?
Raspberries are grown on a trellis to ensure the creepers can be harvested, the fruit doesn’t rest on the ground, and to help keep pests away.
How do you keep raspberries upright?
Raspberry brambles can be heavy, causing the fruit to get muddy and become a snack for animals. By using a trellis, you can train the creepers to climb up and through the trellis guide wires.
Conclusion About How to Build a Trellis for Raspberries
I am thrilled with my raspberry brambles this year. They have grown tall and thick, and I can already see raspberries peeking through the leaves.
I know that when it comes to harvesting these juicy berries, I will get healthy berries that have grown fat and sweet since they aren’t squashed into the soil like last year, all thanks to the great trellis I built.


Daniel has been a plant enthusiast for over 20 years. He owns hundreds of houseplants and prepares for the chili growing seasons yearly with great anticipation. His favorite plants are plant species in the Araceae family, such as Monstera, Philodendron, and Anthurium. He also loves gardening and is growing hot peppers, tomatoes, and many more vegetables.